So, you have chosen your aspect ratio, screen size and screen material. While there are several methods for building your own wood frame projector screen, this article will walk through the steps of building a fixed frame with raw materials.

Build a Wood Frame
1. Determine viewable dimensions
- The size of material you will want to order depends on the viewable dimensions, or screen size, that you would ultimately like to achieve. The article, How to Select Your Ideal Projector Screen Size, walks through the decision making process.
- Once you have decided on a viewable width, simply multiply that dimension by your desired aspect ratio to determine the viewable height.
- For example, if you’d like to achieve a 105” viewable width, it would be a good idea to select material that is 110″ wide to allow 5″ of fabric to stretch over our wooden frame. If you’re going for a 16:9 aspect ratio, you would determine the height with the following calculation:
- 105″ x 9/16 = 59.0625 or 59 1/16″ | We have our viewable dimensions of 105″ x 59 1/16″
- An aspect ratio of 4:3 would be 105″ x ¾ = 78.75 or 78 ¾”
- If you plan to add a border to your screen, like black felt tape or back band trim, keep in mind that anything that overlaps the screen material will shrink the final viewable area.
2. Calculate dimensions of the wood frame
- Take the desired viewable dimensions and add the width of any black felt tape or trim you might be using.
- For example, if you’re using black felt tape that is 2” wide and trim that has an overhang of 3/16”, take the viewable width of 105″ and add 2″ twice and 3/16″ twice, to get a total frame width of 109 3/8″. Then take the viewable height of 59 1/16 plus 2″ twice and 3/16″ twice to get 63 7/16″. The frame dimensions are 109 3/8″ x 63 7/16″
- If you’re going for a zero-edge look and are not planning to finish with tape or trim, your frame dimensions will match your viewable dimensions.
- Cut two pieces of pine that are exactly as long as the frame. We recommend using 1×4’s.
- Finally, cut three boards that are 7″ (twice the width of the 1×4’s: 3 ½”) shorter than the exact frame height – one piece will go in the center for stability.
- Assemble the frame using your joinery method of choice. We prefer to use pocket screws and a simple pocket hole jig
Stretch & Staple the Screen Material
- Thoroughly sand the corners and edges of your frame before stretching the screen to avoid snagging or tearing the material.
- Lay the screen material on the floor with the frame on top.


- Using heavy duty staples, start on the top and place several staples in the center (1). Move to the bottom and place several staples in the center (2), stretching the fabric straight across.
- Then, move to the right side of the frame and place several staples in the center (3), stretching the fabric out from the center. Move to the left and place several staples in the center (4), stretching the fabric straight across.
- Take your time; make sure the staples are close together and work out all ripples before stapling to the frame (or onto drywall).
- At the top add a couple staples, about 2-3 inches to each side of the original staples (5 & 6). Make sure to stretch with even tension out from the middle. Repeat at the bottom (7 & 8), right (9 & 10) and left (11 & 12) sides.
- Add 3 staples, again 2-3 inches apart, at the top of the frame (13-15 & 16-18). Repeat at the bottom (19-21 & 22-24), right and left sides. Again make sure to stretch with even tension out from the middle as shown in the diagram.
- Continue adding 2-4 staples, evenly spaced and rotating to opposite sides until the screen is completely secured all the way around the frame. Do not staple in a circle around the frame, always rotate to the opposite side with even tension.
- For a video walk through, check out this step-by-step created by one of our customers.


Apply Optional Frame Finishing
- If using, cut the Back Band Trim with a Miter Saw or Miter Box/Saw to fit your frame. Back Band Trim is a piece of wood molding that surrounds the exterior edge of the screen to create a professional looking frame.
- Spray paint the back band trim black & allow to dry
- Nail the back band trim to the frame
- Add the black felt tape, on top of the screen material, cutting with a scissors or utility knife – do NOT stretch the tape
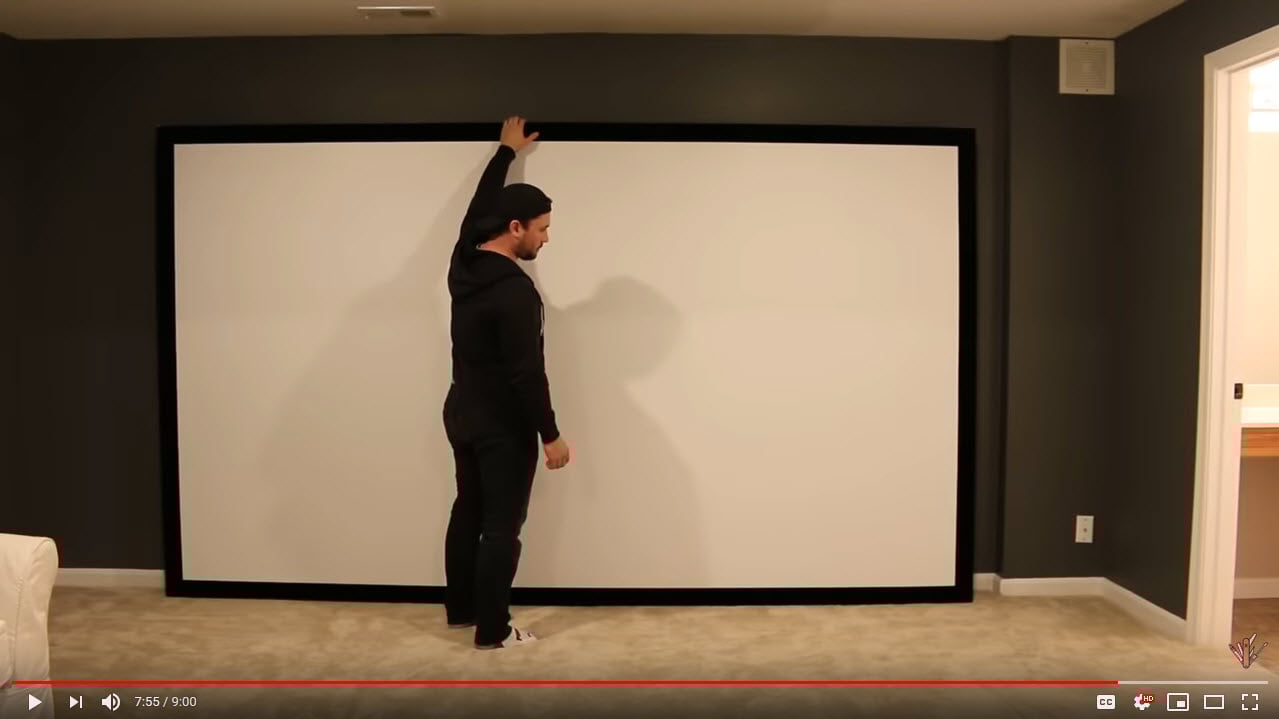
- Hang on the wall using the picture hangers of your choice
- Queue up your favorite movie or video game and enjoy! Don’t forget the popcorn and a cool beverage.
Ready to go? See pricing on screen materials.
Search articles by tag:
Home TheaterRelated Posts

Videos, Large Venue
VIDEO: Budget-Friendly Projector Screen for Churches by Churchfront w/Jake G.

Home Theater, Golf Simulators
2022 March Madness Watch Party - How To Make It Big
Home Theater, Videos, How-To
VIDEO: DIYwithRick – How to Build a Projector Screen