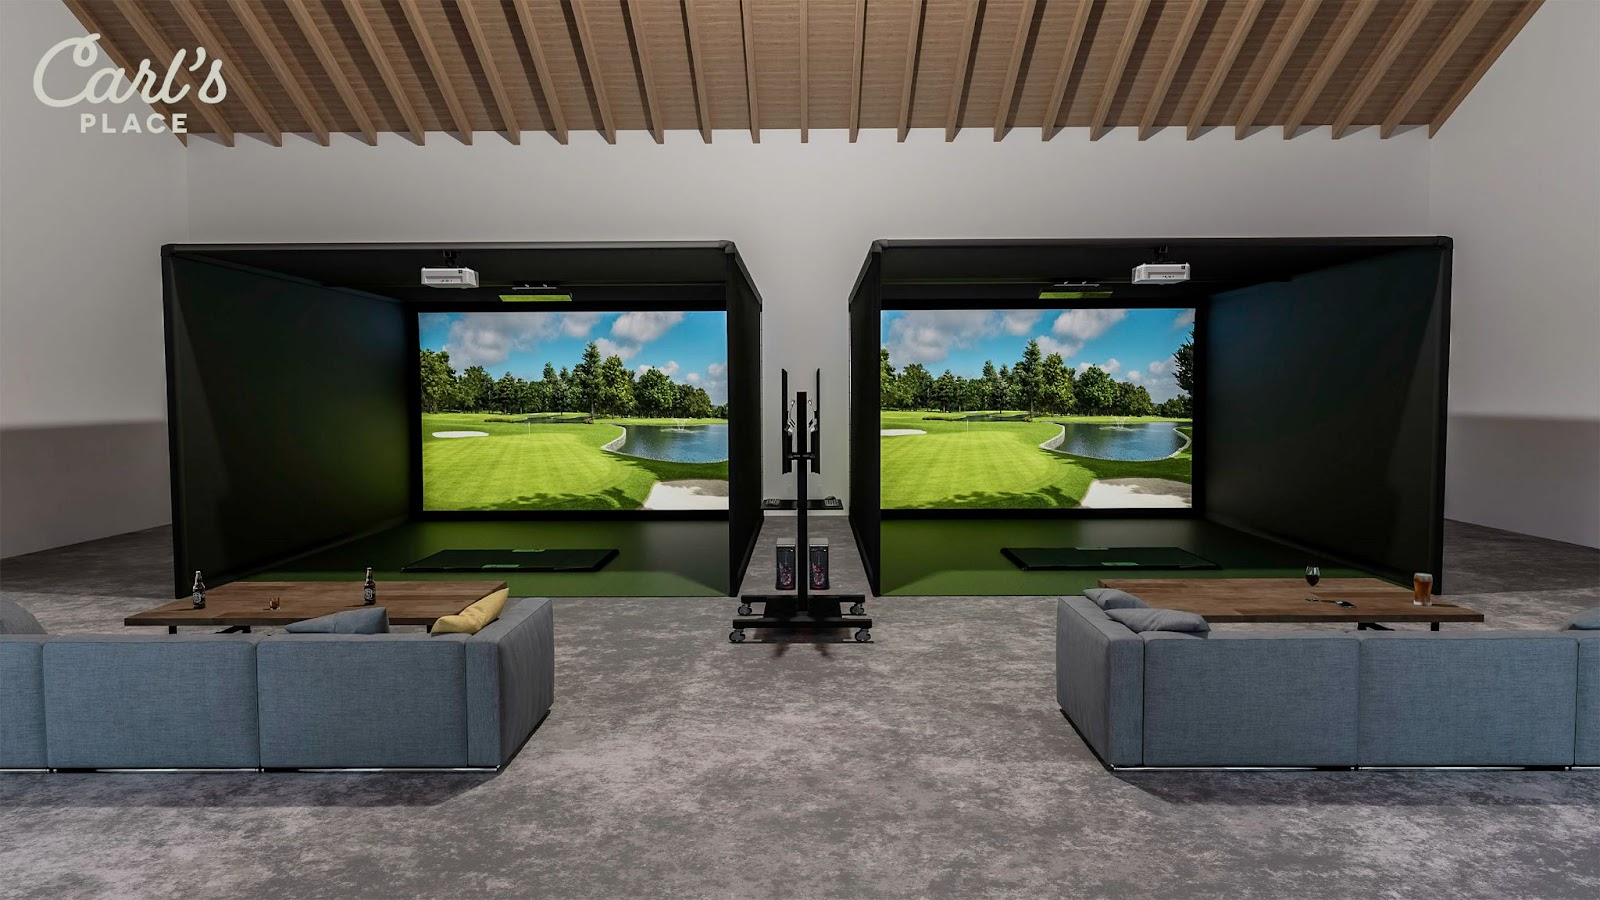
Carl’s Built-In Golf Room Kit is the perfect solution to optimize your space and create a captivating golf paradise in your room. If you're curious about whether a built-in golf simulator is right for your home or commercial indoor golf setup, our assembly videos might just help you make up your mind.
If you're unsure about what or how to order, don't hesitate to contact our expert customer service team for further assistance.
Carl’s Built-In Golf Room Kit Installation
Watch our step-by-step videos of how to install Carl's Built-In Screen and Panels start to finish.
Wall-to-Wall Golf Screen Installation
Golf Room Wall and Ceiling Panel Installation
More Helpful Assembly Resources
Video Transcript
Please keep in mind that the transcripts provided here are intended for reference purposes only. For complete instructions on installing Carl’s Built-In Golf Room Kits, we highly recommend consulting the manuals.

Video Transcript for Built-In Golf Screen Kit Instructions
At Carl’s Place, our Built-In Golf Room Kits help you create a golf simulator room complete with a wall-to-wall screen. They are designed for DIYers with carpentry or handyman skills to provide an immersive experience that makes you feel like you are right there on the course. In this video, we will walk you through the setup process for our Carl’s Built-In Golf Screen Kit, as well as provide you with some tips and tricks that help along the way.
What you will need:
You’ll want to start by organizing your kit. Your kit will include:
- 4 corner cable anchors with screws
- 4 pulley wheels
- 4 safety wire lynch pins
- 1 top cable
- 2 turnbuckles
- 4 threaded nuts
- Impact screen (with cable through bottom sleeve)
- Zip ties
- Mountable zip ties
- A roll of hook fastener tape comes standard, or you may choose to upgrade to starter panels with a hook fastener strip. The starter panels are essential if you’re adding wall or ceiling panels to your built-in-golf room, but if you’re just installing the screen, they are an upgrade.
Make sure to have your tools handy - you’ll need a:
- Laser level or plumb line
- Measuring tape
- Drill and impact driver
- 7/16 socket wrench
- Two 8-foot-tall step ladders.
Plan, Measure and Align your space
Next it’s time to measure and align your space. Start by measuring one foot away from each corner of the back wall and mark the placement of the four corner anchors. Use a laser level or a plumb line to ensure your room is square and the anchors are set on an even plane.
Next install the corner anchors. Place the corner anchor against the floor with the tapered end pointing up against the wall. At the bottom angled hole, drill a pilot hole at a downward angle into the “bottom plate” of the wall. Then, use a ¼” lag screw to secure it in place.
Repeat this process with the other floor anchor making sure the anchors are installed on an even plane. Then continue with the 2 ceiling corner anchors installing each with the tapered end pointing down, into the top plate.
The cable anchors are designed to be secured with a single screw through the angled hole. The other two holes are optional and can provide additional security as needed.
Install Top Cable
Now it is time to install the top cable. First grab the loose cable (the one not in the screen) as well as a pulley wheel and a safety lynch pin. Put the cable behind the pulley wheel and press it into one of the top corner anchors. Then secure the pulley in place with the lynch pin through the lower hole. Repeat the process on the other top anchor. The cable should now be spanning the ceiling, with the left and right sides hanging down.
Hang the Screen
Next, take your screen and orient it so that the Carl’s place logo faces the front and top of the screen. Note to avoid letting the screen touch the floor to keep it from getting dirty. Loosely zip-tie the top 2 corners of the screen around the pulley wheel on the 2 ceiling corner cable anchors. Your screen will be hanging loosely with the bottom cable in the screen lying on the floor. Take one end of the screen cable and press it into the floor anchor with the pulley wheel just like you did installing the top cable. Insert the lynch pin through the hole closest to the floor. Repeat on the other side.
Thread a nut on the end of each cable (4 in total) - if not already threaded onto the cable ends.
Using the turnbuckles, connect the top and bottom cable ends together. The turnbuckles are threaded so that turning it in one direction will thread it on to each cable end. You can start by threading one end just enough to keep the turnbuckle on, and then adding the other cable in and tightening them both together. Tighten the turnbuckle just until the cable system is taught. Be careful not to over-tighten.
Follow up by firmly tightening the nuts to secure the turnbuckle in place. This won’t cause unwanted pull on the screen, but it will prevent the cable from loosening over time. It’s best if you remember to check and make sure these nuts remain secure as you begin to use your golf screen.
Next install zip-ties through the bottom corner grommets on the screen around the corner anchor pulley wheels.
With the corner grommets secured, continue to attach all the remaining grommets on the screen with zip ties. Start by securing all the zip ties very loosely, so that you will have an easier time adjusting for tension and spacing later.
Now it's time to adjust your zip ties for screen tensioning. The first step is to make sure the bottom of the screen is level with the floor. Loosen or tighten the zip ties at the ceiling of the enclosure to adjust the screen so that the bottom sits flush to the floor.
If your screen is pulling up at the bottom edges, you may have overtightened the cable. If this is the case, loosen up the cable otherwise you’ll have pulling and bowing that you can’t correct with zip tie adjustments.
Continue working your way around the enclosure, tightening and loosening the zip ties as needed to work out any sag or pulling visible in your screen.
Note that a slight “belly” of sag in the middle of the screen is natural, but it shouldn’t be overtly visible. For larger screens, or to maintain a perfectly straight top edge, you can use the mountable zip ties to raise the cable at the top to the ceiling.
Finally you can install your hook fastener tape which will hold the flaps of your screen. (Note if you purchased starter panels, you’ll install those instead.) For the hook fastener tape, use your laser level or plumb line to set a guide from floor to ceiling 5 inches away from screen. Remove the adhesive on the fastener tape and secure it to the wall with screws or nails every few inches to help keep it it place over time. It’s ideal if you can get the screws or nails into a stud.
If you did not purchase the optional foam inserts, continue the screen installation by attaching the screen flaps to the enclosure walls and ceiling with the hook and loop strips. If you purchased the optional foam inserts, you’ll install those now.
Install Foam Inserts
Install the foam with the narrow edge against the frame, and wrap the flap around the foam to secure it with the hook and loop strips. Make sure no part of the foam sticks out and interferes with the hook and loop connection.
Review your work and reattach the hook and loop to smooth out any lines in the flaps as necessary.
Your setup is now complete and you can begin using your new built-in golf room!
Further installation
If you ordered Carl’s built-in panel kit to darken and soften your walls and ceiling you can install those now. Our panels attach using French cleats and Z clips, to shield your walls and/or ceiling from stray shots.
They are not only custom-sized to fit your specific space, but are also heavy-duty so that you can swing with confidence and not worry about anyone putting a hole in your wall.
Carl’s golf room curtains are another great option for temporarily covering doors or windows and is a great alternative to deep enclosure walls. Simply pull the curtain out when you want to play, and drag it back when you need access.
With your screen up, you can finish up those final touches to get your golf simulator up and running. If you need help with any other electronics or accessories you picked up from Carl’s Place we’re here to help. Check out our library of resources to support your build.
We recommend using new golf balls that are free from any scuffs or permanent marker to maximize the life of your screen and to keep it from marking up.
We want to see your new golf setup! Go to www.carlofet.com/share-with-us to send us pics, videos, or reviews of your brag worthy setup!
Thanks for watching this video! If you have any questions or feedback feel free to shoot us an email, give us a call, or contact us on our website. Be sure to subscribe to our channel for more videos on building, using, and enhancing your own golf simulator.
Video Transcript for Built-In Golf Room Panel Kit Instructions
This video will guide you through the panel installation process for your built-in golf enclosure.
What you will need
You’ll want to start by organizing your kit. Your kit will include:
- Padded panels sized to fit your space
- French Cleats, screws and anchors
- Z-Clips and screws
- Starter panels (if not already installed)
Make sure to have your tools handy. You’ll need:
- Level
- Pencil
- Drill
- Studfinder
- Step Ladder
Plan, Measure and Align
Before you start, take the time to plan, measure, and align your golf room installation properly. Here’s how:
- Review your panel diagram for where to place the correctly sized panels on each wall.
- Understand the orientation of the panels and cleat. Wall cleat will align perpendicular to the screen on the walls and parallel to the screen on the ceiling.
- Before diving into installation, take a look at where the panels will get installed. Develop a clear plan for positioning your cleats to ensure that each cleat spans the seam of two adjacent panels. The wall panels are designed to install snug against the starter panels. If you haven't already, install the starter panels.
Cleat Installation on Walls
Now it's time to install the cleat. Make sure to install the cleats into a secure surface like plywood studs or use drywall anchors. If you start installing cleat near the screen, the cleat can sit right up against the starter panel. Align the first cleat at the lower part of the wall 1 to 2 inches above the floor. Position it with the hold section against the wall and facing downward, creating space on top for the Z clip to rest. Level the cleat and mark three fastening points, one at each end and one in the middle.
Secure the cleat to the wall using anchors if necessary at each end and one screw in the middle using the long screws provided. Do not overtighten. Install the next cleat above the first cleat. Exact placement varies based on your room's panel customization. However, the cleat should sit about 4 inches below the top edge of the panel.
Install the third and fourth cleat. Line up your panel again to gauge the placement of the next two cleats. While there's some flexibility in their placement, ensure that one edge sits at least 2 inches behind the panel with the remaining part extending beyond the panel to accommodate the installation of the next panel. Proceed to install these two cleats.
Placing Wall Panels
Prepare Z clips. Uncover the adhesive on the back of the four Z clips. Set a Z clip into each cleat. Four Z clips in total. Measure the Z clip spacing to align with the panel's width, leaving approximately 1 inch on each side. Keep the Z clips near the panel's edge for proper corner alignment.
Now it's time to place the panel. Ensure the panel is level, then firmly press it against the adhesive. Lift to remove the panel with the Z clip now adhered. If any Z clips did not stick, carefully set it back in place and press more firmly. Secure each Z clip to the panel using the short screws provided.
Once the Z clips are secured, you can set the panel back into position on the cleat. Make sure to keep the last cleats one to two inches from the edge of the wall to keep it out of sight for a more finished look.
Ceiling Installation
Once both walls are complete, it's time to start the ceiling installation. Start in the middle of the screen to determine where to install the panels. This helps get equal spacing at each end. Orient the cleat with the hold section against the ceiling and toward the screen with the opening for the Z clips facing away from the screen. Begin the first row of cleats 2 to 3 inches from the starter panel edge and 1 to 2 inches from the wall. Using the same method to install as you did with the wall panels, install the ceiling panels starting at the screen and working away from it.
Before you call it a day, do one final check to make sure there's even spacing between every panel. You're now ready to begin using your new built-in golf enclosure. If you have any questions or feedback, feel free to shoot us an email, give us a call, or contact us on our website. We want to see your new golf setup. Go to www.carlofet.com/share-with-us to send us pics, videos, or reviews of your brag-worthy setup. Be sure to subscribe to our channel for more videos on building, using, and enhancing your own golf simulator.
Search articles by tag:
Golf Impact Screens Golf EnclosuresRelated Posts

Golf Impact Screens, Resources
Building the Ultimate $20K Golf Simulator
Golf Impact Screens, Golf Simulators, Resources
Do I Need to Hire a Golf Room Designer?

Golf Impact Screens, Resources
$5k Budget Golf Simulator Setup Ideas