Homes, garages, sheds, commercial bays, and everything in between. If you’re looking for golf simulator room ideas and inspiration for where to put a golf simulator, this is your visual guide. Scroll, steal ideas, and then tailor them to your own space.

Below are Carl's Place golf simulator rooms that were designed around how the golfer actually plays.
As you scroll, look for the details that matter most to you and your space. Screen placement, lighting choices, clearance around obstacles. These are the design decisions that turn a simulator from "just installed” into a custom Carl's Place golf simulator room.
Want us to feature your golf simulator room? Share it with us.
Design Idea:
A Fully Finished Garage Golf Simulator
With Tour-Studio Vibes
Why This Garage Sim Works
Michael K. from Colorado turned his 10-foot (119") high × 14-foot (168") garage (concrete slab and all) into a fully dialed golf simulator hangout.
He inset his hitting mat into a black-turf platform for a clean, tour-studio look, and the multiple-monitor setup gives him plenty of room for shot data or watching the big game.
The result is a standout example for anyone gathering golf simulator garage ideas.
What’s in the Sim?
Not sure what fits your space?
Measure your space and plug the numbers into Carl’s Build Your Own Golf Simulator tool to see which golf screens, enclosures, and layouts work in your room.

Design Idea:
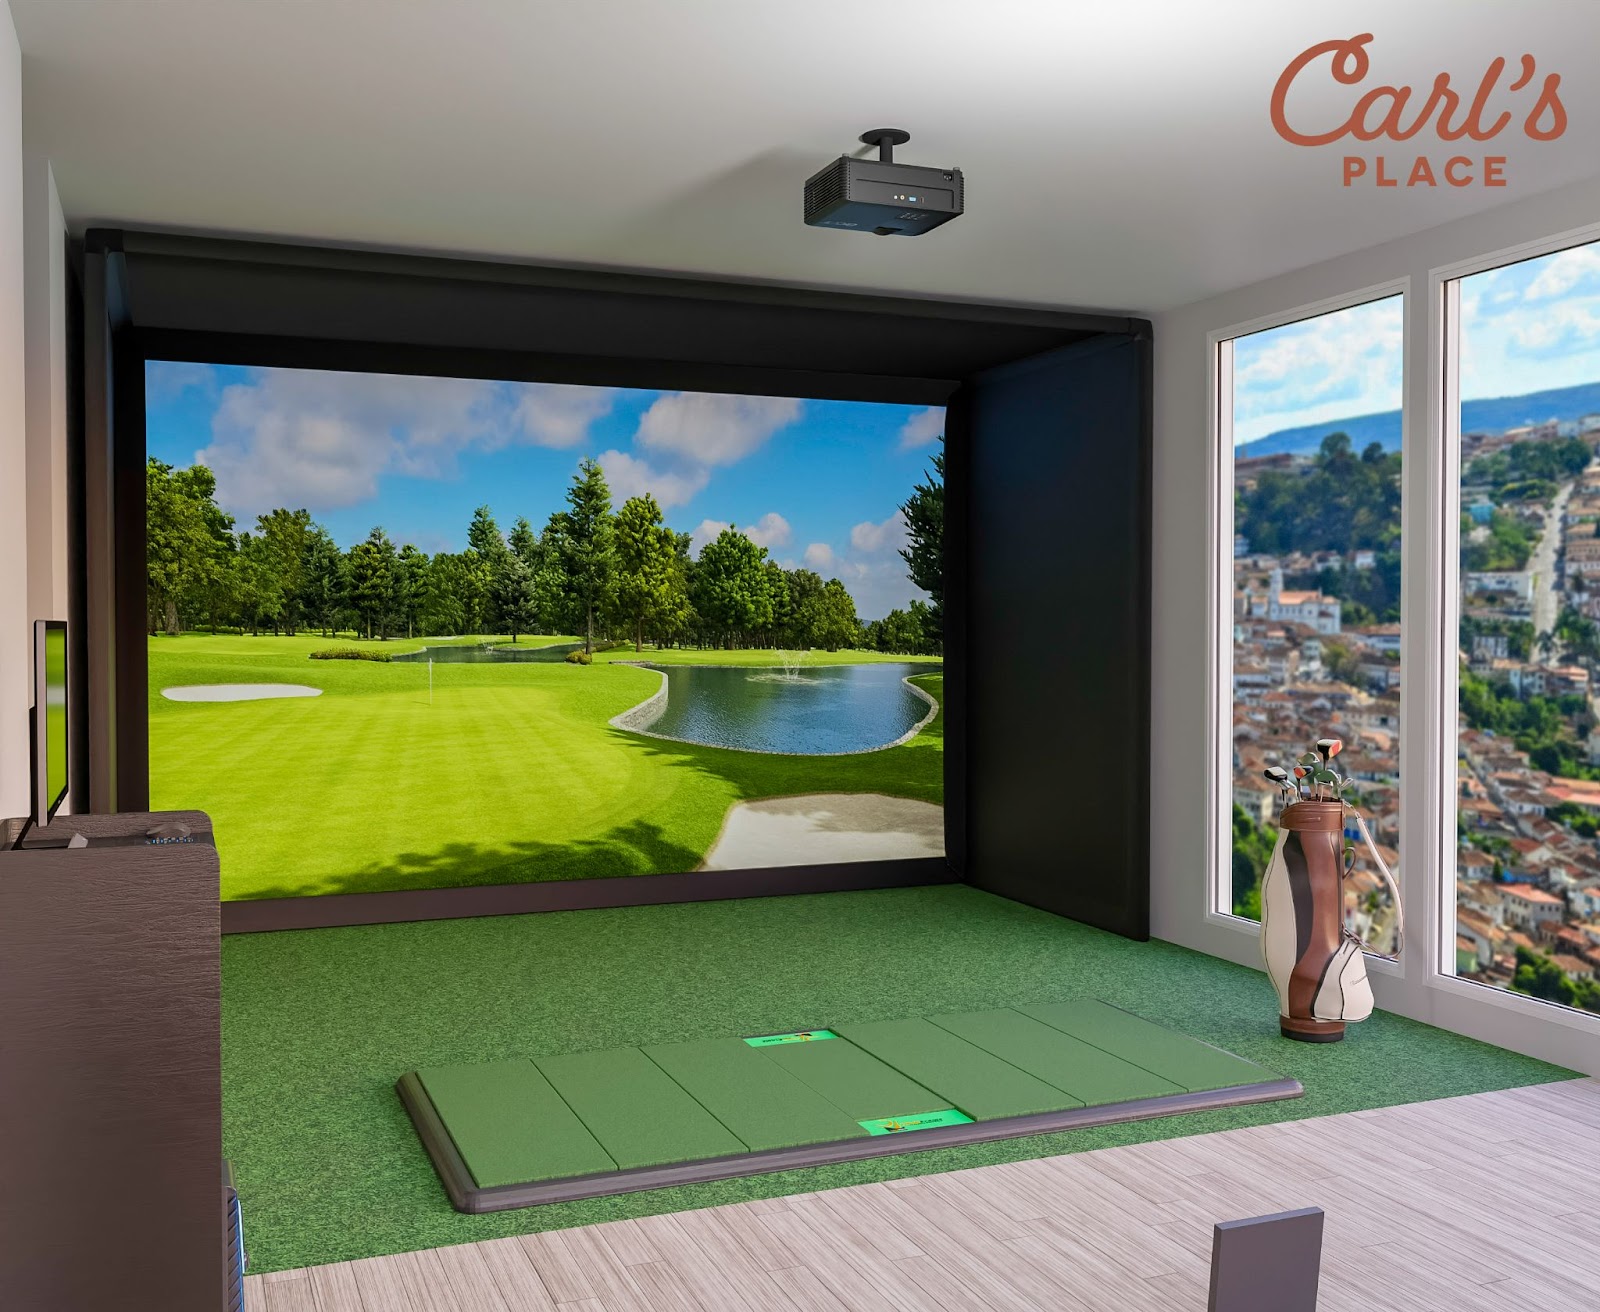
A Polished Home Golf Bay in a Tight Footprint

Why This Sim Works
This Built-In Golf Room Kit from Jeff in Missouri came together as a clean, well thought out space that exceeded expectations. With room dimensions of 105" H by 136" W, the layout makes smart use of every inch while keeping the look tight and intentional. As the owner put it, “Finally finished the build and it is awesome. Side panels, premium screen, built in room enclosure and premium mat all made this build turn out better than I expected.”
The ceiling details really show off some solid DIY thinking. Thinner acoustic panels were used to work around an existing ceiling vent and lights, keeping the room functional without breaking the clean look.
Carl would probably be tinkering with that projector display, as he prefers a filled screen even if the image is stretched a bit, but that comes down to personal preference. This is a great example of adapting Carl's Built-In Golf Room Kit to a real room and ending up with a polished result.
What’s in the Sim?
Enclosure or Built-In or Screen
Carl’s Place offers several golf simulator enclosure options so you can match the setup to how you want to build. The DIY Enclosure is a great starting point if you want something straightforward and flexible. The Pro Enclosure steps things up for larger or more refined spaces, with a 2" frame that can support mounted projectors or launch monitors. For golfers chasing maximum immersion, the Curved Enclosure wraps the image into your peripheral vision and makes the course feel bigger and more lifelike.
If you’re building a dedicated room and want a more permanent solution, the Built-In Golf Room Kit is designed to be installed directly into your space and does require some hands on work. And if you’re super-handy and want the full DIY experience, Carl’s also offers just the Impact Screen, letting you pair a professional grade screen with your own custom layout.
Design Idea:
The Slow-Build Approach: From Net Practice to Full Simulator


Why This Sim Works
Travis from Virginia started simple with a Garmin R10 and a net in the garage. A few years of GSPro league play later and the man was hooked.
To get the garage golf sim he wanted, he took down the door opener, added a a ductless mini-split A/C system for year round comfort, painted, ran cords in the ceiling and under the turf, and even layered grass over padding so the hitting area sat perfectly flush.
The big upgrade moment was moving to Carl's DIY Enclosure Kit to get the golf screen that goes all the way to the floor for max immersion instead of the cropped feel he had before.
The immersion is unreal and there is something about aiming at an actual fairway and putting at an actual flag that I can't put in words how cool it is doing it at home.
What’s in the Sim?
Design Idea:
From Golf Sim to Parking Spot in Minutes

Why This Garage Sim Works
Jay wanted a golf simulator that could live in his garage without permanently taking it over. In a two-car garage with 9’ ceilings and a center beam, he built a shorter, shallower DIY enclosure (10’W × 8’H × 4’D) that keeps shots safely contained while still being easy to move out of the way. The netted walls do their job during play, then shift aside quickly when the space needs to be reclaimed.
Turf, a rug pad, and a Fiberbuilt hitting mat create a solid hitting area, while the GC3 launch monitor delivers accurate ball and club data with access to full courses and practice modes. A ceiling-mounted short-throw projector makes it easy to fill the screen with a large, clear image from close range.
When he’s done playing, he can clear enough space in just a few minutes to park a car - then it goes back together just as quickly for the next session.
What’s in the Sim?
Design Idea:
A Well Thought Out Golf Sim with a Raised Platform and Curtains
Why This Sim Works
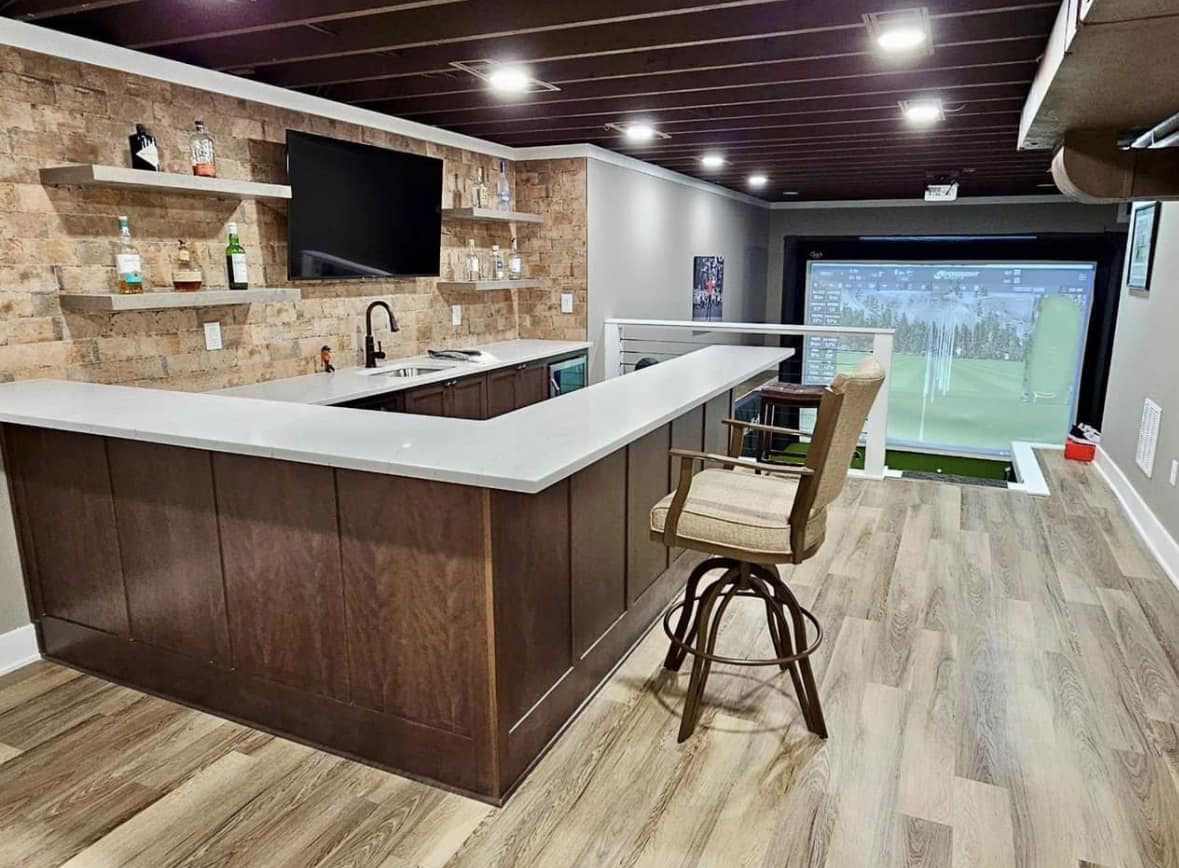
Bill’s golf sim setup in Michigan is a great example of how a shallow enclosure can still feel immersive when the rest of the space is thought through. His enclosure measures 123.7"H x 155.4"W x 18"D, with ceiling mounted curtains extending the hitting area for safe swings.
For the hitting zone, they built a low raised platform, wrapped it in turf and inset Carl's Hotshot Insert Strip.
They’re hitting into a Premium Impact Screen, and using a BenQ TK710STi 4K projector to fill the screen with a sharp, bright image that feels like real golf. Plus, the side monitors keep shot data, stats, and the Detroit Lions game in view. It’s a setup built for real use, real practice, and long winter sessions that don’t feel like winter at all.
What’s in the Sim?
Design Idea:
Golf Simulator in a Shipping Container
Instead of building a new structure from scratch, some golfers convert a shipping container into an all-weather golf bay. The footprint is fixed, but the vibe is unique. “High cube” containers are around 9.5' tall - enough for many golfers, but measure carefully. Most containers are about 8' wide, so they work best for single-sided hitting (all righties or all lefties). Pair a container with a DIY or Pro enclosure sized to the usable interior dimensions.
Got a picture of how you used Carl's Place to put a golf simulator in a shipping container? Share it with us!
Golf Simulator Sheds
Whether you build a dedicated golf shed or reclaim an existing outbuilding, a shed simulator keeps the mess and noise completely separate from the house. Aim for ~14' width so right- and left-handed golfers can both play comfortably. Plan for 18'+ depth (screen offset + ball flight + swing space). Don’t forget heat, power, and maybe a mini-fridge. Check out this full guide to turning a shed into a golf simulator.

Design Idea:
Home Addition or Over-Garage Golf Room
One of the most unique projects our Custom Design team has worked on was a luxury simulator room added on top of an existing home.
Naturally, not everyone will go this big, but if you’re planning an addition anyway, designing it around a golf simulator can be surprisingly efficient. Even smaller additions - like bumping out a first-floor room or enclosing part of a porch - can create simulator-friendly dimensions without rebuilding the whole house.
This project is one of many our expert designers planned out. If you've got a tricky space or just like the visuals, we can help you see it, size it, and plan all the products for it with our Design Services.
Design Idea: Add a 'Heckler Zone'
A lot of the best simulator rooms include a Heckler Zone. This is a spot off to the side or just behind the hitting area where friends can hang out, talk trash, check stats, or watch the game without standing in the swing path. It makes the room feel more social and gives the simulator a purpose beyond just hitting balls.
Home golf simulators can be as simple or as dialed as you want them to be. Some are built for quick practice sessions, others are full hangout spaces that double as movie rooms or game-day spots. The common thread is using the space you have and designing it around how you actually plan to use it.
Need More Inspiration for Golf Simulator Rooms?
We keep a Pinterest board full of golf simulator rooms that made us stop scrolling. Some are clean, some are scrappy, all of them solved a space problem in an interesting way.
Browse for ideas, pin what clicks, and borrow what makes sense for your room.

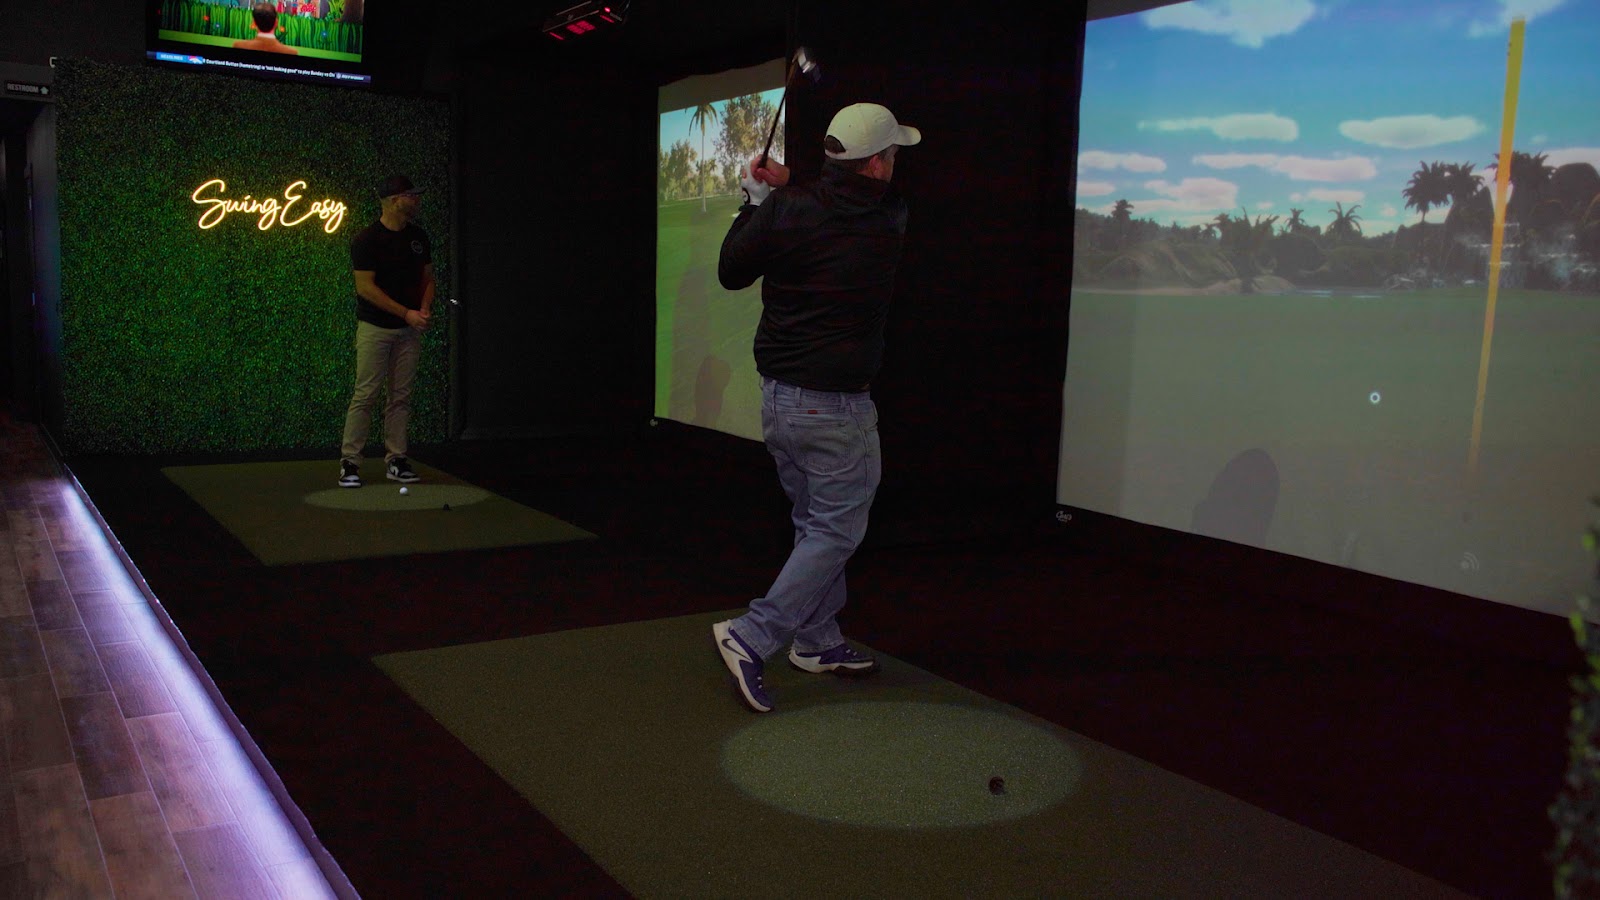
Let's shift gears to commercial golf simulator spaces. The commercial indoor golf world is booming, but there’s no single right way to do it. Some spaces start with one simulator added to an existing business. Others are built from the ground up as multi bay golf lounges. Clubhouses, bars, universities, training facilities, offices, even apartment buildings all approach simulators a little differently.
What they have in common is this: smart planning around space, traffic flow, durability, and how people actually use the bays.
Below are real commercial golf simulator setups built with Carl’s Place solutions. These examples are meant to help you visualize what’s possible, whether you’re exploring ideas, validating a concept, or getting closer to a build.
Considering an Indoor Golf Business?
If you’re thinking about opening an indoor golf business, the good news is you don’t need to have everything figured out on day one. Many successful spaces start small, test demand, and grow from there. We work with customers at every stage, from starting to explore product options to planning layouts and bay counts. Because every building is different, our enclosures are made to order and sized to your measurements. That flexibility helps avoid common issues like cramped swing areas, awkward walkways, or wasted space.
 A Proven Example: Slice Golf
Slice Golf is a great example of how smart layout decisions and the right enclosure choice can turn even a challenging space into a successful multi bay operation. Their space had a shallower depth than ideal, but instead of scaling back the experience, they leaned into it. “We picked out the biggest enclosure possible that we could fit in here,” they shared. The result is a setup that still feels immersive and plays well, even within tighter constraints and one that customers continue to love.
They built their facility using Carl’s Pro Enclosures with the 2" EMT frame, which makes it easy to mount projectors, launch monitors, and cameras directly to the structure. It’s a practical, durable approach that keeps equipment secure, the floor clear, and the bays ready for heavy daily use. Read the full story.
Other great spots to consider adding a commercial golf simulator:
- Golf Course Clubhouse Adding simulators to a clubhouse keeps members engaged year-round and opens up new revenue in the offseason. Courses use them for winter leagues, lessons, fittings, and events. See how The 1912 Club uses simulators to stay relevant in winter.
-
Offices From manufacturing offices to dental practices, golf simulators show up in more workplaces every year. Used well, they can boost morale and even productivity instead of becoming a distraction. How one company used a simulator to improve morale and recruiting.
-
Bar or restaurant Replace under-used pool tables or arcade corners with a golf bay. Guests come for the golf, stay for the food and drinks, and your slow nights suddenly have something special going on. How bars and restaurants are using simulators to pull in customers
- Schools, universities, and practice facilities High schools and colleges use simulators to build serious indoor practice facilities, often turning old gyms or storage areas into multi-bay training centers. Golf simulators helping college and high school teams
- Apartment and condo amenities Golf simulators are becoming a must-have amenity in higher-end apartment and condo buildings. Residents get a year-round practice space without needing their own yard or garage. Why simulators are the new “wow” feature in multi-family housing

So Much Inspiration. Now, turn it into a real-world plan.
Every setup on this page started with a space, an idea, and a few smart decisions. Some are polished. Some are practical. All of them work because they were built around how the golfer actually plays.
Take what stood out to you. Ignore what didn’t. When you’re ready, start turning those ideas into a setup that fits your space and your game.
Ready now? Carl's Build Your Own Golf Simulator tool helps you walk through all things you need for your golf simulator room
Search articles by tag:
Golf SimulatorsRelated Posts
.jpg)
How-To, DIY Golf Enclosures, Golf Simulators
Garage Golf Simulator: An Easy DIY Setup
Golf Impact Screens, DIY Golf Enclosures, Golf Simulators, PRO Golf Enclosures
How to Build a Basement Golf Simulator - Real Home Setups
How-To, DIY Golf Enclosures, Golf Simulators, Resources, PRO Golf Enclosures, Golf Enclosures
How To Get Ready for a Golf Simulator Consult