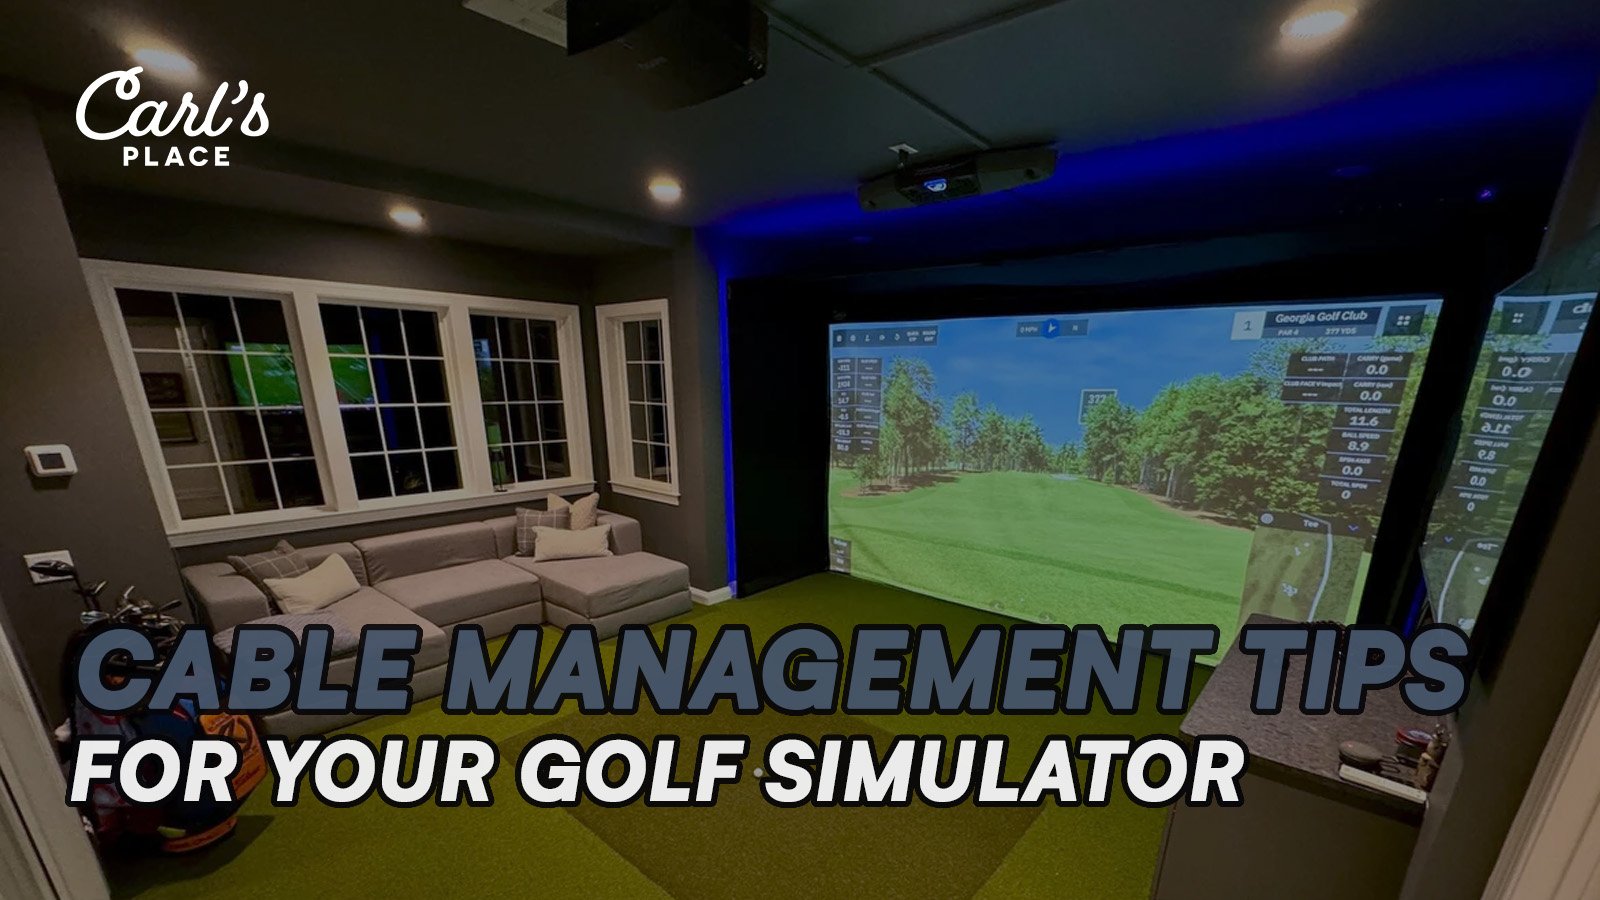
Whether you're building a dream home golf simulator or installing one in a retail or commercial space, one of the most overlooked parts of your setup is cable management. Trust us, nothing throws off a clean, immersive simulator space like a bunch of wires dangling in your sightline or getting caught on equipment. Especially if you’re using an overhead launch monitor or mounted enclosure lighting, you’ll want a plan for keeping things tidy and safe.
Let’s break down some of the smartest and safest ways to manage those cables based on your build stage and simulator configuration.
1. Plan Ahead with Conduit or a Wiring Chase for Clean Golf Simulator Cable Management
If you're in the construction or remodeling phase, now’s the time to plan ahead. Run a conduit, also called a wiring chase, behind the drywall or along the ceiling. This gives you a hidden path for cables to reach the enclosure from overhead-mounted devices like launch monitors, cameras, or lighting. No exposed wires, no headaches later. This option works best if you’re building out a simulator room and want a clean, professional finish that hides everything behind the walls.
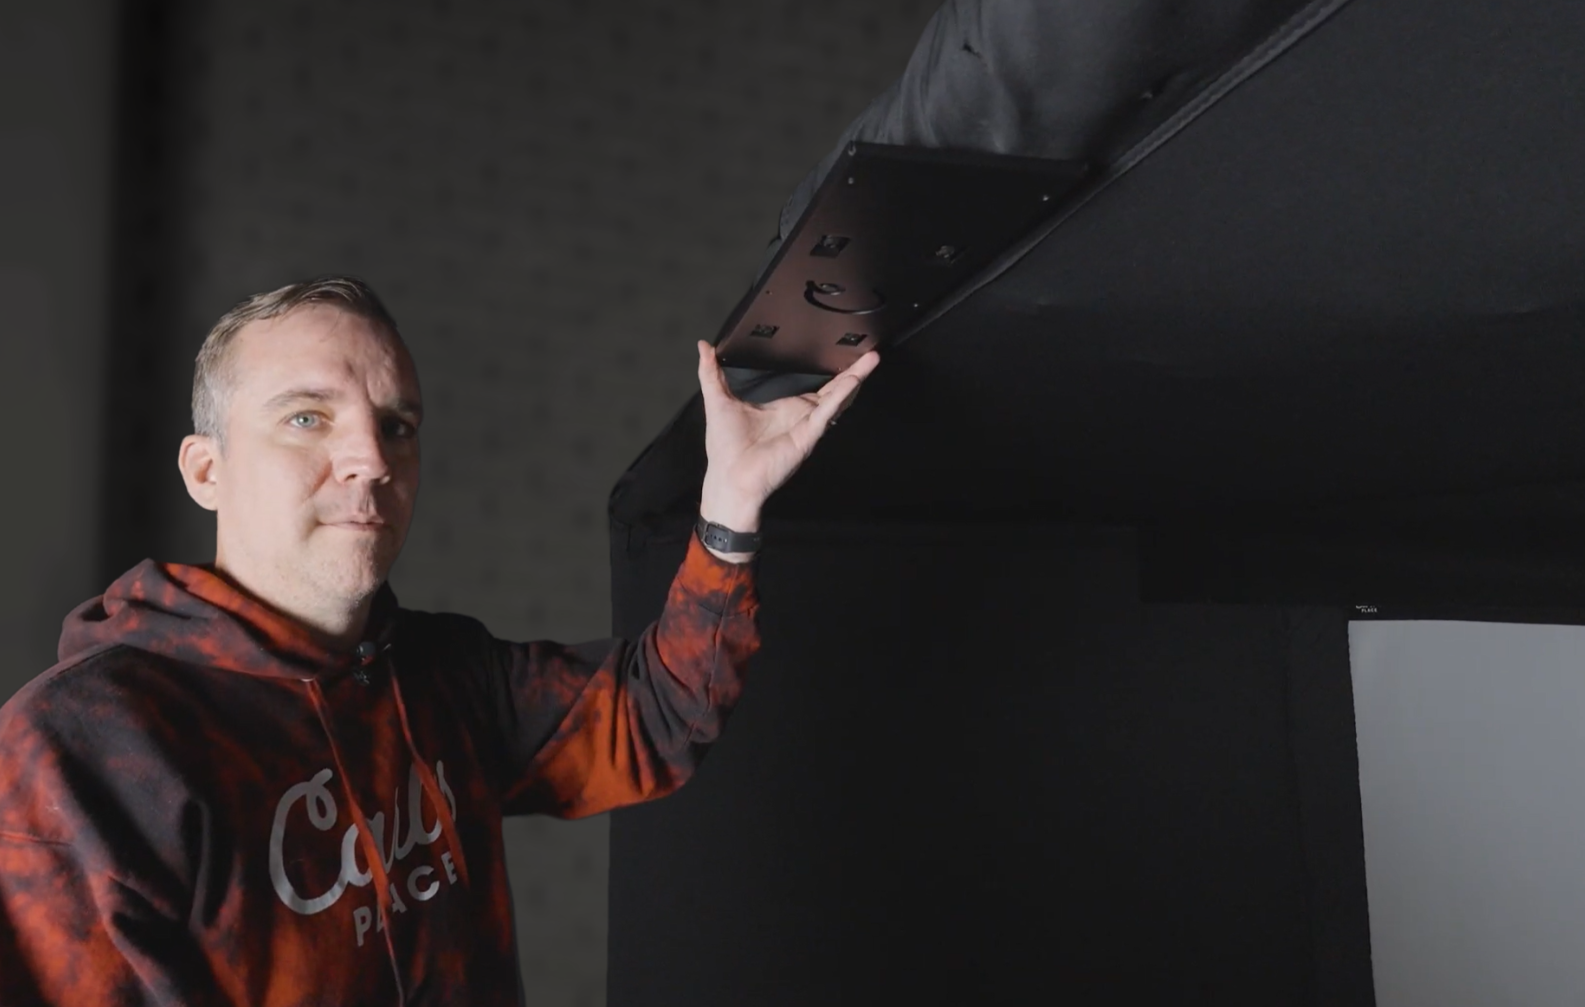
2. Use the Flap on the Front Crossbar of Carl's Pro Enclosure
If you're mounting electronics to Carl’s Place Pro Enclosure, the front bar has a fabric flap that can help hide some of the mess. Run cords along the frame, tuck them under the flap, and secure them as needed using hook-and-loop straps or zip ties. This method keeps everything accessible but visually tucked away. It’s quick, easy, and doesn't require drilling or additional hardware.
3. Zip Tie Cords to the Crossbar of Carl's Pro Enclosure
For users with Carl's standalone crossbar system, there's a simple and clean way to manage cords. Zip tie them behind the crossbar pipe itself, and use the included sleeve to cover and hide the cords.
Note: this method requires the crossbar sleeve that has hook and loop fasteners running the length of the sleeve. First iterations of the sleeve were fully sewn where this will not be achievable.
The crossbar sits close to the ceiling and is the perfect anchor point for cords running to overhead launch monitors, cameras, or lights. Just avoid over-tightening zip ties, and make sure to leave a little slack where movement or disconnection might be needed.
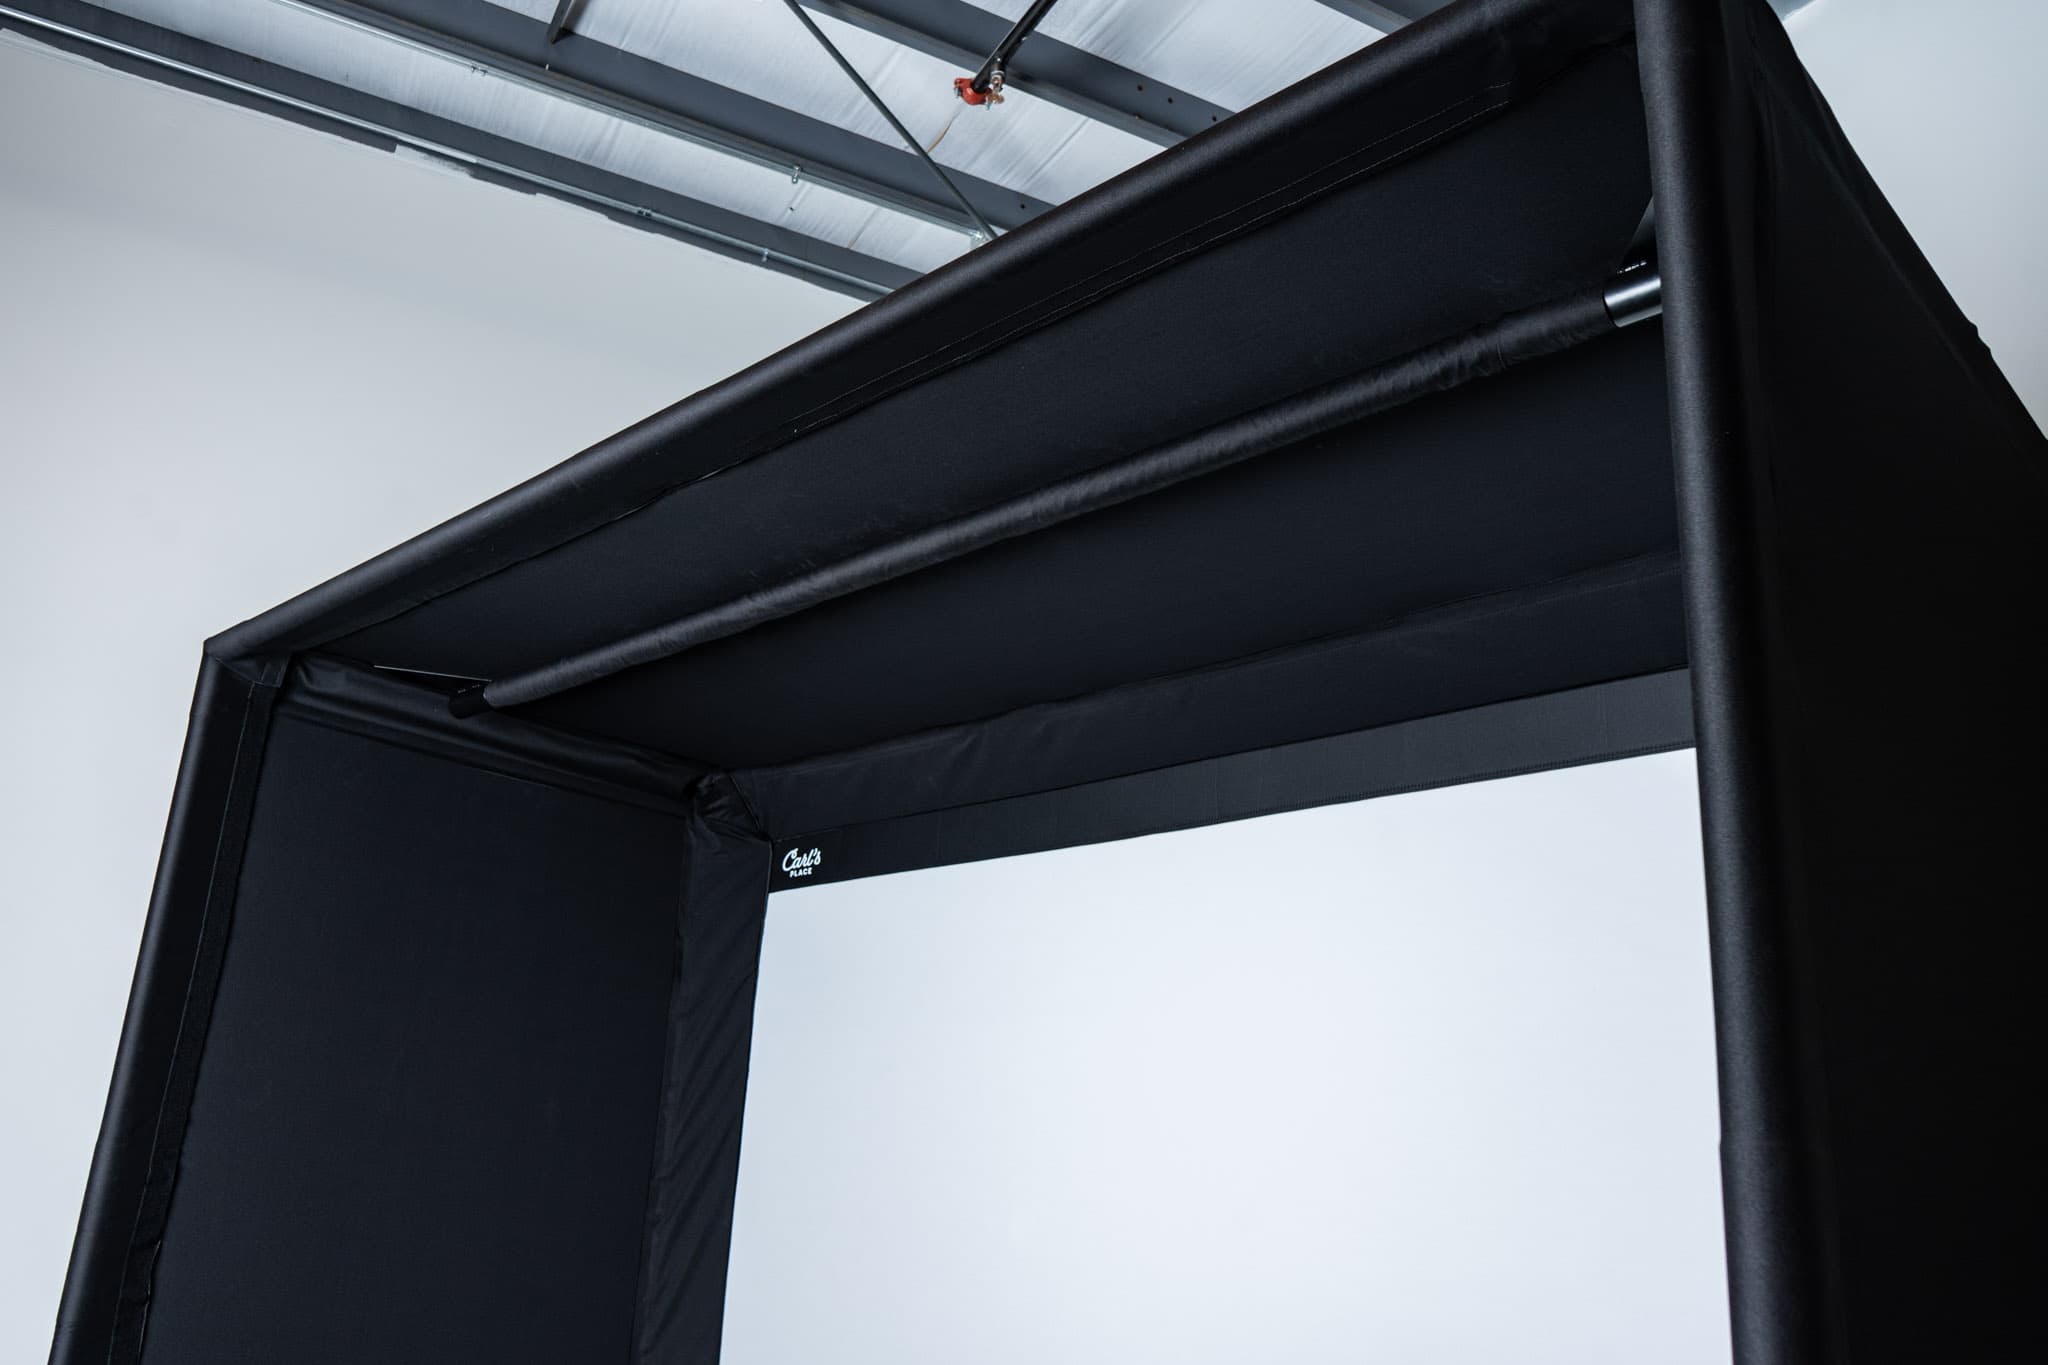
Another Note: You can add the sleeve first and then open it back up to add the wiring, but we've found it easier to run the cables first, attach them with zip ties, then add the sleeve. After that you would add the launch monitor mount last so it's installed over the sleeve.
What Not to Do
We’ve seen a few creative cable runs in our day, but here are some things to avoid:
-
Do not cut holes in the enclosure fabric (even small ones).
Note: a couple of Carl's accessories will instruct you to cut a hole in enclosure fabric. This is always in a strategic place where the risk of the hole pulling and expanding is low. -
Do not leave cords hanging loosely from above where they can be snagged or pulled.
-
Do not run cords near moving parts or impact zones like the hitting area.
A Cleaner Setup Is a Better Setup
Cable management might not be the most exciting part of setting up your simulator, but it’s worth the effort. Clean lines, safely routed cords, and thoughtful planning not only make your space look more professional. They help protect your gear and reduce the risk of accidents or snags.
If you're unsure which solution works best for your setup, reach out to us at Carl’s Place or ask us in the comments.
We’ve helped thousands of customers dial in everything from basement builds to full retail bays, and we’ve probably seen your cable challenge before.
Search articles by tag:
Golf Simulators Post-PurchaseRelated Posts

Golf Simulators
Carl's Indoor Golf Tips
Golf Simulators, Trackman
Trackman Golf Simulator: Your Indoor Setup Guide

Golf Simulators
Golf Simulators Help Golf Course Transform Banquet Hall