Looking to set up your Uneekor launch monitor for multiple hitting zones? Carl's got you covered.

Calibrating properly and setting up multiple hitting areas on your Uneekor EYE XO or QED are important steps not only in the initial setup process, but also in troubleshooting when your data seems to be a little bit off in your golf simulator.
If you own or are looking to purchase a Uneekor launch monitor, below are directions on how to calibrate the unit, plus some hidden tips and tricks to maximize the potential of your unit. But before purchasing, make sure your room is the proper size for a Uneekor launch monitor.
If you correctly calibrate your Uneekor EYE XO, it will provide data within 3.25% of real range finder numbers!
HOW TO CALIBRATE YOUR UNEEKOR EYE XO

In order to calibrate your Uneekor EYE XO, you’ll want to make sure you’ve completed the hardware and software installation first. The unit should be mounted 3.5 feet in front of your hitting area and between 9-10 feet above the hitting area.
To calibrate the Uneekor EYE XO you’ll need:
- Calibration chart
- Some form of level
- EYEXO_Tool.exe software
Open the EYEXO_Tool.exe application on your computer that was installed in your EyeXO Sensor folder on your (C:) drive.
Carl’s Tip: Once you have it opened, be sure to pin it to your dock for easy access in the future. Right click on the app thumbnail in the dock and choose “pin to taskbar.”
If the EYEXO_Tool.exe file is not in the folder, that likely means that Windows Defender stopped the file from installing. You will need to check your Virus and Threat Protection settings in your Windows Security settings. Click on Protection History and then restore and allow the file to install.
Then go to exclusions and add the files EYEXO_Tool.exe and EYEXOCam.exe to the exclusion list.
Once you have the EYEXO_Tool.exe opened, you will see a window that looks like this:
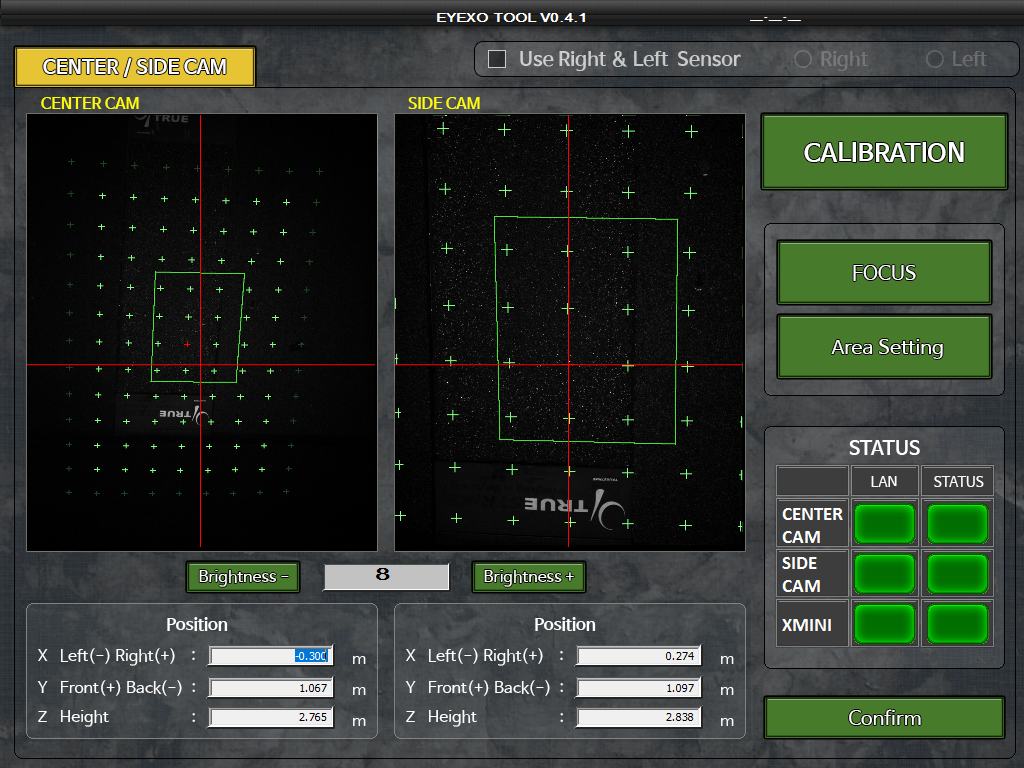
Make sure you can see the status boxes are green for “center cam,” “side cam,” and “XMini.” If they are not green, that means you likely did not set up the IP address properly.
Once all the statuses are green, then use the side cam feed and the calibration chart to calibrate your Uneekor EYE XO. Be sure the circle on the calibration chart is toward the back of the golf simulator enclosure and line it up with the red crosshairs on the camera feed.
Use your level on the calibration chart to make sure your hitting surface is level both front to back and side to side, and make sure the calibration chart is squared up with the golf hitting mat. Then click the calibration button.
After a few seconds, you should see “calibration success” come onto the screen. If not, then contact Uneekor at support@uneekor.com.
Click confirm and then move on to “area setting.”
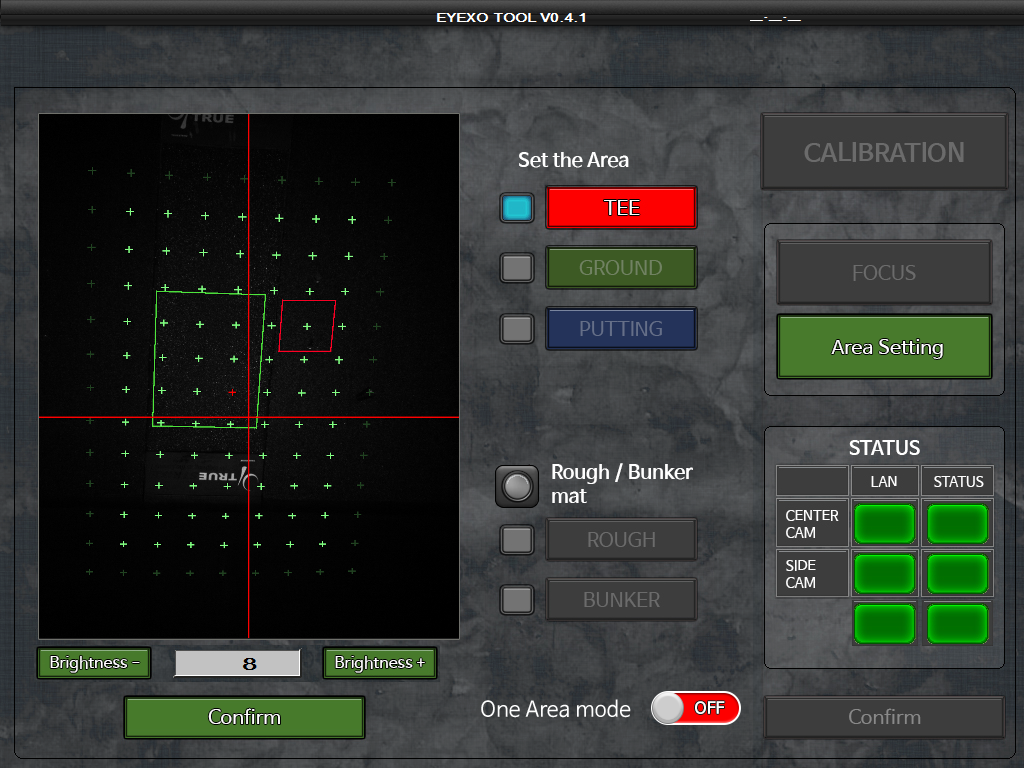
HOW TO GET MULTIPLE HITTING AREAS TO WORK ON EYE XO
In the “area setting” menu, Uneekor suggests to keep the “one area mode” option on. This means that you will hit all different types of shots from the one area that you have designated with the green box, which you can click and drag to move. The hitting area on a Uneekor EYE XO is about 12 inches by 15.5 inches.
However, one somewhat hidden, but important feature of the Uneekor calibration system is that you can set up a separate area for where you plan to hit your tee shots and putt, which is the difference between the green, red and blue rectangles. This is useful if your hitting mat has a designated iron hitting area with a separate driver hitting spot, such as a TrueStrike mat.
To set your tee area, toggle off “one area mode” and click on “tee” under “set the area.” Then you can click on the screen to the left and a smaller red box will appear to designate where you want your tee area to be. You can do the same thing for putting by clicking on “putting” under “set the area” and clicking to set the putting area.
Once you have that set, click “confirm,” and then “confirm” again on the main screen.
For more information, reference the EYE XO calibration guide.
HOW TO CALIBRATE YOUR UNEEKOR EYE XO2

Once you've completed hardware and software installation, be sure to have your calibration chart, a level and the EYEXO2_Tool.exe software handy.
Locate the C drive on your PC and click on the Uneekor folder. Then navigate through to device - launch monitor - EYEXO. In the EYEXO folder, find the EYEXO2_Calibration tool. Right click on it and choose "create a desktop shortcut" for quick access from your desktop, or pin it to your taskbar once you have it open.
NOTE: If you do not see the EYEXO2_Calibration tool, Windows Defender has likely quarantined the file. Find your Windows Security settings in Virus and Threat Protection, then click on Protection History where you can "restore" and "allow" the file. Then go into exclusions and add the files "EYEXO2_Calibration" and "EYEXOCam" to the list.
Once you have opened EYEXO2_Calibration, make sure the status boxes for Center Cam, Side Cam and XMINI are all green, and there is nothing else white on the screen other than the calibration board. If any status is red, that likely means you did not properly set up the IP address.
Place the calibration board in the hitting area with the arrow pointed toward your impact screen. Align the side of the board with the arrow with the horizontal red line on the Center Cam. Move the board left or right to make an equal gap between the edge of the board and the side of the camera.
 Confirm that the top of the calibration board is parallel to your impact screen, and that your hitting area is level. Click "Calibration." After a few seconds, you should see a "Calibration Success" pop up; click confirm.
If you click "Area Setting," you will be able to turn off "one area mode" to set up a tee and putting area, similar to the EYE XO. There is also an option to check on the "rough/bunker mat" area for use with Uneekor's "Trouble Mats." However, if you plan to hit all clubs from the same area, leave "One Area Mode" on and click confirm.
HOW TO CALIBRATE YOUR UNEEKOR QED

Calibrating the Uneekor QED is very similar to the EYE XO with just a couple slight differences.
As with the EYE XO, first complete your hardware and software installation. The QED unit should be mounted 3.5 feet behind your hitting area and between 9 and 10 feet above the hitting area.
Once you have the software installed, find the “Z3CAMSensor” folder in your Local Disk C: Drive. Then run the “Z3_CAM_TOOL” and pin that program to your taskbar for easy future reference.
-
On the lower right side, make sure the status for Center Cam, Side Cam and XMINI are all green. If not, contact Uneekor at support@uneekor.com.
-
Make sure the “center cam” and “side cam” are on, meaning you can part of your hitting mat or ground where you plan on hitting from (approximately 3.5 feet in front of the device). If you don’t see anything, check the firewall settings guide with the install link.
-
Place the calibration chart on the hitting area and check that the center line on the chart is straight on the center cam.
- Make sure your hitting mat is level, both front to back and left to right.
- Click the “calibration” button and let the system work on the calibration. If the calibration was successful, you will see a message that says “calibration success.” If it fails, contact Uneekor support.
- Check to make sure you have a grid of green dots on both cameras and then move on to “area setting.”
- In the area setting, you can move around your hitting area by clicking and dragging the green box. Otherwise, set separate tee and putting areas by turning “one area mode” off, selecting “tee” or “putting” under “set the area” and clicking on the camera to place your specified area. Click and drag it until you place it where you want it.
- Click the confirm button, and then click the confirm button again and you should be ready to use your QED golf simulator!
For more information, reference the Uneekor QED calibration guide.
HOW TO CALIBRATE YOUR UNEEKOR EYE MINI
Coming Soon!

Search articles by tag:
Launch Monitors UneekorRelated Posts
Golf Simulators, Launch Monitors, Uneekor
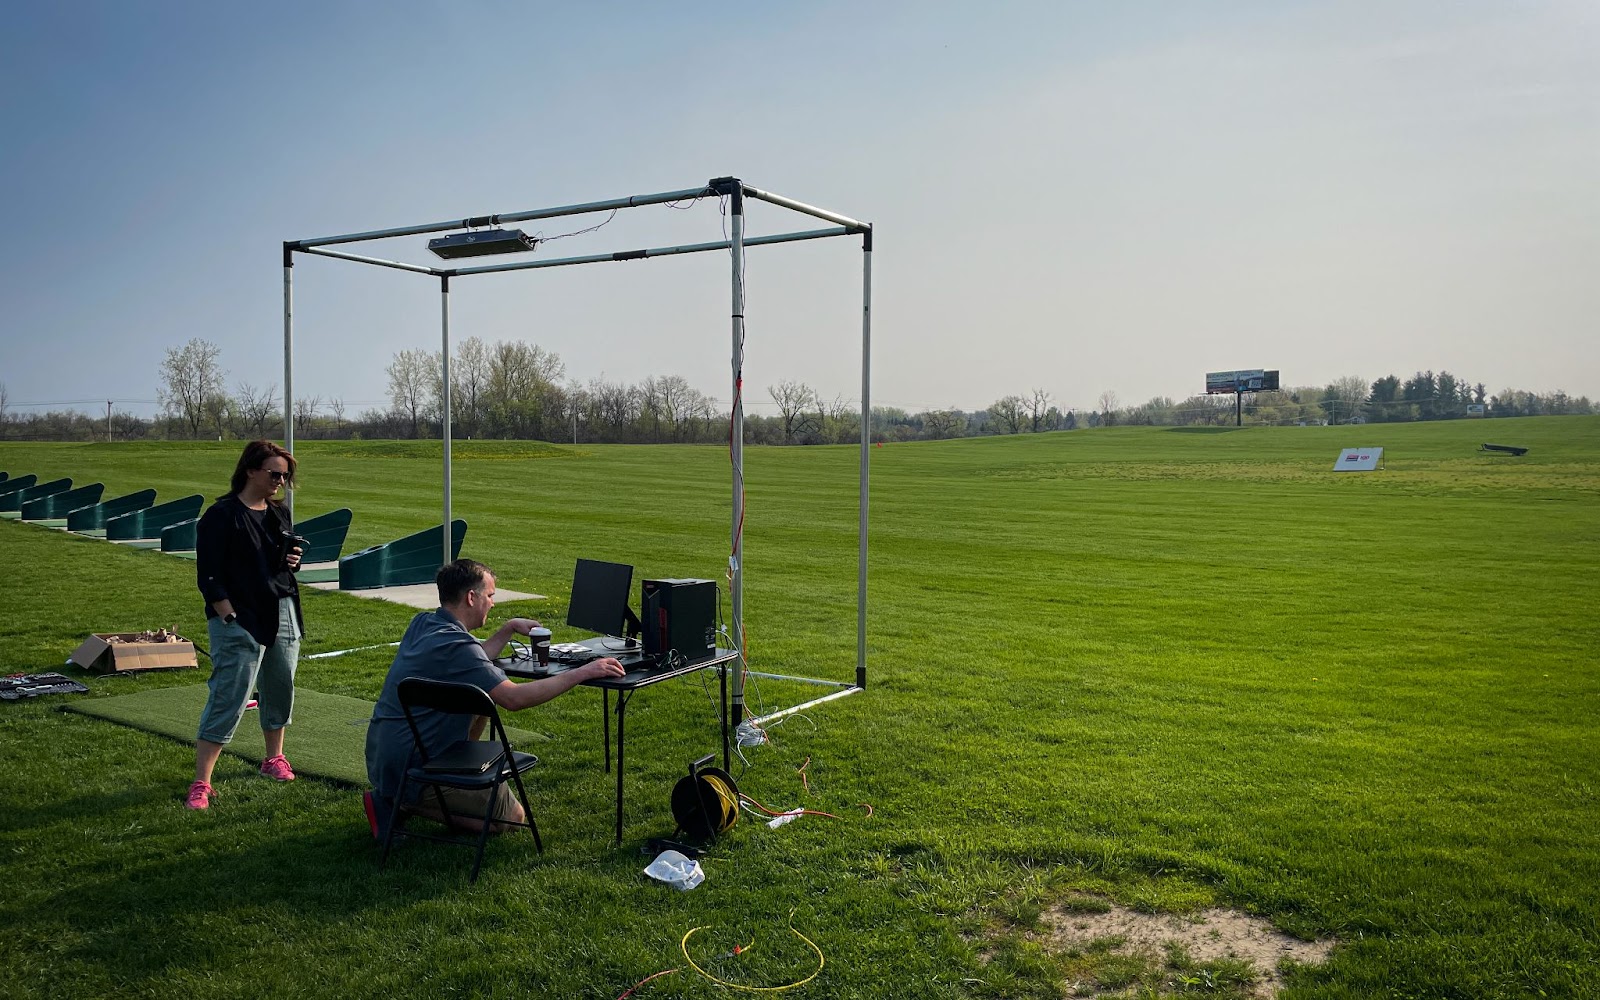
Carl's Place Tests Uneekor EYE XO Outdoors
Launch Monitors, Uneekor, NVISAGE
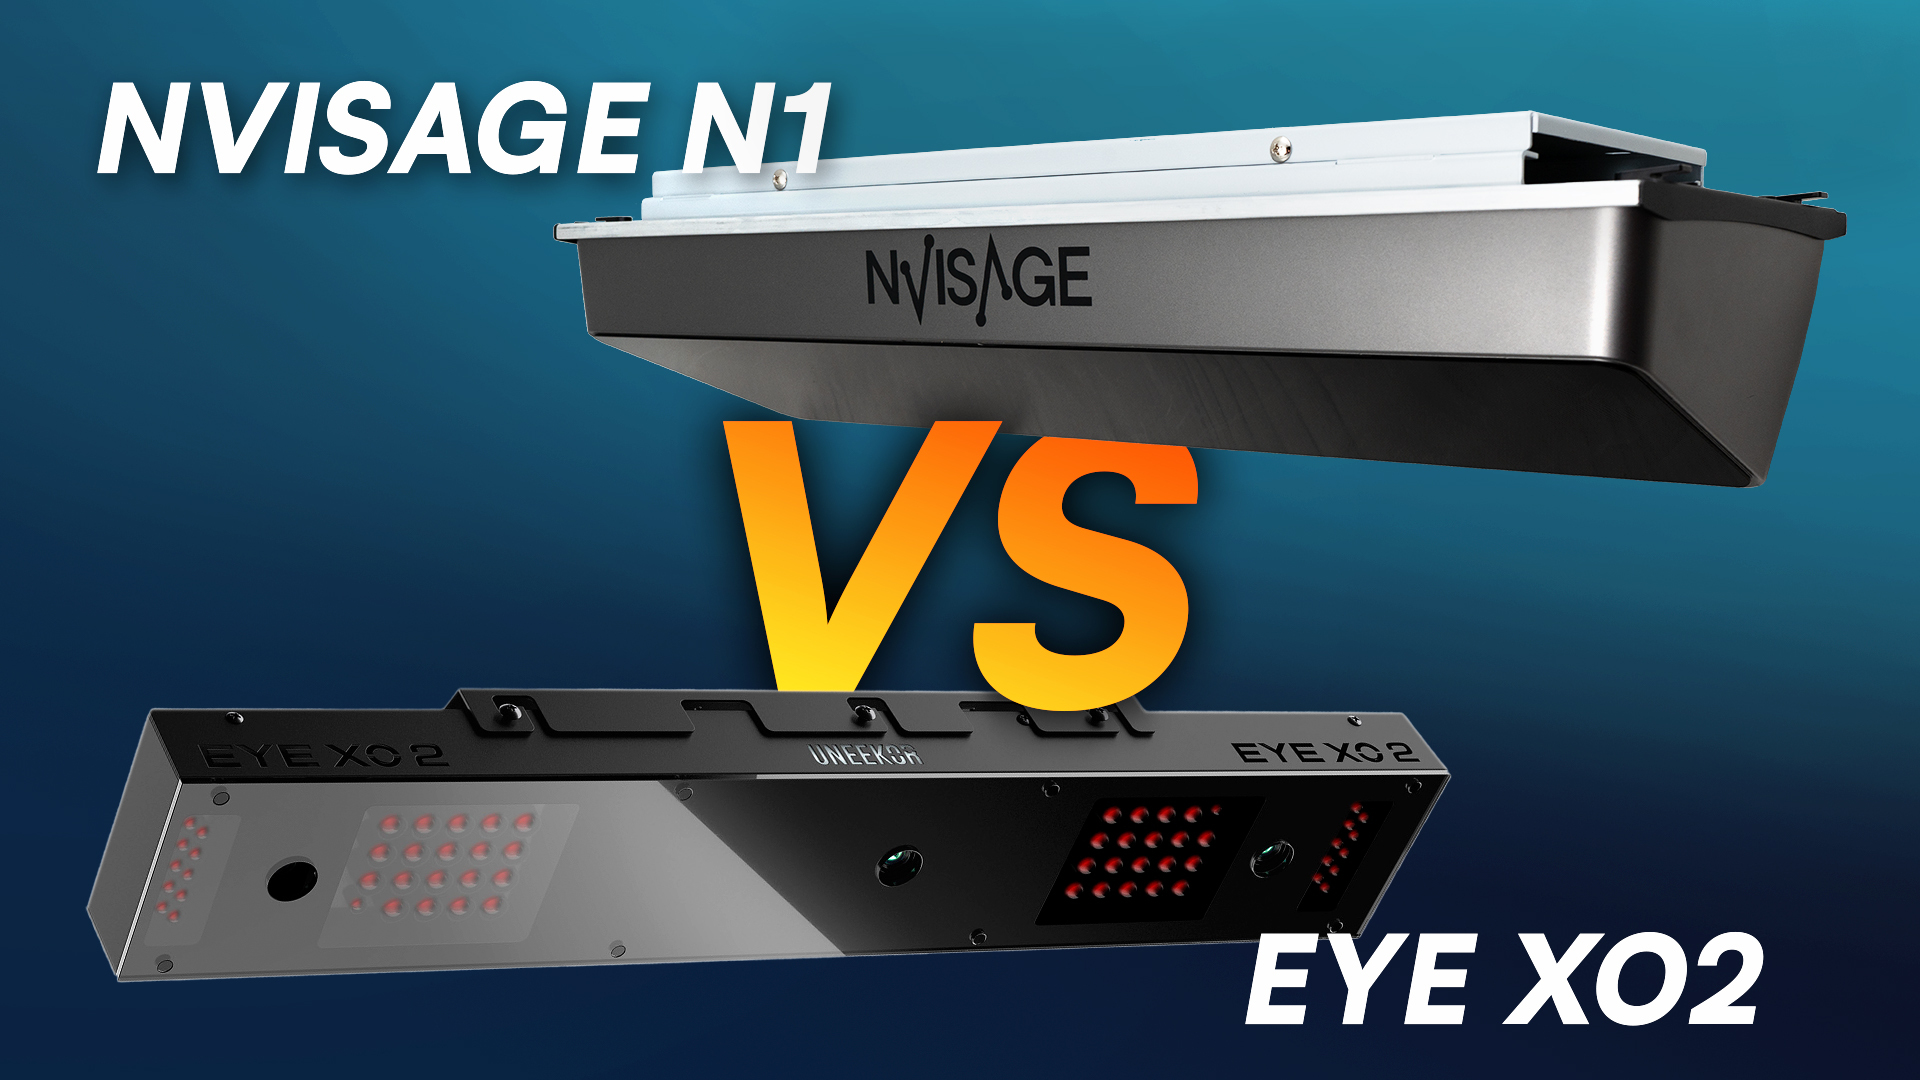
NVISAGE N1 vs. Uneekor EYE XO2 Accuracy Test

Launch Monitors, Uneekor
Uneekor EYE MINI Review