The keys to placing a projector in a golf simulator are pretty simple: make sure it fills your screen, and make sure it stays out of danger.

Between room size, ceiling height, throw distance, shadows, swing paths, and the occasional wildly unpredictable golf shot, projector placement can turn into one of the most stressful parts of the build. It’s right up there with choosing a projector in the first place …or deciding where to eat with your significant other.
We can’t help you with dinner plans, but we can help you avoid mounting your projector in a spot that puts it at risk (or makes your sim harder to enjoy).
Below are the main projector placement options, what works well with each, and what to watch out for.
WHAT ACTUALLY MATTERS BEFORE YOU MOUNT ANYTHING
Before deciding where to mount your projector in a golf simulator, there are a few fundamentals that make every setup smoother:
- Your projector should be able to fill the screen cleanly. There's additional considerations here and compromises you may have to make depending on your aspect ratio, but overall, most setups can achieve this.
- Your projector needs to be safe. A shanked shot feels bad. A shanked shot that breaks your projector feels worse.
- Your projector needs to avoid shadows. Seeing your own head or club on the screen kills immersion fast.
- Your projector needs to work with your room. Ceiling height, room depth, and where you actually stand to hit all matter.
If you know your projector’s throw distance and your screen size, a throw distance calculator can show you where the projector should go. The real challenge is choosing the best place it can go in your space.
OVERHEAD MOUNTED PROJECTORS
CEILING
Mounting a projector on the ceiling is one of the most popular options for a reason.
Why people like it:
- Keeps the projector out of the swing zone
- Reduces the chance of ball impact
- Clears floor space
- Looks clean and permanent

Ideally, a ceiling-mounted projector sits directly behind the golfer, high enough that the backswing and follow-through never come close to it. Even if it’s technically “out of the way,” if it feels close, it can mess with a golfer’s confidence and change how they swing.
One big advantage of ceiling mounting behind the golfer is that the ball almost never reaches that area. If safety is your top priority, ceiling mounting is one of the safest placements.
FRAME
Frame mounting works similarly to ceiling mounting, but instead of drilling into your ceiling, the projector attaches to the enclosure frame.
 This is a great option when:
- Your ceilings are very high
- You can’t drill into the ceiling
- You want a cleaner, enclosure-based install
- You are using an enclosure that can hold heavy electronics
All the same placement rules apply: keep it behind the golfer, out of the swing path, and positioned to fill the screen without creating shadows.
Frame mounting also makes it easier to adjust or move the projector later, which is nice if you’re still dialing in your setup.
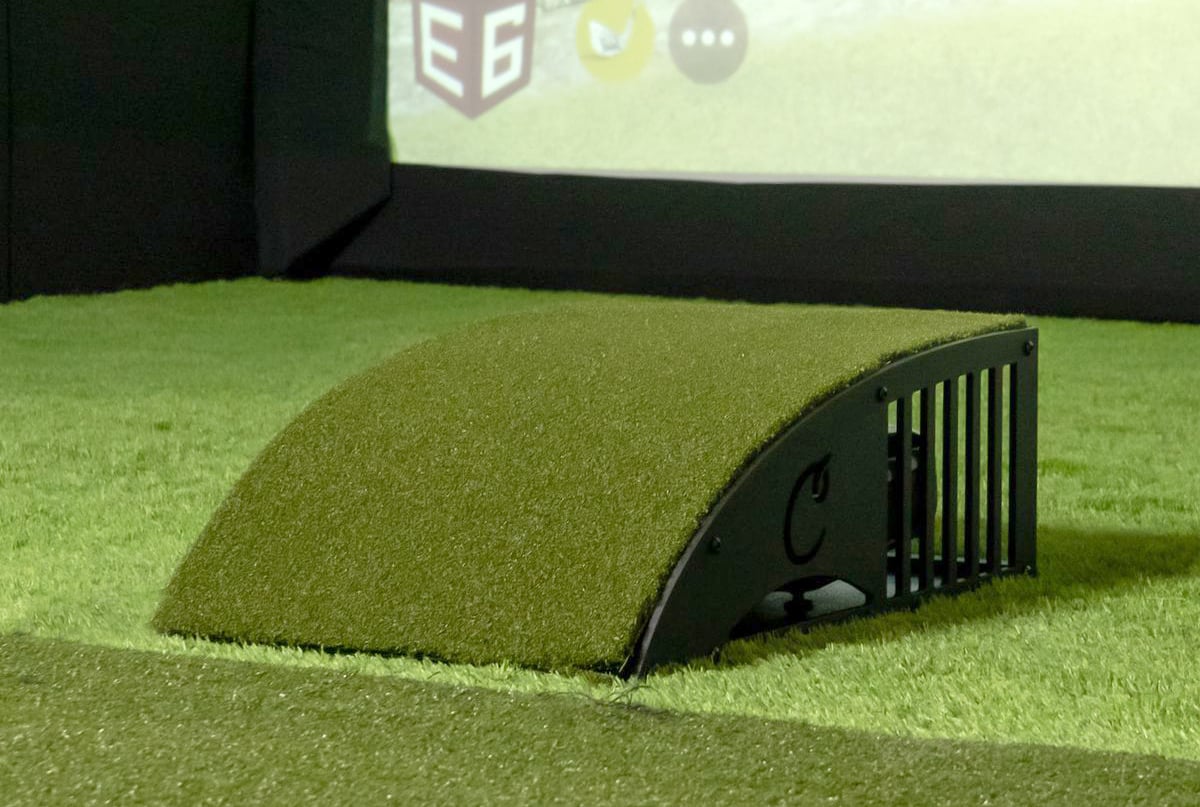
FLOOR MOUNTED
Floor mounting can work, but it comes with a few extra risks.
If you floor mount a projector behind the golfer, you’ll almost always get shadows. So most floor-mounted setups place the projector in front of the golfer, closer to the screen.
That solves the shadow problem, but introduces a new one: ball impact risk. Even good shots can rebound off the impact screen. Miss-hits can go anywhere. That’s why a protective enclosure is basically a must for floor-mounted projectors.

Pros of floor mounting:
- Easier to adjust
- No drilling required
- Can work well in tight spaces
Cons:
- Higher risk of ball or club damage
- Can get in the way when retrieving balls
- Requires short-throw or ultra short-throw projectors
If you’re using a short-throw projector and have limited room depth, floor mounting can be a practical solution, just make sure the projector is protected.
TABLE/CART
Technically, you can place a projector on a table or rolling cart. Realistically, you probably shouldn’t in a golf simulator.
Tables and carts:
- Take up valuable space
- Increase the chance of shadows
- Can get bumped or moved
- Rarely look clean or permanent
If it’s your only option, it can work, especially in temporary or multi-use spaces, but most golfers end up switching to a mounted solution later.
HOW TO DECIDE WHERE YOUR PROJECTOR SHOULD GO
Here’s a simple decision flow that works for most setups:
STEP 1: USE A THROW DISTANCE CALCULATOR
Plug in your projector model and screen size to see the ideal distance. Here's our calculator.
STEP 2: COMPARE THAT DISTANCE TO YOUR HITTING POSITION
- If the projector needs to be in front of the tee: floor mount + protection.
- If it needs to be above the tee: ceiling or frame mount.
- If it needs to be behind the tee: ceiling mounting is usually best.
STEP 3: CHECK FOR SHADOWS
If you see your head or club on the screen during practice swings, the projector is too low, too close, or in the wrong spot.
STEP 4: MAKE SAFETY THE TIE-BREAKER
When in doubt, choose the placement that keeps the projector farthest from clubs and balls.
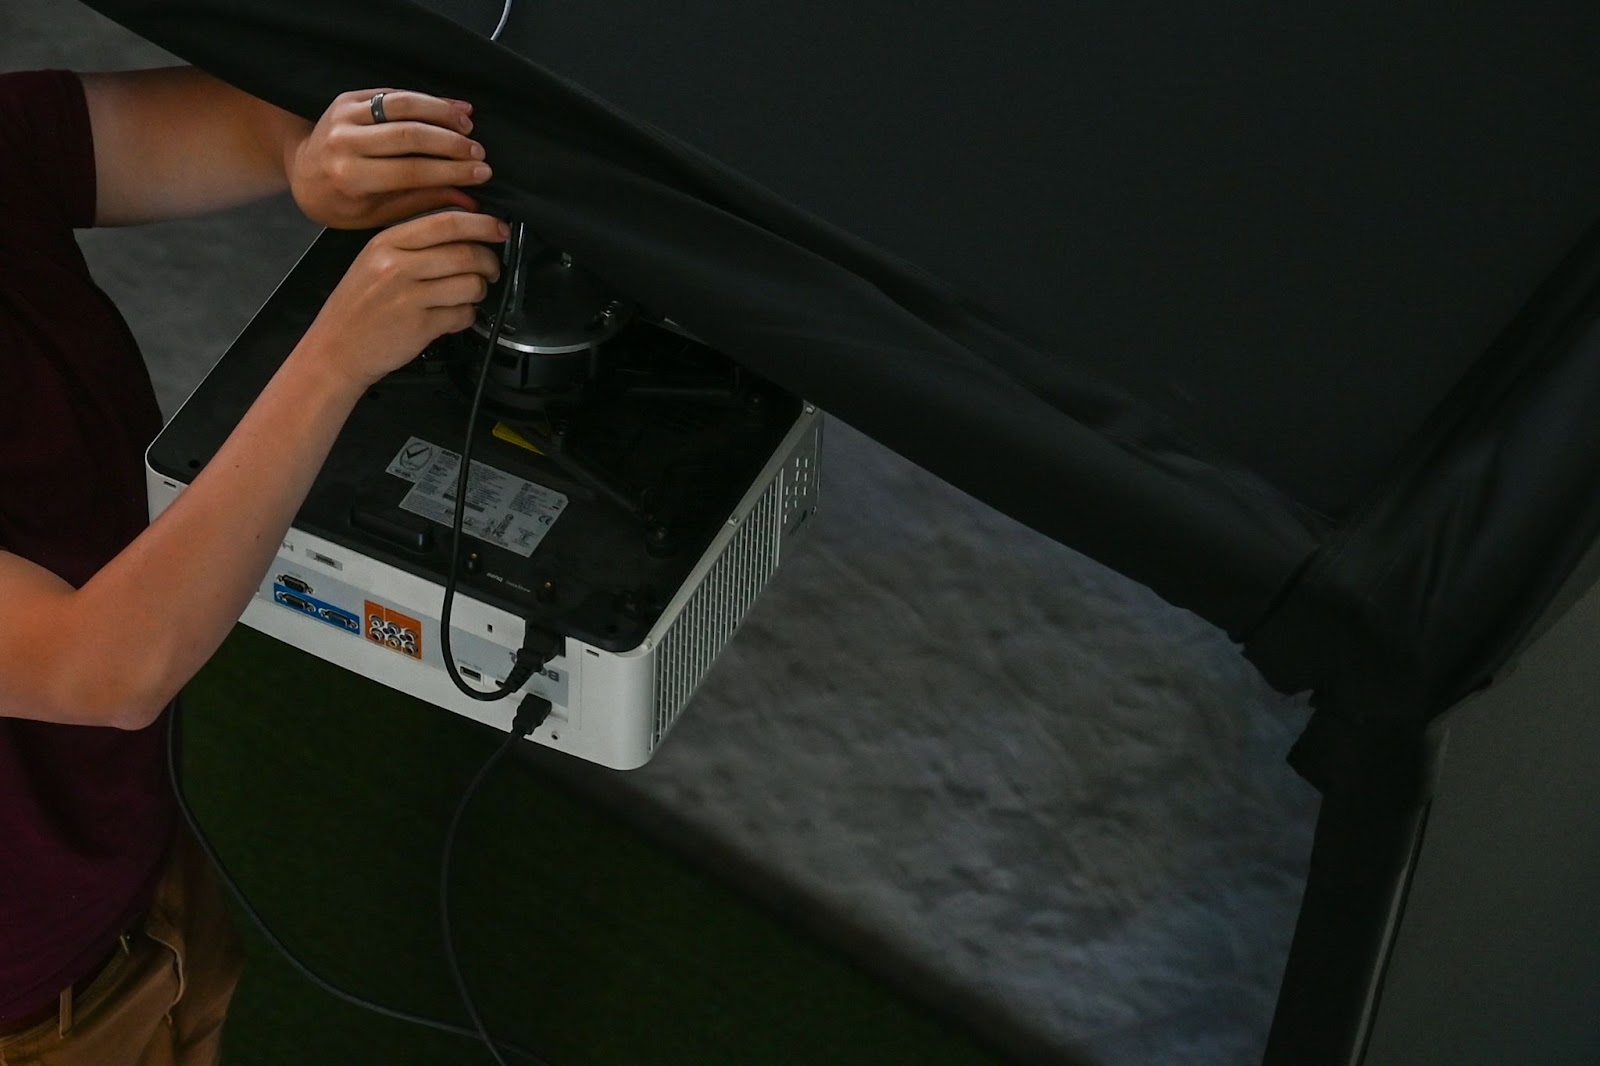
HOW TO SET UP YOUR GOLF SIMULATOR PROJECTOR
Once you know the right general location for your golf simulator projector, setup is mostly about alignment and sizing.
Start by powering it on and using the default image:
- Move the projector closer or farther until the image fills the height of your screen (it helps to hold the projector over the top of your head if ceiling-mounting). Once the top and bottom of the projected image touch the top and bottom of your impact screen, stop. This is the distance from the screen you will want to place or mount your projector.
- Adjust left/right positioning so the image is centered
- Fine-tune the shape so the edges line up cleanly
It’s usually easier to shrink an image than it is to stretch one. That’s why many people choose a projector based on screen height first, then adjust width afterward using resolution settings.
ADJUSTING THE IMAGE WITHOUT MAKING IT LOOK WEIRD
Sometimes your projector can’t be perfectly centered or level. That’s where image adjustment tools come in. Most projectors offer two main ways to correct alignment:
KEYSTONE CORRECTION
Keystone digitally reshapes the image if the projector is angled. It’s useful for quick adjustments, but heavy correction can slightly soften the picture.
LENS SHIFT (IF AVAILABLE)
Lens shift physically moves the image using the projector’s optics, letting you adjust image position without distorting it.
In general: use physical placement first, use lens shift if you have it, and use keystone for fine-tuning. The less digital correction you need, the better your image will look.
Read more about setting up a projector.
CONNECTING YOUR PROJECTOR TO YOUR COMPUTER
Once the projector is aligned, we need to get the computer settings right.
- Set the display resolution on your computer to match your projector’s capability.
- On a Windows device, right-click on your desktop and click on “display settings.” Under display resolution, you will have a multitude of options; the idea here is to keep the second number the same as what your projector is capable of. If you have a 1080p projector, you will want the second number in the resolution settings to stay at 1080, and then the first number would become smaller to shrink the image’s width down. Say you purchase a 1080p projector and a 10-foot-wide-by-8-foot-tall screen, here is an example using simple math. The aspect ratio (or fraction) of that screen would be 10:8. So you could set up a math equation of 10/8 = x/1080. Simplify that equation down to 10*1080/8 = x. Then x ends up being 1350, so in your resolution settings, you would look for the number closest to 1350×1080. Woah, math is hard. Now, if you don’t see a number close to what you’re looking for, you might have to set up a custom resolution or you might need to match up your projector’s capabilities and screen size better.
- If you are using an Apple computer, you can find the resolution settings in system preferences and then click on “displays.”
- Keep the refresh rate as high as possible. If you notice any glitches in the projected image, you might need to lower the refresh rate or change the resolution settings in your golf simulator software.
- Use HDMI (or a compatible cable) to connect it to your computer. Most projectors will come with an HDMI (or other visual) cable. Double-check that your projector and computer have the same ports for said cable. After finalizing your projector setting and image, connect the visual cable from the projector to the computer; this is how you will get the computer image to project onto your screen.
MOUNTING YOUR GOLF SIMULATOR PROJECTOR
Projectors are heavier than they look. Make sure to use proper mounting gear. A shaky projector doesn’t just look bad, it makes the whole setup feel cheap.
COMMON MISTAKES TO AVOID WHEN MOUNTING YOUR GOLF SIM PROJECTOR
- Mounting too low: leads to shadows and distraction.
- Mounting too close to the swing path: even if it’s “technically” safe, it messes with confidence.
- Ignoring throw distance before drilling: nothing hurts more than drilling twice.
- Skipping protection for floor-mounted projectors: eventually, something will hit it.
- Overusing digital correction: it fixes shape, not image quality.
PROJECTOR MOUNTING WRAP-UP
There isn’t one perfect mounting solution for every golf simulator. But there is a best solution for your room.
If you can mount overhead, do it. If you need to floor mount, protect it. The goal is simple: keep your projector safe, your screen filled, and your swing uninterrupted.
When your setup feels natural and worry-free, you’ll enjoy the simulator more. — and probably play better, too.
Use a throw distance calculator, test with the projector powered on, and trust what your eyes (and swing) are telling you.
Search articles by tag:
Golf Simulators ProjectorsRelated Posts
Golf Simulators, Projectors
Carl’s Place Floor Mounted Projector Enclosure for Golf Simulators
Golf Impact Screens, Golf Simulators, Resources, Projectors
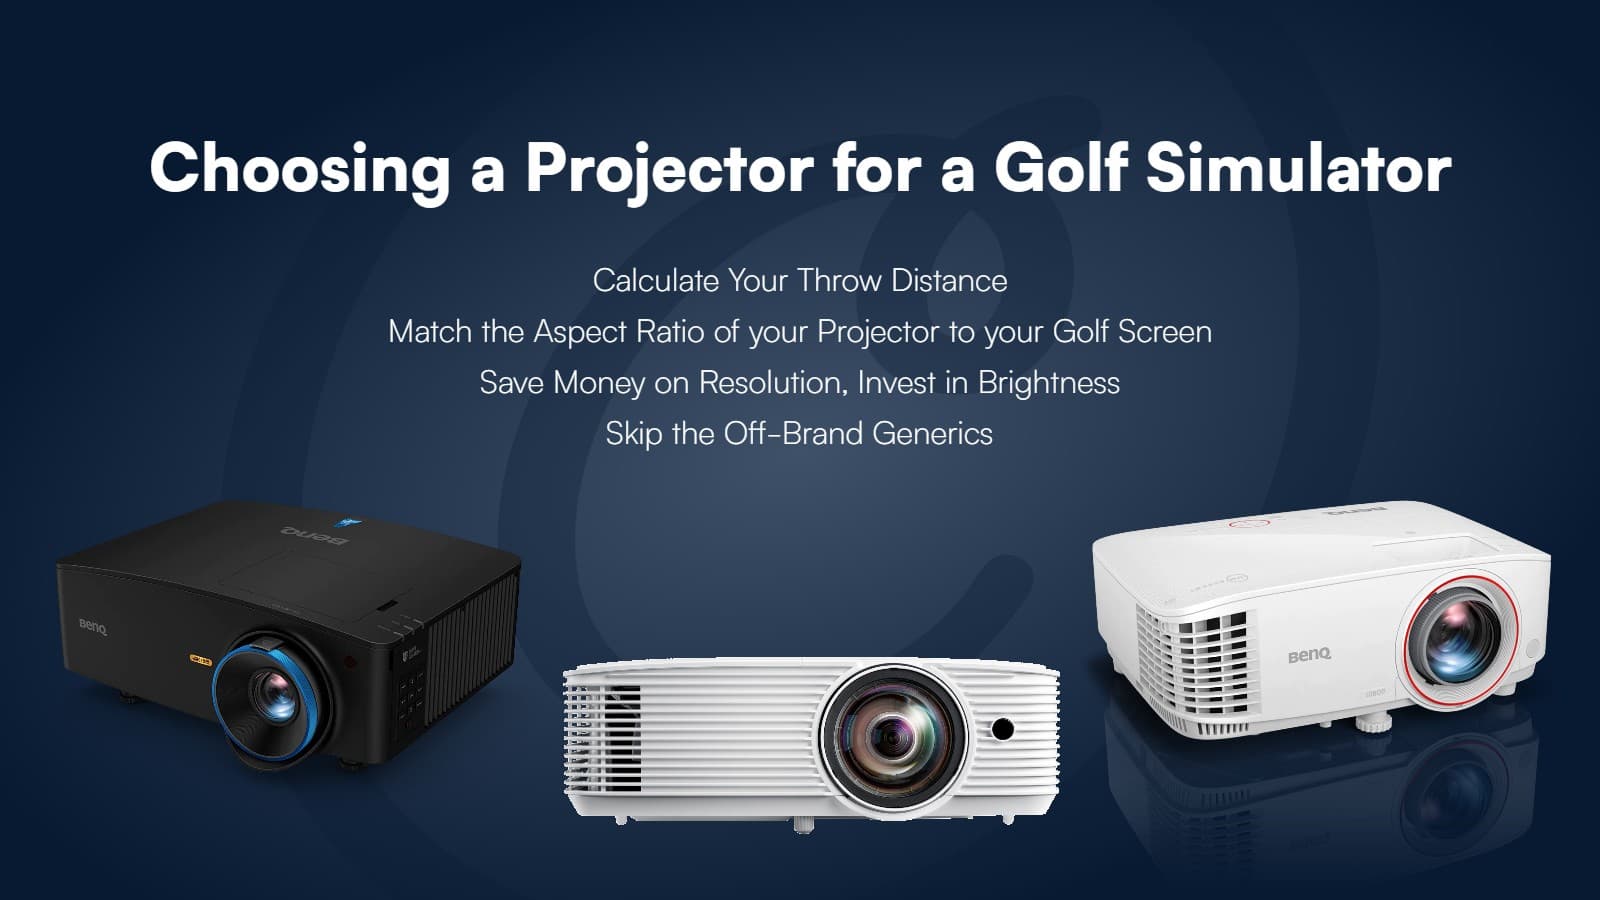
Choosing a Projector for a Golf Simulator
Projectors
When a 4K Golf Simulator Projector Makes Sense (and When It Doesn’t)