The engineers at Carl’s Place came up with a nifty, quick way to make your Pro or Curved Golf Enclosure mobile. This is how to install wheels so you can move your golf enclosure.

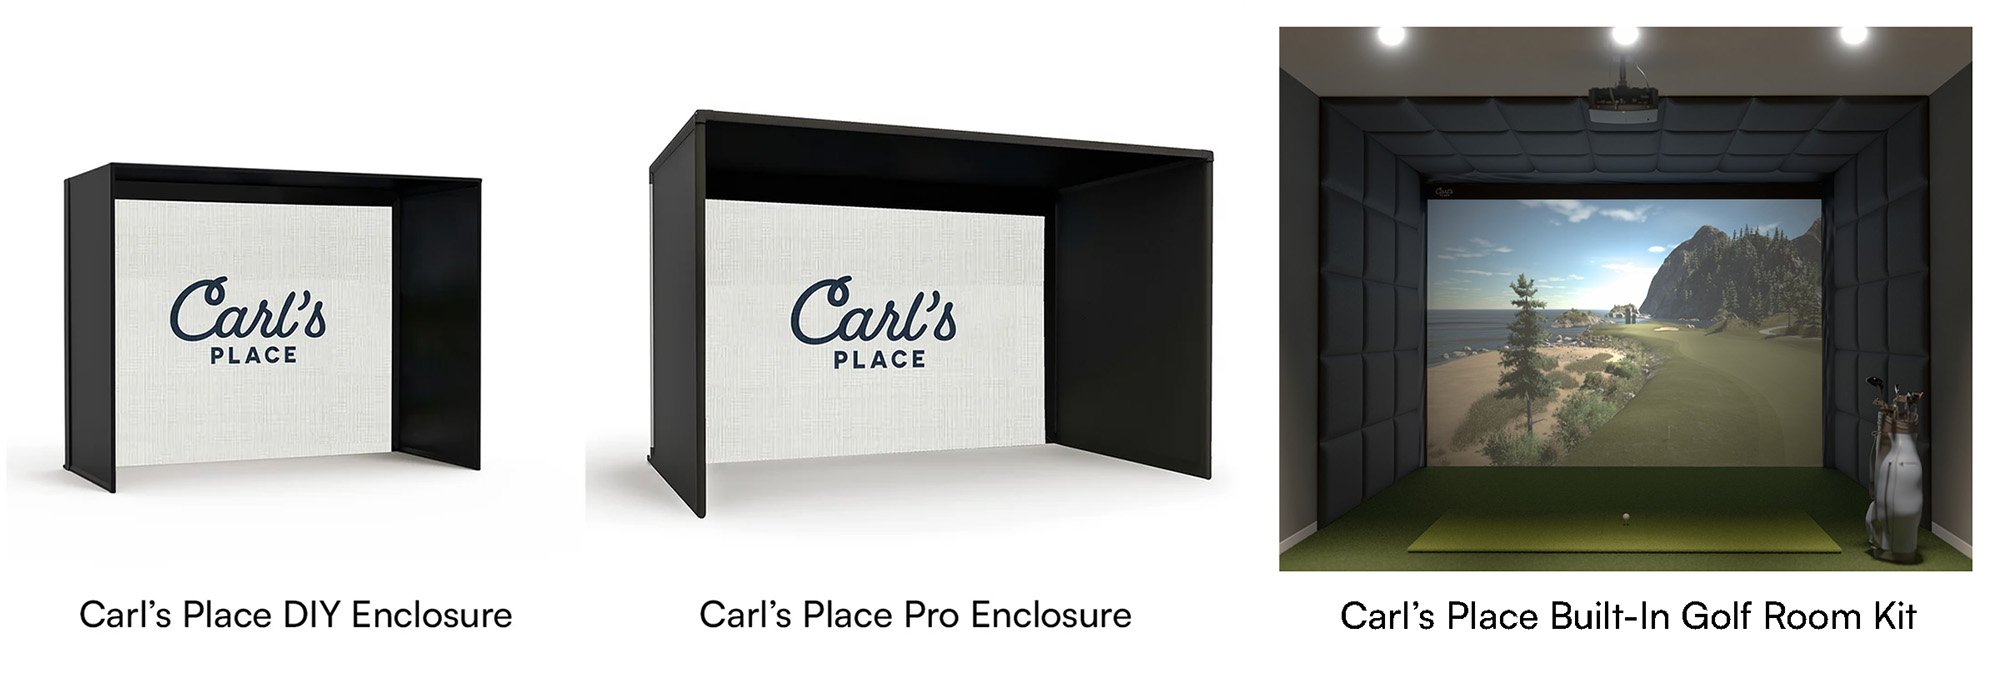
Carl’s Place Pro and Curved Golf Enclosures are made for higher end home or commercial golf simulator setups. That means that the pipes used for the frame are 2-inch EMT (instead of 1”), which likely makes the enclosure too heavy for one, two, or even three people to move.
If you’re talking moving across town or country, yes, you’ll have to disassemble and resassemble your enclosure. However, the engineers at Carl’s Place came up with a nifty, quick way to make your Pro or Curved Enclosure(s) mobile. Great for commercial golf locations who are remodeling, doing some cleaning or just need better access behind and around their simulator.
Below, and in the video, we will explain how to install wheels onto the corners of your enclosure.
Supplies needed to move your Carl’s Place Pro or Curved Enclosure:
-
Wheel caster kit - (kit required)
-
Twenty four ¼ - 20 hex drive rounded head screws
-
Allen wrench/screwdriver/bit for driving screws
-
¼ - 20 tap
-
#7 drill bit
-
Drill
-
Center punch
-
Cutting oil or other lubricant (WD-40 will do)
-
Wrench tool included with the casters (Or your own tools if you have them)
-
½-inch wrench
-
Bench vise (to hold parts securely)
CONNECT CASTERS TO U BOLTS
Begin by lining up the base of your caster as close as possible to the center of one of the U-bolt clamps. Use a marker to transfer the hole locations from the caster to the U bolt clamp.
Once the hole locations are marked on the U-bolt clamp, secure the U-bolt clamp in the vise. Do not secure it too tightly, as doing so might bend the U-bolt clamp. Now, use the center punch to make indentations centered on the hole marks; this step is optional but will help keep the drill bit centered on the hole location while drilling.
Then use the No. 7 drill bit to drill the three holes into the U-bolt clamp.
Using the ¼ - 20 tap, tap the holes that you have drilled into the U-bolt clamp. (Note that when tapping the holes, a lubricant should be used; doing a few forward turns followed by a turn in reverse to clear out any loose material is also helpful.) Before proceeding to the next step, ensure that the screws can be threaded securely into the holes.
Repeat this process for the second U-bolt clamp.
Now, place one of the U bolt clamps back into the vise. Align the holes on the caster base with the three holes on the U-bolt clamp. Using the screws, fasten the caster base to the U-bolt clamp, but do not screw them in completely. Leave some wiggle room in case the holes aren’t perfectly aligned. Once all three screws are in, tighten them down completely.
Do the same with the second U-bolt clamp and the remaining three holes on your wheel caster base.
ATTACHING THE WHEEL
Attach the wheel to the caster using the bolt included with the caster kit. Fasten the nut to the other side of the bolt to complete installation of the wheel.
Using the other bolt included with the caster kit, install the orange foot pedal for raising and lowering the caster. Fasten the nut to the other side of the bolt to complete installation of the foot pedal.
Then, using a wrench or the tools that are provided with the caster kit, hold the nuts in place while you use a ratchet or another wrench to tighten down the bolts.
Repeat these steps for all four casters, one for each corner of the enclosure.
ATTACH WHEELS AND U BOLTS TO ENCLOSURE
Attach one of the casters to an outside corner of the enclosure by wrapping a U-bolt around the 2-inch EMT pipe fitting and inserting the ends of the U-bolt through the holes in the U-bolt clamp. With the orange foot pedal all the way up, position the caster so that the wheel is barely touching the floor. Note that the wheel is at an angle and will straighten when the foot pedal is depressed, raising the enclosure onto the wheels to be moved.
Hand tighten one nut on one end of the U-bolt and then hand tighten the other. Then, using a ½-inch wrench, tighten the nuts, alternating between the two nuts to achieve even clamping. Now, do the same for the second U-bolt. Repeat this process for the remaining three corners.
Lastly, push down all four orange foot pedals until the wheels are locked in the downward position. The Enclosure should now be resting on all four wheels and can be moved relatively easily! Once you’ve moved the enclosure to its new location, simply lift up on all four orange foot pedals to lower the enclosure to its resting position until it needs to be moved again.
Questions on how we did it? Ask in the comments, we’re happy to help out.
This post contains affiliate links. If you click through and make a purchase, Carl’s Place may receive a small commission at no additional cost to you.
Search articles by tag:
How-To PRO Golf EnclosuresRelated Posts
How-To, DIY Golf Enclosures, Golf Simulators
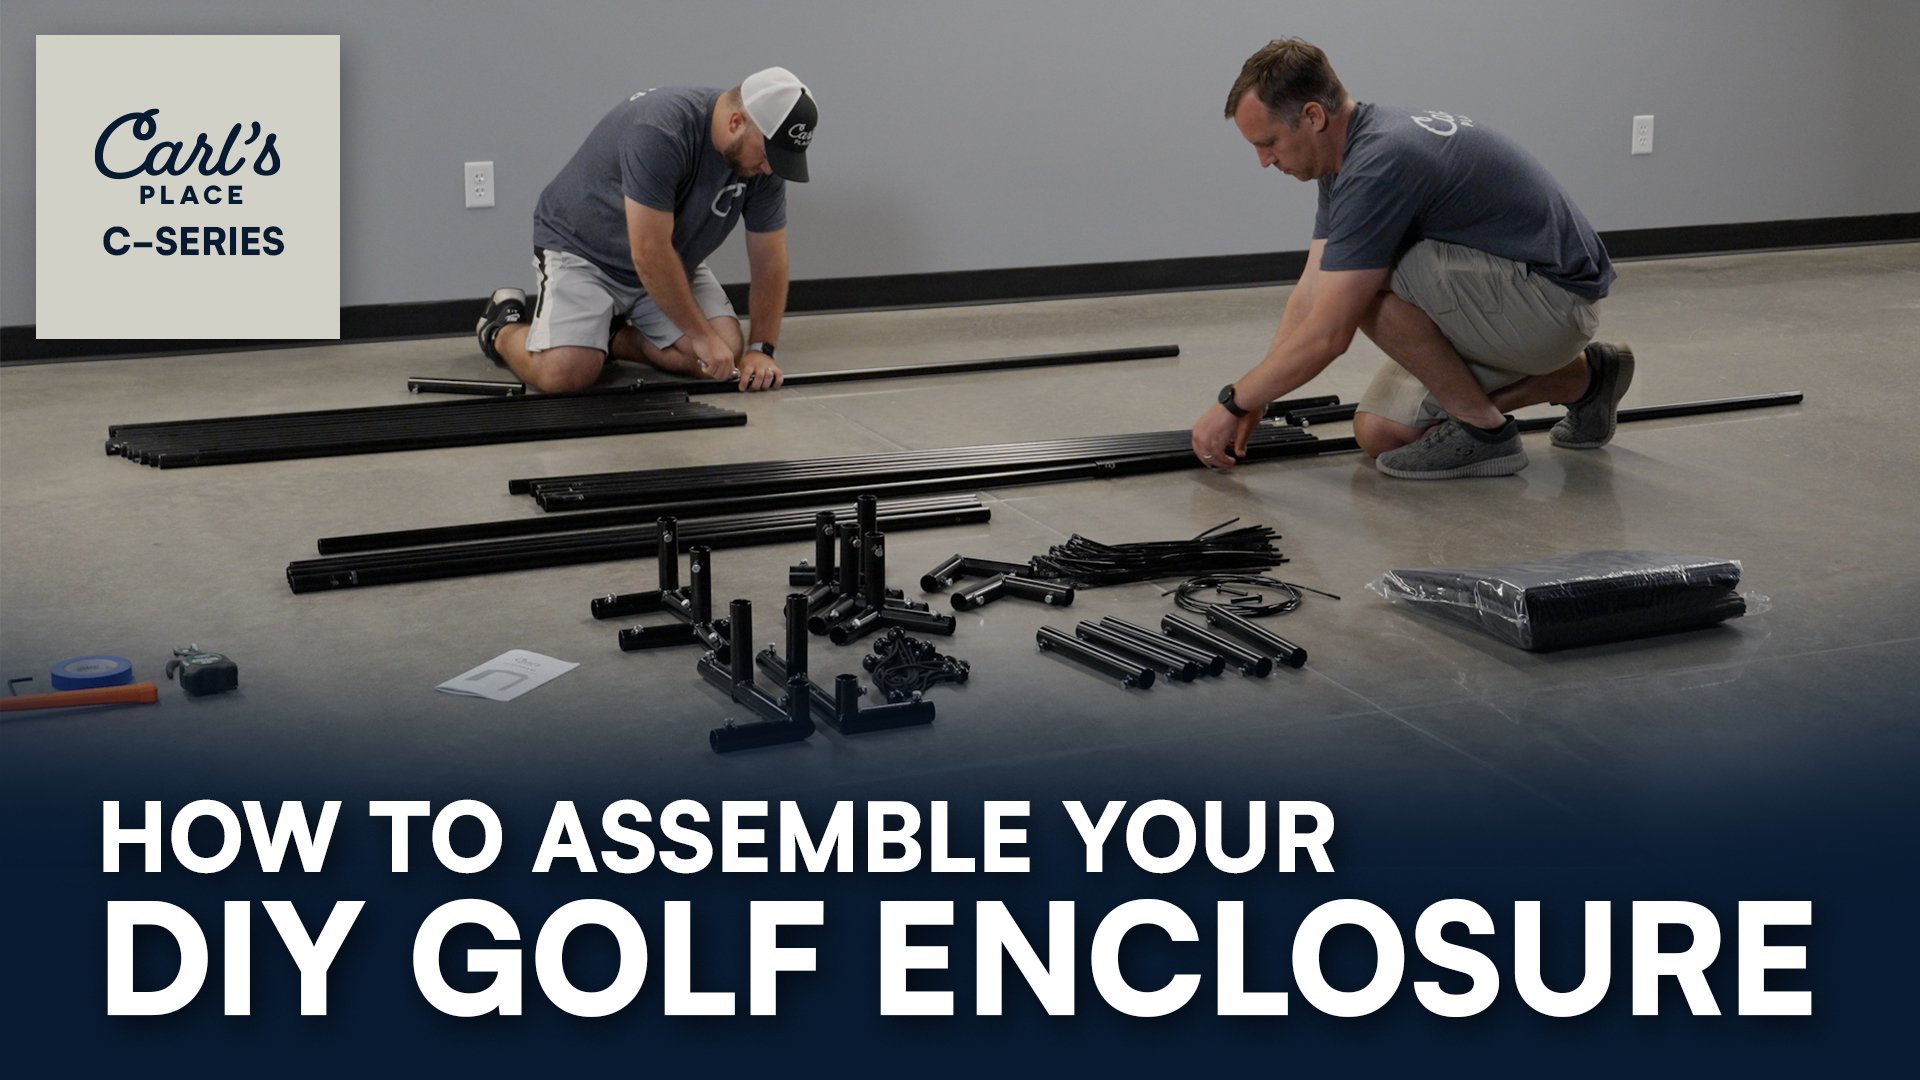
How to Assemble a DIY Golf Simulator Enclosure Kit

DIY Golf Enclosures, Golf Simulators
DIY Golf Simulator Enclosures: Build It Yourself or Use a Kit?
Resources, Golf Enclosures
Find the Type of Golf Simulator Enclosure That Fits Your Room