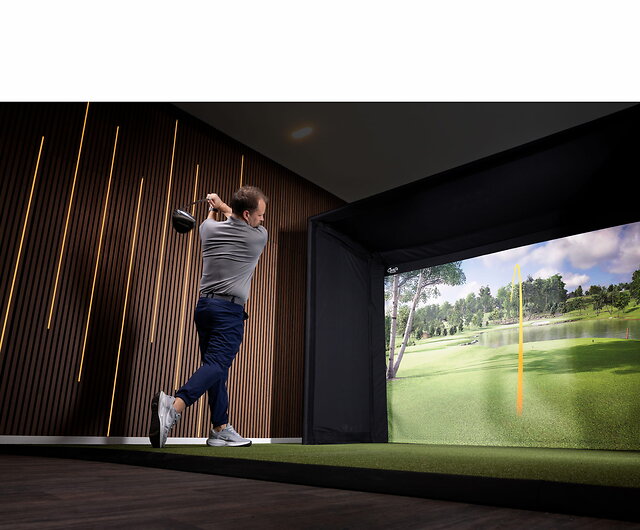
-
Made to order, shipped fast
Custom sizes without the long wait
-
Handcrafted in Wisconsin, USA
Screens sewn in house, daily
-
Live support from golf sim experts
Real people answering the phone
indoor Golf simulators
A golf simulator enclosure that actually fits your room.
If you can swing a club in it, we can fit an enclosure in it. Thousands of basements, garages and spare rooms already have a golf simulator. Find a room like yours and see the setup that fit.
You’ve got questions. Good.
Almost everyone starts with the same three. They’re all fair, and none of them should take a degree in structural engineering to answer.
Can I fit a golf sim?
Ceiling height. Wall width. That support pole somebody put in around 1974. Your room has opinions.
Can I afford a golf sim?
Enclosure kits start under a grand. DIY screen setups come in less than that. Plus, you can split it into payments.
What stuff do I need?
Five things, give or take. Here’s what each one does, in plain English.
Golf simulator room designs
Find a room like yours
Every one of these started as a “will this even fit?” room. Different ceilings, different widths, different problems. See which room is closest to yours and which kit fit the space.
None of these quite you? Ask us anything about your room.
What stuff do I need?
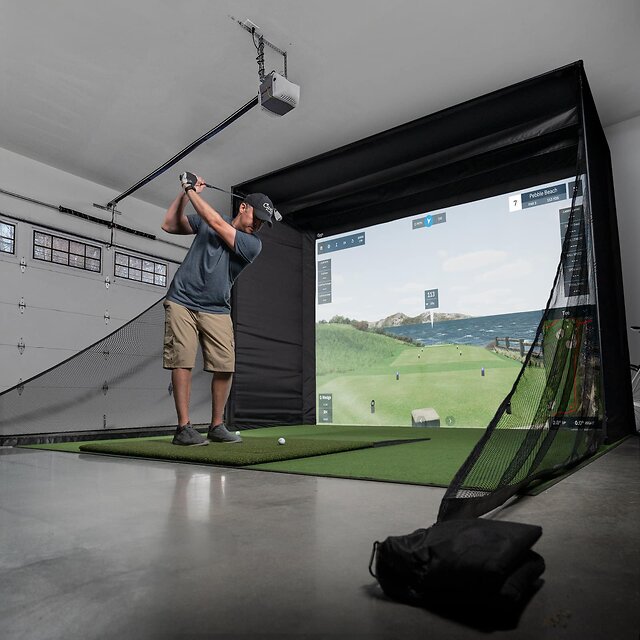
An enclosure is what turns a regular room into a place you can actually swing a club. You get an impact screen you hit real golf balls into, and protective surfaces that keep every shot, even the bad ones, off your walls and ceiling.
Some enclosures are freestanding, with their own frame that sets up inside your room. Others build right into the room itself for a finished, wall to wall look. Either way, pick this first. Everything else gets chosen to fit it.
- Price range
- $1k to $5k+
- Ask yourself
- How big is my room, and what’s in the way?
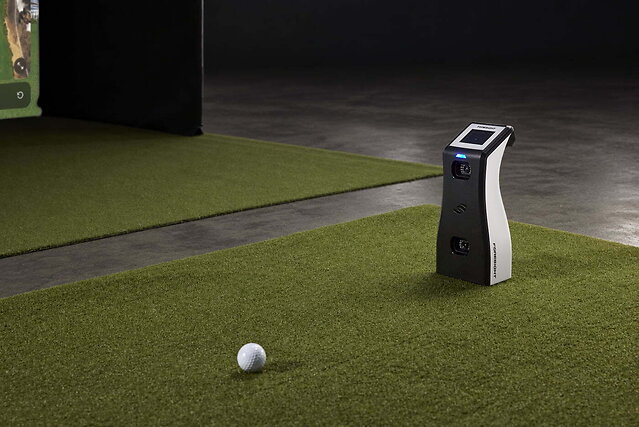
When you hit the ball, the launch monitor measures your shot. That can include ball speed, launch angle, spin and data about your club. More expensive models usually measure more, and sometimes measure more accurately.
The software turns those numbers into your shot flying down a real course on screen. Some launch monitors come with software, and others need a separate subscription. Some run from a phone or tablet, and others need a computer. Check what yours needs before you buy, so the total doesn’t surprise you.
- Price range
- $500 to $25k+
- Ask yourself
- Where does it need to go, and how much room does it need?
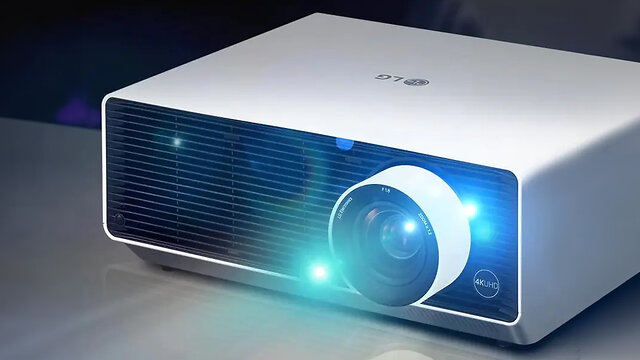
The projector is what turns your screen into a golf course. Get it right and you forget you’re in the basement. Get it wrong and you’re squinting at a fuzzy fairway with your own shadow in the way.
Start with where it’ll live. Throw ratio tells you how far back a projector needs to sit to fill your screen, and that decides whether it can mount right overhead or needs more room behind you. Past that, don’t chase one big number on the box. The best picture comes from a projector that fits your room, your screen and your lighting. And if that feels like a lot, it’s exactly the kind of thing we help people sort out every day.
- Price range
- $1k to $10k
- Ask yourself
- Where will it mount, and how bright is the room?

The hitting mat is where every shot starts. It’s the turf you stand on and the spot the ball sits, so it shapes how each swing feels. The better ones let your club brush through the turf the way it would on a real fairway, which makes practice feel more like golf.
Most setups combine a hitting strip with a bigger area to stand on, so your feet and the ball stay level. Think about who’ll be using it, too. If lefties and righties are sharing the bay, look for a mat that works for both, so nobody has to move anything around.
- Price range
- $500 to $1500
- Ask yourself
- Who’s swinging, and how often?
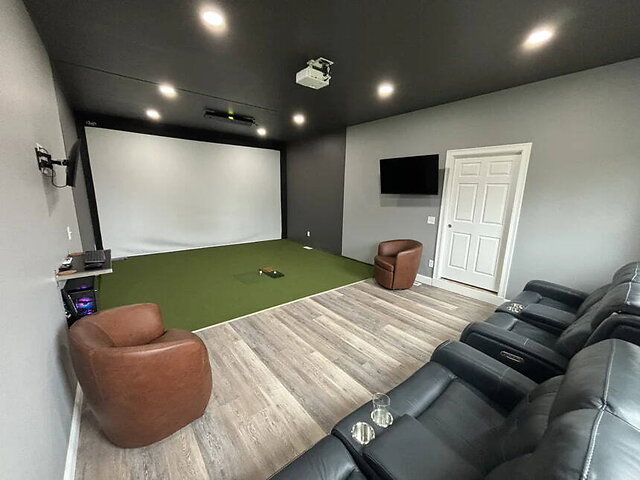
Accessories cover a lot of ground. There are mounts that hold your projector and launch monitor in place, cases that protect your gear, and swing cameras that show you what your swing really looks like.
Then there’s everything that makes the room feel like yours: club holders, seating, decor, the little stuff that turns a setup into your spot.
Which ones you need depends on your gear, your room and how you like to play. If you’re not sure, ask us.
- Ask yourself
- What would make this room easier to use?
Not sure how it all fits together?
Compare the kits
Line them up side by side and find the one that fits your room and budget.
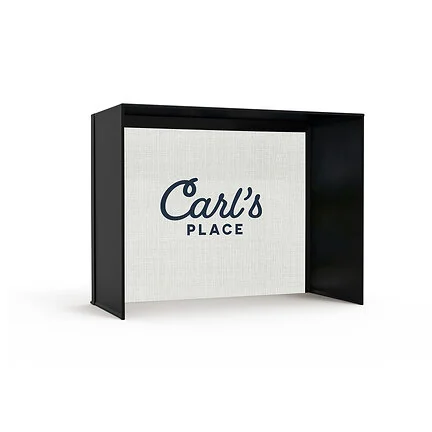
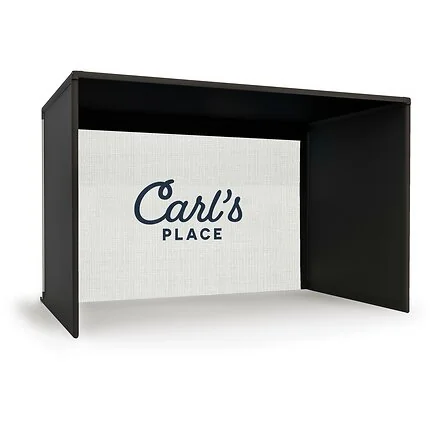
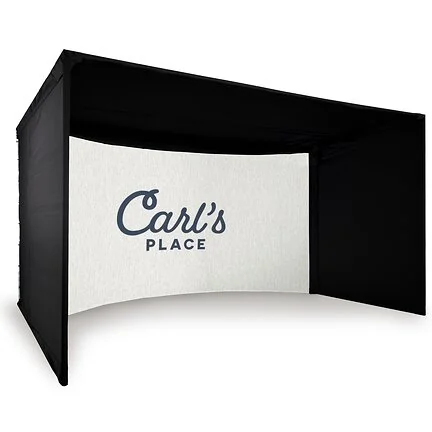
| DIY | Pro | Curved | Built-In | |
|---|---|---|---|---|
| Best for | Getting started on a budget | Larger bays, or mounting electronics on the frame. | Wider rooms, more immersive view | A permanent, finished golf room |
| Style | Freestanding frame | Freestanding frame | Freestanding frame | Anchored into the studs |
| Size Range | Standard sizes: 95.8" to 112" tall, 100" to 163.3" wide Customizable down to the inch |
Standard sizes: 102" to 123" tall, 132.4" to 190.3" wide Customizable down to the inch |
Standard sizes: 108" to 120" tall, 166" to 205" wide Customizable down to the inch |
Sized to your room, down to the inch |
| Impact Screen | Your choice of impact screen: Standard, Preferred, Premium, Gray Premium | Your choice of impact screen: Premium, Gray Premium | Your choice of impact screen: Premium, Gray Premium | Your choice of wall-to-wall impact screen: Standard, Preferred, Premium, Gray Premium |
| Wall & Ceiling Materials | Blackstop™ light-blocking wraparound knit fabric | Blackstop™ light-blocking wraparound knit fabric | Blackstop™ light-blocking knit fabric walls and ceiling | Your choice of wall protection: carpet panels, padded panels, or curtains |
| Frame Construction | Steel corner fittings included Grab 1" EMT pipe at your hardware store, or add our pre-cut pipe kit and skip the trip |
Steel corner fittings included Grab 2" EMT pipe at your hardware store, or add our pre-cut pipe kit and skip the trip |
Steel corner fittings included Grab 2" EMT pipe at your hardware store, or add our pre-cut pipe kit and skip the trip |
Hardware to install screen and any selected wall protection |
| Install Difficulty | Easy Installs in ~1 hr Using basic tools and a ladder |
Easy to medium (varies by size) Installs in ~2 hr Using basic tools and a ladder |
Medium Installs in ~4 hr Using basic tools and a ladder |
Weekend project. Needs straight 2x4 framed walls and some carpentry skills. |
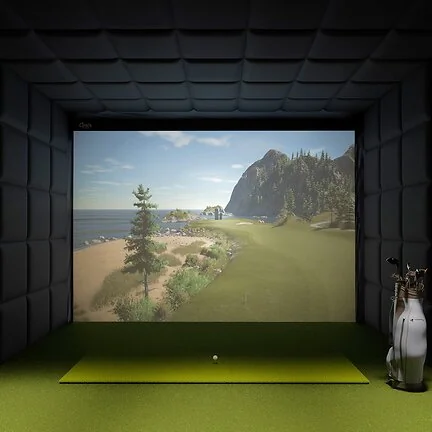
Nothing seem to fit? Ask us any golf sim question.
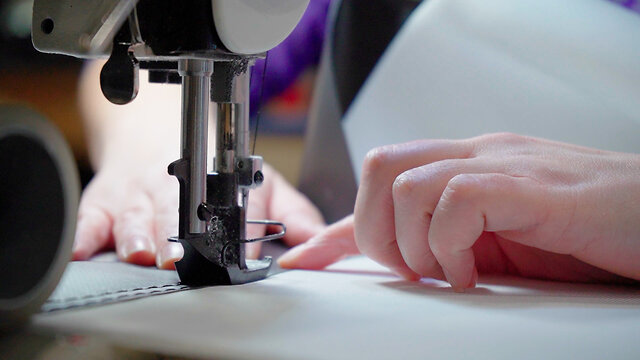
We build these. In Wisconsin. Every day.
We’ve seen sloped ceilings, low ductwork, and the furnace parked exactly where your backswing wants to go. Odds are your room isn’t the weirdest one we’ve dealt with.
So you’ll get a straight answer. Even when that answer is the smaller kit.
I spent months researching the best projectors, launch monitors, and enclosures and decided to do business with Carl's Place...The guys at Carl's have been great!!!

Steve F.
Set up a home golf sim in his garage
Stuff people ask first
Start by measuring your room’s width, depth, and ceiling height to ensure you have enough space to swing comfortably. This measuring guide
covers what to check.
Next, decide between a freestanding enclosure or a built-in setup - this article explains the pros and cons of DIY vs kit builds.
Then, use Carl’s Build Your Own Golf Simulator Tool to walk through sizing, choosing your screen, launch monitor, mat, and projector - all customized to your room.
Less than you'd think, or more than you planned. Depends who you ask. Want to see what real budgets get you? We built out setups at every level:
Financing's available too. See how monthly payments work.
Most golfers need 9 to 10 feet. Ten is the sweet spot, where nobody has to think about their backswing. Working with 8 or 9? Plenty of people make it work, especially shorter golfers or anyone fine leaving the driver in the bag for a bit.
Not sure what you've got? Here's how to measure it right.
Carl's kits are designed for you to put together yourself, with step-by-step instructions and basic tools. An extra set of hands helps, so call in that friend who owes you a favor.
The Built-In is the one that asks a little more. It takes some carpentry skills and you have install hardware into the top and bottom plates of your walls.
Rather leave it to a pro? Plenty of local golf sim installers are out there, or a handyman can put one together for you.
Depends on your budget and how picky you are about the picture. All four of our screens stop shots up to 250 mph. The difference is how smooth the image looks, how long the screen lasts, and how quiet it is.
- Standard: The budget pick. Tough enough for real shots, with a decent picture.
- Preferred: A tighter weave for a noticeably sharper image. A favorite for homes and commercial bays alike.
- Premium: Our best. Sharpest picture, longest lasting, a bit quieter, and less bounce back.
- Premium Gray: Same Premium build, made for rooms with windows or overhead lights. It keeps the picture from looking washed out.
If you can swing it, Premium is the one most people don't regret. Pro and Curved kits come with Premium or Premium Gray. See all four screens side by side.
The projector specifications determine the maximum image size and how far from the screen it will need to be mounted. Check out our screen size calculator to find the best mounting location.
As for how to mount your projector, here are the places to put a golf simulator projector.
- Mount a projector above your tee or mat.
- Flush-mount to your ceiling in spaces with lower ceilings
- Drop-mount from your ceiling in spaces with higher ceilings
- Frame-mount from your Carl's Place Pro Enclosure
- Place a short-throw projector on the floor inside the golf simulator. Of course, if you floor-mount your projector you must build or buy a protective cover to keep it safe from golf balls and clubs.
Read more here about projector mounting options.
Our Knowledge Center is loaded with useful articles covering nearly every part of getting your golf simulator up and running. Plus our Build Your Own Golf Simulator Tool offers step-by-step guidance for sizing, setup, and choosing components, anytime you need it. And if you still have questions, our support team is happy to help, we're available Monday thru Friday 8am - 4pm Central Time.
WHAT'S NEXT
Still figuring it out?
Ask a sim expert. Tell us about your room and an actual person at Carl’s will get back to you. No sales script. Sometimes the answer is “you’re good, go buy the DIY.”