You want a home golf simulator. Your budget says, “Let’s think this through.” The good news? You don’t need a huge pile of cash to get started. Low monthly payments make the whole thing way more doable.
With financing, you can build the home golf simulator setup you actually want now and pay for it at a pace that makes sense. Here’s how to make a full simulator surprisingly affordable.
Why Financing Makes a Golf Simulator More Affordable Than You Think
Golf simulators feel expensive because everything hits your wallet at once. Launch monitor, turf, hitting mat, enclosure, projector, computer, software.
Financing spreads those costs into smaller, predictable monthly payments so you don’t have to buy the “starter version” of your setup and upgrade later. Instead, you can start with gear you’ll actually keep long-term.
Financing Disclaimer: Monthly payment examples in this article are estimates only and not guaranteed. Actual terms, rates, and availability depend on the financing provider, your credit, and the specific products in your cart. Learn more about Carl's Place financing options.
What a Golf Simulator Really Costs
Starter (under $3,000)
For under $3,000 you'll have the core basics, but not a fully immersive golf simulator setup. You’ll be able to hit into a net (or maybe a budget screen you rig up with eye hooks), and you might use a tablet or TV for visuals, but you won’t quite get the experience of a true simulator. And look, we absolutely love the DIYers who take this route. It’s creative, resourceful, and totally valid. But it’s also not the “easy button.”
Building a usable golf simulator at this budget typically takes time, research, trial and error, and a bit of technical know-how. If you’re handy, it’s a fun challenge. If you’re not, you might find yourself ready for the next tier sooner than expected.
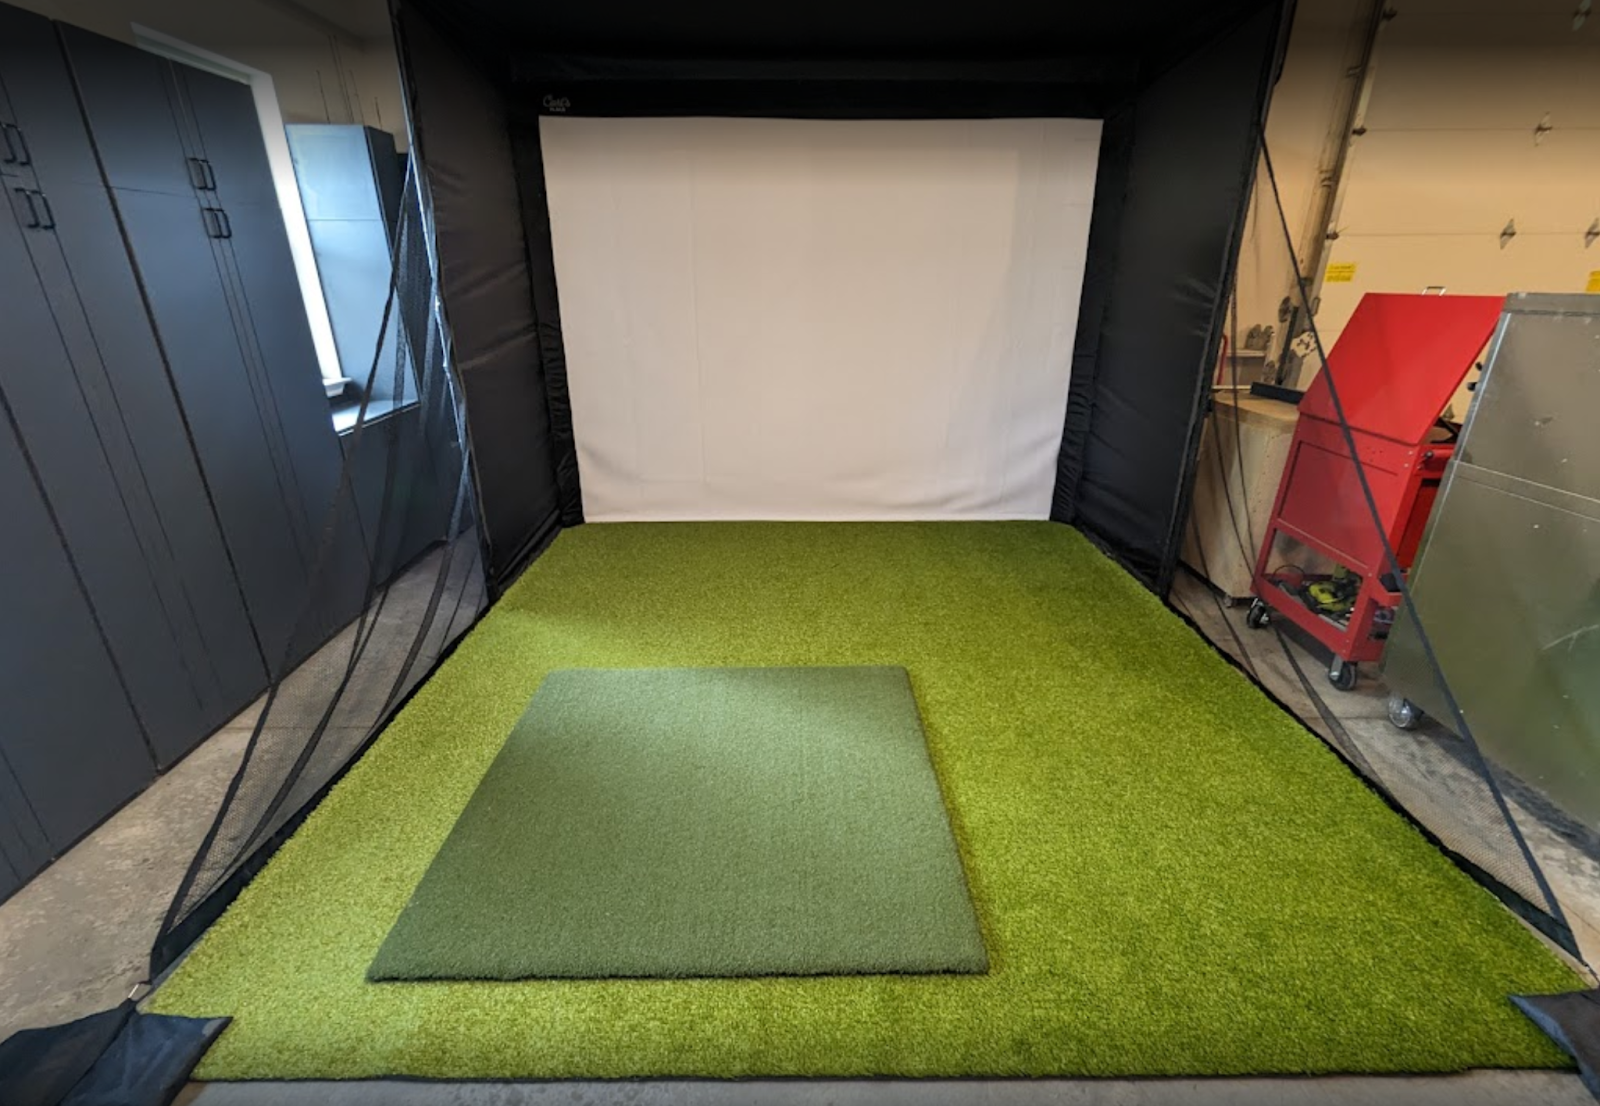
Entry-Level ($3,000 - $5,000)
Estimated monthly payment around $100/mo - $200/mo. Once you're able to spend over $3,000, you can pull together a basic all-in-one golf simulator setup. That includes:
- an enclosure with a proper impact screen,
- a solid hitting mat,
- a basic but reliable launch monitor,
- and a projector so the ball flight shows up on your screen instead of your phone.
This tier gives you the essentials without cutting corners. It’s a clean, functional setup where everything works the way you expect, no hacks, no temporary solutions, just a solid home simulator that feels like the real thing. See what you can get with a $3k golf simulator budget.
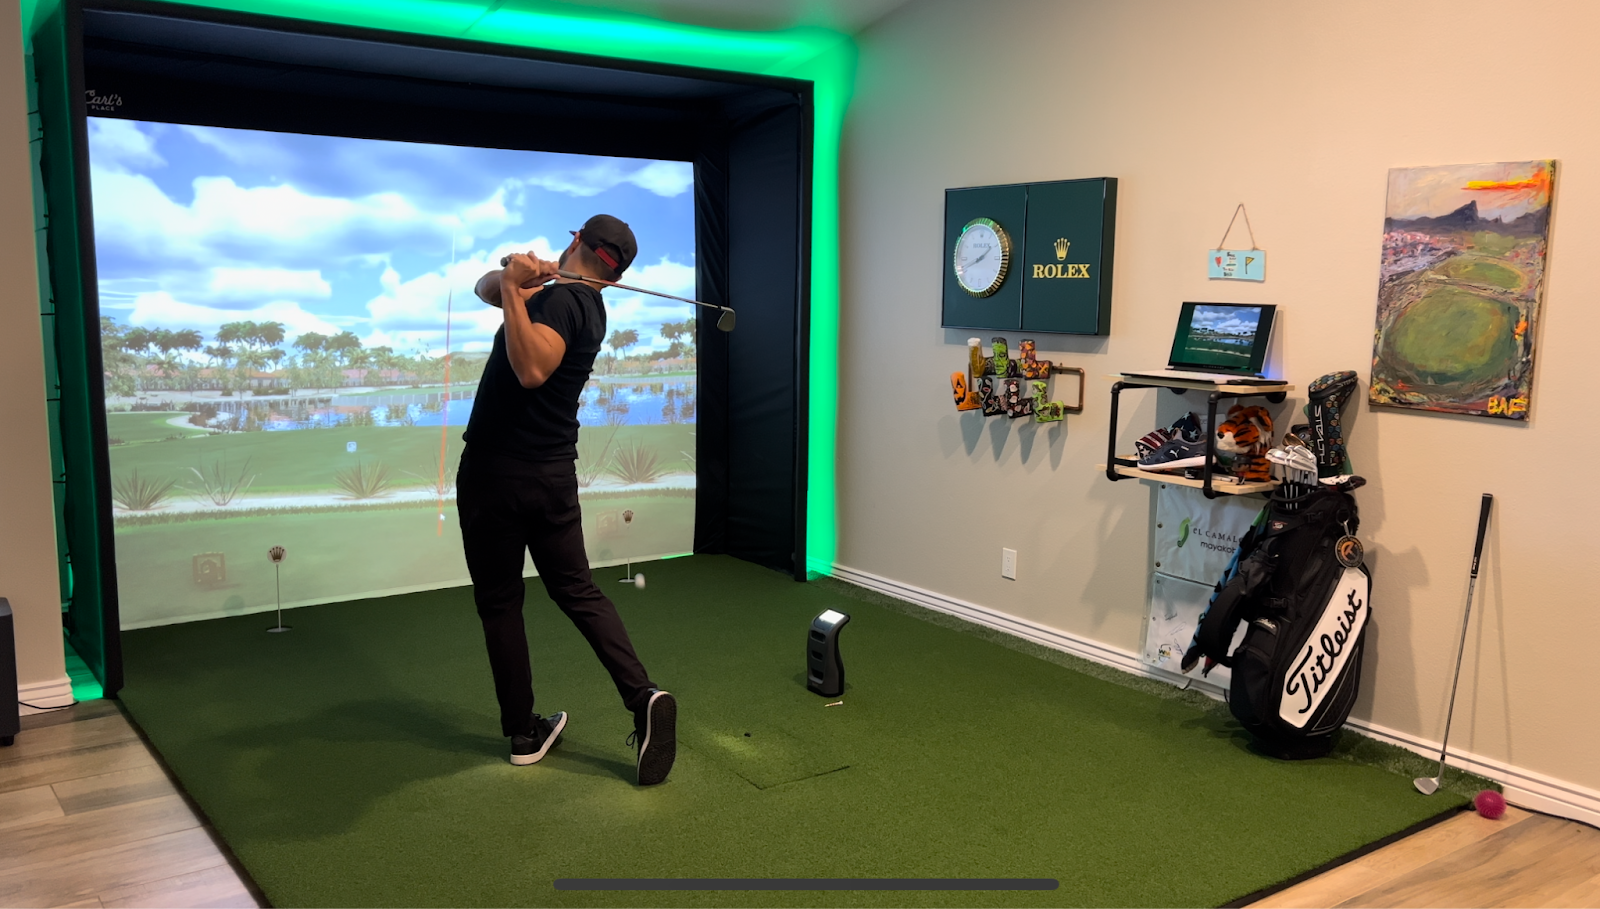
Mid-Range ($5,000–$8,000)
Estimated monthly payment around $200/mo - $350/mo. This is the range where everything starts feeling “dialed.” You can move into a premium impact screen, a brighter projector, a more accurate launch monitor, and generally a more immersive experience across the board. See what you can get with a $5k golf simulator budget.
Premium ($10,000–$20,000+)
Estimated monthly payment around $400/mo+. If you’re dreaming big, this is where it all comes together: pro-grade launch monitors, 4K laser projectors, a fully finished enclosure, lighting, sound, and a dedicated room that feels like its own indoor golf studio. See what you can get with a $10k golf simulator budget.
Fear not, fellow golfer, for we're here to help you prioritize what is most important in your golf simulator setup.
Note: Before embarking on this journey, make sure you have enough space to safely swing.
How to Prioritize Your Golf Simulator Build When You’re Paying Monthly
When you plan to pay monthly, the smartest move is to put your budget toward the pieces that make the biggest impact on how your simulator looks, feels, and performs. Some components dramatically change the experience. Others are easier to upgrade later.
Here’s the simplest way to set your priorities. Begin with the essentials, the must-haves, the can’t-do-withouts, to turn your space into a golfing oasis.
-
Golf Clubs and Balls: Just like on the course, you'll need your trusty clubs and a stash of balls to get swinging. (Make sure to use clean clubs and golf balls though to keep your setup looking great.)
-
Hitting Mat: You’re not going to want to replace that outdoor fairway hitting surface with your shag carpet or cement garage floor, so you’ll definitely need a hitting mat.
-
Net or Impact Screen/Enclosure: Safety first! If you swing your golf club and hit a ball from your hitting mat, you won’t want that golf ball hitting your drywall, a window or violently bouncing around in your garage/basement, so you’ll need something to catch it. The most budget friendly option would be a net, which is where a lot of people start. However, if you’re thinking about the future at all and how you’re going to want to add on to your golf simulator to make it as realistic as possible, you might think about swapping out that net for one of Carl’s enclosures and impact screens to catch your balls.
-
Launch Monitor: The brains behind the operation, a launch monitor provides invaluable data for honing your swing and tracking your progress. Sure, you could get swings in without it, but how do you know if you’re actually improving or getting worse?
Buying a launch monitor is a huge decision for many reasons, two of them being: budget and what you want to get out of it. You can find budget friendly, entry level launch monitors under $1,000, or you can invest up to $20,000 into your launch monitor; it all depends on what you’re looking to get out of it.
That said, many people will start at the entry level and upgrade over time as more funds become available. Most launch monitors will require you to have a mobile device or PC to see the actual data provided on their basic driving range software, but some, such as the Uneekor EYE MINI or the Foresight GC3 and GCQuad, have built-in screens on top of the unit that provide the data right there.
With these essentials in place, you're ready to take your first swings without fear of wreaking havoc on your budget … or your surroundings.

Navigating the Fairway: Golf Simulator Enhancements
Once you've mastered the basics, it's time to elevate your setup with these enhancements:
- Projector: You won’t have that realistic golf simulator experience without projecting an image onto your screen. It’s not a necessity, but man is it nice to project the golf course on the screen so that when you hit your shot, the ball takes off on the screen in front of you as it would in real life! They do vary in price, and you typically get what you pay for; however, entry level projectors can certainly do the job.
- Third-party software: Expand your horizons by accessing a vast array of virtual courses with third-party software designed for realistic gameplay. Most launch monitors come with their own driving range software. Some also come with some course play options, but if you want to play some of the most popular, graphically intense courses, you’ll want to invest in a third-party software.
- High-powered computer: Maximize your gaming experience with a powerful PC capable of handling graphically intense simulations. You can run some third-party software off of a mobile device or tablet, but the most popular ones work best with a high-powered PC. Each software will have recommendations on what the specs for that high powered PC should be.
- Safety baffles and net wall extensions: For added peace of mind, consider installing safety baffles and net wall extensions to contain any errant shots within your designated golfing space.
- Turf or soft flooring: Enhance comfort and realism by installing turf or soft flooring beneath your hitting area, minimizing bouncing balls and maximizing your enjoyment.
With these enhancements, you'll feel like you just flushed a 7 iron onto the green.
Beyond the Green: Golf Simulator Extras
Now, for the cherries on top, the extras that take your simulator from great to exceptional. There are so many options here to add to your golf simulator setup, but none of them are necessary to get your simulator up and running.
- Carl’s Swing Cameras for visual feedback
- Club holders to keep the space clean
- Accent lighting and neon for the “wow” factor
- Shelving, décor, sound, furniture to build the vibe

Why Financing Helps You Avoid the “Starter Setup” Trap
A lot of golfers start with whatever their budget allows right now: a net, a cheap mat from a retail giant, maybe a budget launch monitor, and a screen that sort of works if you pull it tight enough. It’s a common path (and there’s nothing wrong with it) but here’s the catch:
Most people outgrow that setup fast.
They upgrade the mat.
Then the screen.
Then the enclosure.
Then the launch monitor.
Then the projector.
Then the computer.
And suddenly that “cheap” simulator has cost more in upgrades than it would’ve cost to build the version they actually wanted in the first place.
Financing changes that equation.
With low monthly payments, you can skip the temporary gear and build a setup you won’t outgrow. Instead of buying the “for now” version, you build the right version for you, the one you’ll still be using years from today.
Most golfers realize that the monthly cost of a legit, long-lasting setup is roughly the same as what they’d spend on cheap gear + later upgrades anyway. It’s just much easier, cleaner, and way more fun.

Final Thoughts: Build the Simulator You’ll Actually Love
A home golf simulator doesn’t have to be a giant, save-for-years purchase. With low monthly payments, you can build the setup you actually want and enjoy it now instead of someday.
Whether you’re starting simple or aiming for a full-room buildout, financing gives you room to make better long-term choices, avoid the “starter setup” trap, and skip the frustration of buying everything twice.
So go ahead and dream a little bigger.
Your ideal simulator is closer (and more affordable) than you think.
Related Posts

How-To, Golf Simulators, Projectors, Hitting Mats
See Golf Sim Data on the Floor with Projection Mapping

Golf Simulators, Projectors
Reviewing the BenQ TK710STi golf simulator projector

Launch Monitors
Uneekor EYE MINI CORE: Zero Delay, Maximum Play