So you want to DIY a golf simulator. Love it.

DIY Golf Simulators At A Glance
A “DIY golf simulator” can mean anything from fully building an enclosure from raw parts to assembling a ready-to-go kit. The best route depends on how much time, tools, and trial-and-error you want to take on.
- Full DIY: You source + size + cut + attach everything yourself (more work, more flexibility).
- Hybrid DIY: Mix-and-match parts from different places (common, but requires more planning).
- DIY Kit: You still assemble it, but the enclosure + screen are designed to fit together (fewer unknowns).
DIY projects usually work out… eventually.
Somewhere along the way, you second-guess your measurements, your optimism, or your “it’ll be fine” decision. A DIY golf simulator follows the same path - only the end result is golfing in your own space, and getting to tell a story every time someone asks how you built it.
Whether you plan to piece together your own DIY golf simulator setup or purchase a kit from Carl’s Place, you’ll likely end up with a setup you’ll enjoy for years.
The decision usually comes down these choices:
- How much time you can spend researching equipment
- How many different parts you want to source
- How much time you want to spend assembling
- How "DIY" you want it to look at the end
- How durable you want it
- How much you want to spend
We’ve seen tons of different DIY golf simulator designs. Some are brilliant. Some are… well we have roast clips for that.
Below, we’ll break down what a DIY golf simulator enclosure can mean, what every build needs, and how a full DIY approach compares to a Carl’s Place DIY Enclosure Kit.
1) What “DIY Golf Simulator” Can Mean (There’s a Range)
When people say “DIY golf simulator,” they’re not always talking about the same thing. Because there isn’t just one way to DIY a golf simulator. What changes is how much time, problem-solving, and decision-making you want to take on.
Full DIY (From scratch): Maximum flexibility. Maximum effort. Every measurement, material choice, and decision on how it all attaches to each other is on you. When something doesn’t line up, you’re the troubleshooting department.
Best for:
- People who enjoy designing and problem-solving
- Builders who want full control over every detail
- Golfers who don’t mind spending extra time dialing things in
Hybrid DIY (Mix-and-match build): Some shortcuts. Still plenty of thinking. You buy major components separately. Screen from one place, fabric from another, hardware somewhere else. And make them work together. Many parts are purpose-built, but not necessarily for each other.
Best for:
- Golfers who want flexibility but not a blank slate
- Builders comfortable making adjustments or re-ordering items
- People who don’t mind solving a few puzzles along the way
DIY Kit (An actual kit where things go together.): You still assemble everything yourself, but the hard decisions are already made since the enclosure and screen are designed to work together from the start. Measurements and planning are handled before the boxes show up.
Best for:
- People who can plan their space from the get-go and don't need to rework it mid-way
- Golfers who want the cost-savings of DIY without guesswork
- People who value a professional look and durability
- Anyone who wants to spend more time playing than troubleshooting
The Real Difference
All three paths can end with a great golf simulator. The difference is how much time you spend researching, adjusting, and fixing versus how quickly you get to tee off.
If you enjoy the build process as much as the golf, full DIY can be rewarding.
If you want the build to be the shortest part of the story, a kit makes a lot of sense.
2) The Core Pieces Every DIY Golf Simulator Needs
No matter how you build your DIY golf simulator enclosure, every setup is solving the same basic problems:
- A frame that won’t wobble, fold, or slowly lean like it’s had a long day.
- Enclosure material to contain ricochets, protect walls, and help your hitting area stay dark.
- An impact screen that can take repeated hits and still hang correctly.
- A safe attachment method so the screen mounts to the enclosure properly
And then there's the other stuff that makes a complete golf simulator, like projectors, launch monitors, hitting mats, etc. But we're not really talking about that part here. This is about the enclosure. To go through all the items needed in your golf simulator, check out our Ultimate Guide to Golf Simulator Gear.
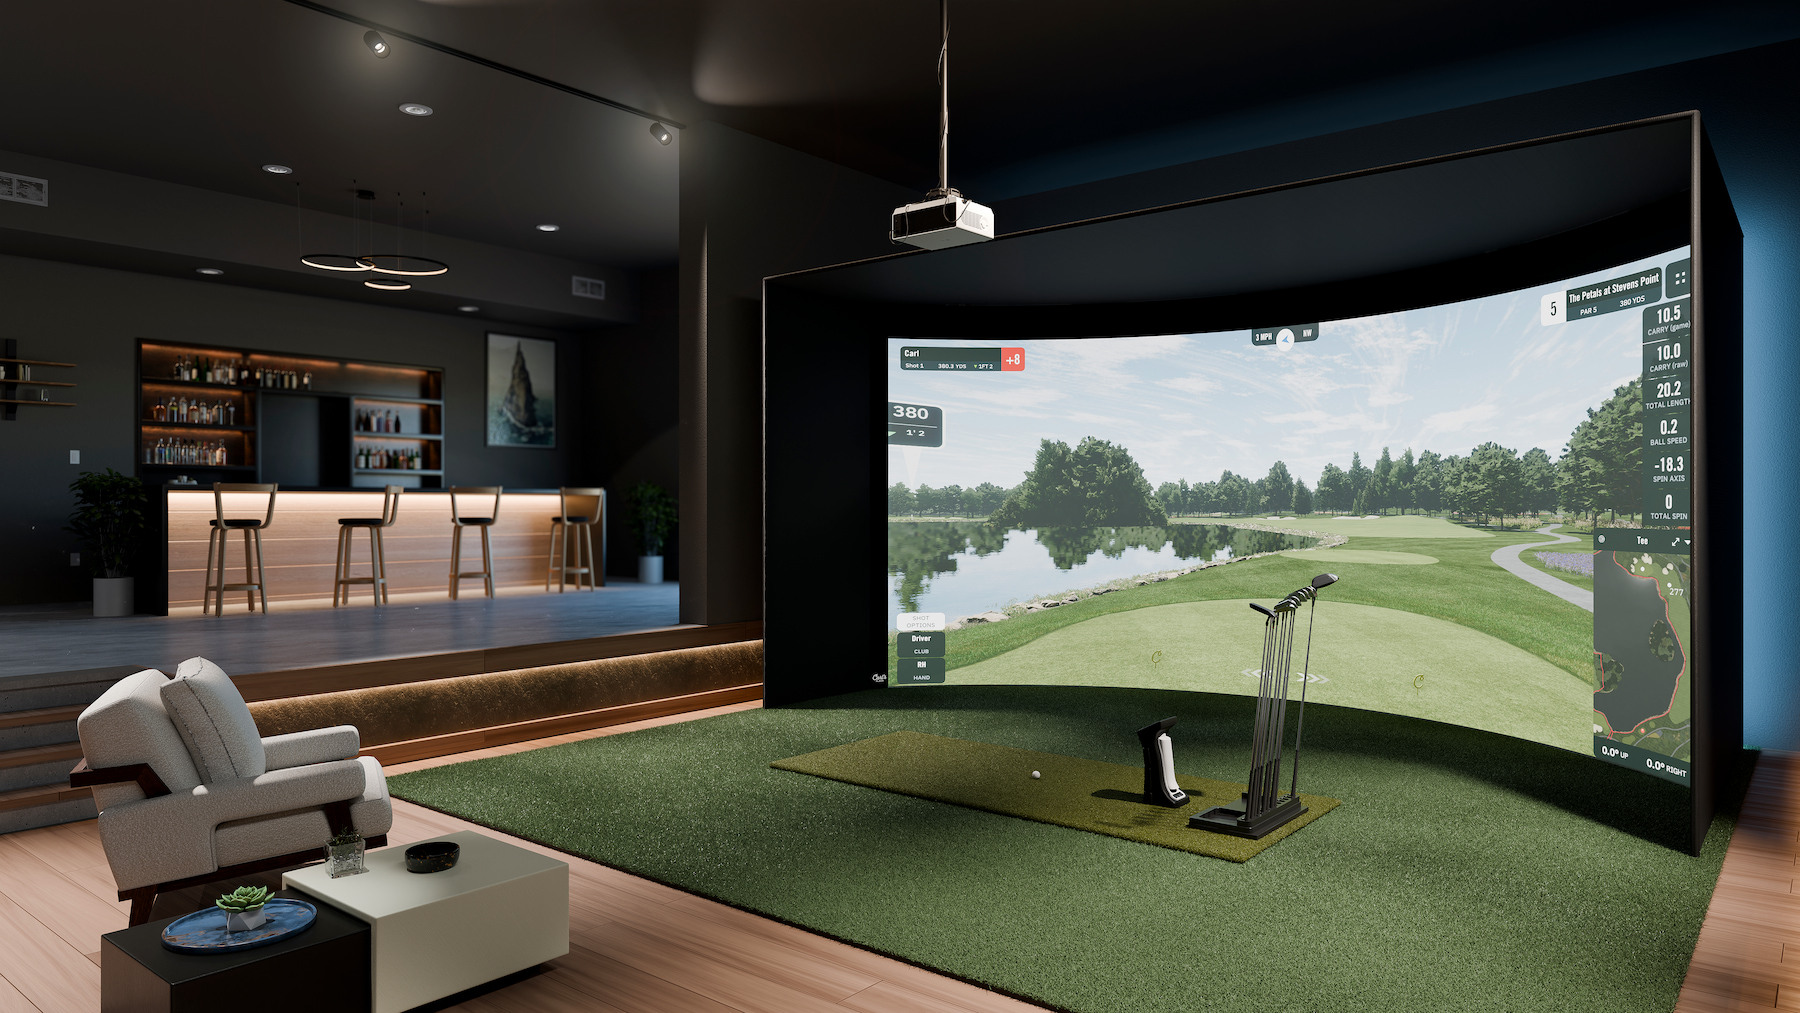
A DIY golf simulator enclosure is a frame + screen + enclosure material that creates a safe hitting bay and gives you a clean surface to project onto.
3) The Real Tradeoffs (What Actually Changes Between DIY Methods)
| Full / Hybrid DIY | DIY Kit | |
| Research + planning | More time spent since you're coordinating multiple parts, compatibility | ✅Less planning overall, just need to make sure the system fits your space, but the major pieces are designed to work together |
| Number of purchases | More (often multiple vendors/stores) | ✅Fewer |
| Finished look | Depends (can be great, can be “garage lab”) | ✅More consistent |
| Durability + safety | Varies widely by materials + mounting method | ✅More predictable |
| Cost | ✅Typically lower (depending on how much trial-and-error) | Higher upfront, unless you use financing, but fewer surprise add-ons |
4) Where Carl’s Place DIY Enclosure Kits Fit In
We find a lot of indoor golfers prefer the ease of a Carl’s Place DIY Enclosure Kit because it cuts down the number of decisions. It’s still DIY. You still build it. It just removes a bunch of unknowns.
What you get (and why that matters)
In addition to the following physical components, what you "get" is a golf simulator custom-sized to fit your space. Designed by people who’ve already made (and fixed) every common DIY mistake. But here's those physical components:
- Black enclosure material (sized for the enclosure)
- Choice of golf impact screen (cut to fit)
- Attachment hardware to connect the screen to the frame
- Steel fittings to hold the pipes in place
- Pipes cut to exact lengths and fittings to form the enclosure frame (granted Carl's Place does sell these separately so you have the option to save a few bucks by having these cut yourself at the hardware store)
- Any accessories you want that are all designed to fit, like foam, back cover, baffles, net walls
Impact screen details (the part DIY builds often underestimate)
Carl's DIY Enclosure Kit comes with an impact screen cut to fit your enclosure size. This perfect fit helps the screen be tensioned correctly, because tension is what makes your screen look clean and helps it perform well.
We’ve seen indoor golfers try raw screen material with improvised mounting edges. Sometimes it works for a bit. Sometimes it ends with a screen that tears, sags, or flings the ball back at your face. (None of those are the vibe.)

5) Full DIY Cost Reality Check
Saving money is awesome, and sometimes it’s worth putting in extra mental or physical work. But DIY golf simulator costs vary a lot depending on what materials you choose and what you already have.
Here’s a rough example (not a quote, not a promise, and yes, prices vary by location and time):
1-inch Electrical Metallic Tubing (EMT)
- From Home Depot, it is about $20 for a 10 foot section, which means you would need two pipes (cut in half) for the depth of the enclosure, four trimmed-down pipes for the height, and three for the width.
- That’s nine pipes for a total of $180.
Pipe cutter
- Yup, you’ll likely have to cut your own pipes. Most big-box stores or hardware stores will not help you with this anymore.
- A pipe cutter at Home Depot costs about $25.
Pipe fittings
- These connect the pipes to each other. You’ll need six three-way corner connectors, two L-shaped connectors, and up to three two-way connectors (if you split your width pipes in half for more sturdy support).
- Total cost of those connectors is about $100.
Enclosure material
- There is a wide variety of options here, from garden liner to curtains. For this specific sized enclosure, the total square feet of enclosure material is about 130.
- You can get black material from a place like Joann Fabrics for anywhere between $7.99-$13.99 for 15 square feet, which would equate to around $100 for the 130 square feet of enclosure.
Impact screen material
- We found a similar sized, low-end golf impact screen on Amazon that costs $150.
Tarp clips
- You would need these to attach to your impact screen, which then would attach to a ball bungee and then to the frame. Warning: a solid hit might send that tarp clip flying; It’s not our favorite solution, but some people make it work.
- You can get a 12 pack of tarp clips on Amazon for around $16. You’d probably want three of those 12 packs for a total of $48.
Ball bungees
- Typically run around $0.35 a piece, and you need each tarp clip to have one, so a total of 36 bungees for $12.60.
Total cost: $630.08
Compare that to the starting price of Carl's DIY Enclosure Kit...
That DIY build can absolutely work. The real question is whether the savings are worth the extra sourcing, measuring, cutting, mounting, and tweaking.
6) Conclusion: DIY Doesn’t Mean Doing Everything From Scratch
Your golf simulator is something you want to show off to friends and family. Something you want to last so you actually use it (a lot)… and maybe finally sink that hole-in-one.
Which DIY Approach Makes Sense for You?
Choose Full/Hybrid DIY if:
- You enjoy sourcing parts and solving problems as you go.
- You already have tools (or you want an excuse to buy more tools).
- You want maximum flexibility on materials and design.
Choose a DIY Enclosure Kit if:
- You want a cleaner, more predictable build path.
- You’d rather spend time playing than troubleshooting mounting and fit.
- You want the enclosure + impact screen to match without guesswork.
The main takeaway is simple: DIY is a spectrum. You can DIY a golf simulator by sourcing every component yourself, or by using a kit that still lets you build it hands-on, just with fewer unknowns.
6b) Some Reviews We Found Amusing

.gif?width=600&height=338&name=giphy%20(27).gif)


Search articles by tag:
DIY Golf Enclosures Golf SimulatorsRelated Posts
Golf Impact Screens, Golf Simulators, Projectors
How to Master the Curved Golf Simulator Screen, DIY, Projector Setup, and More
How-To, PRO Golf Enclosures
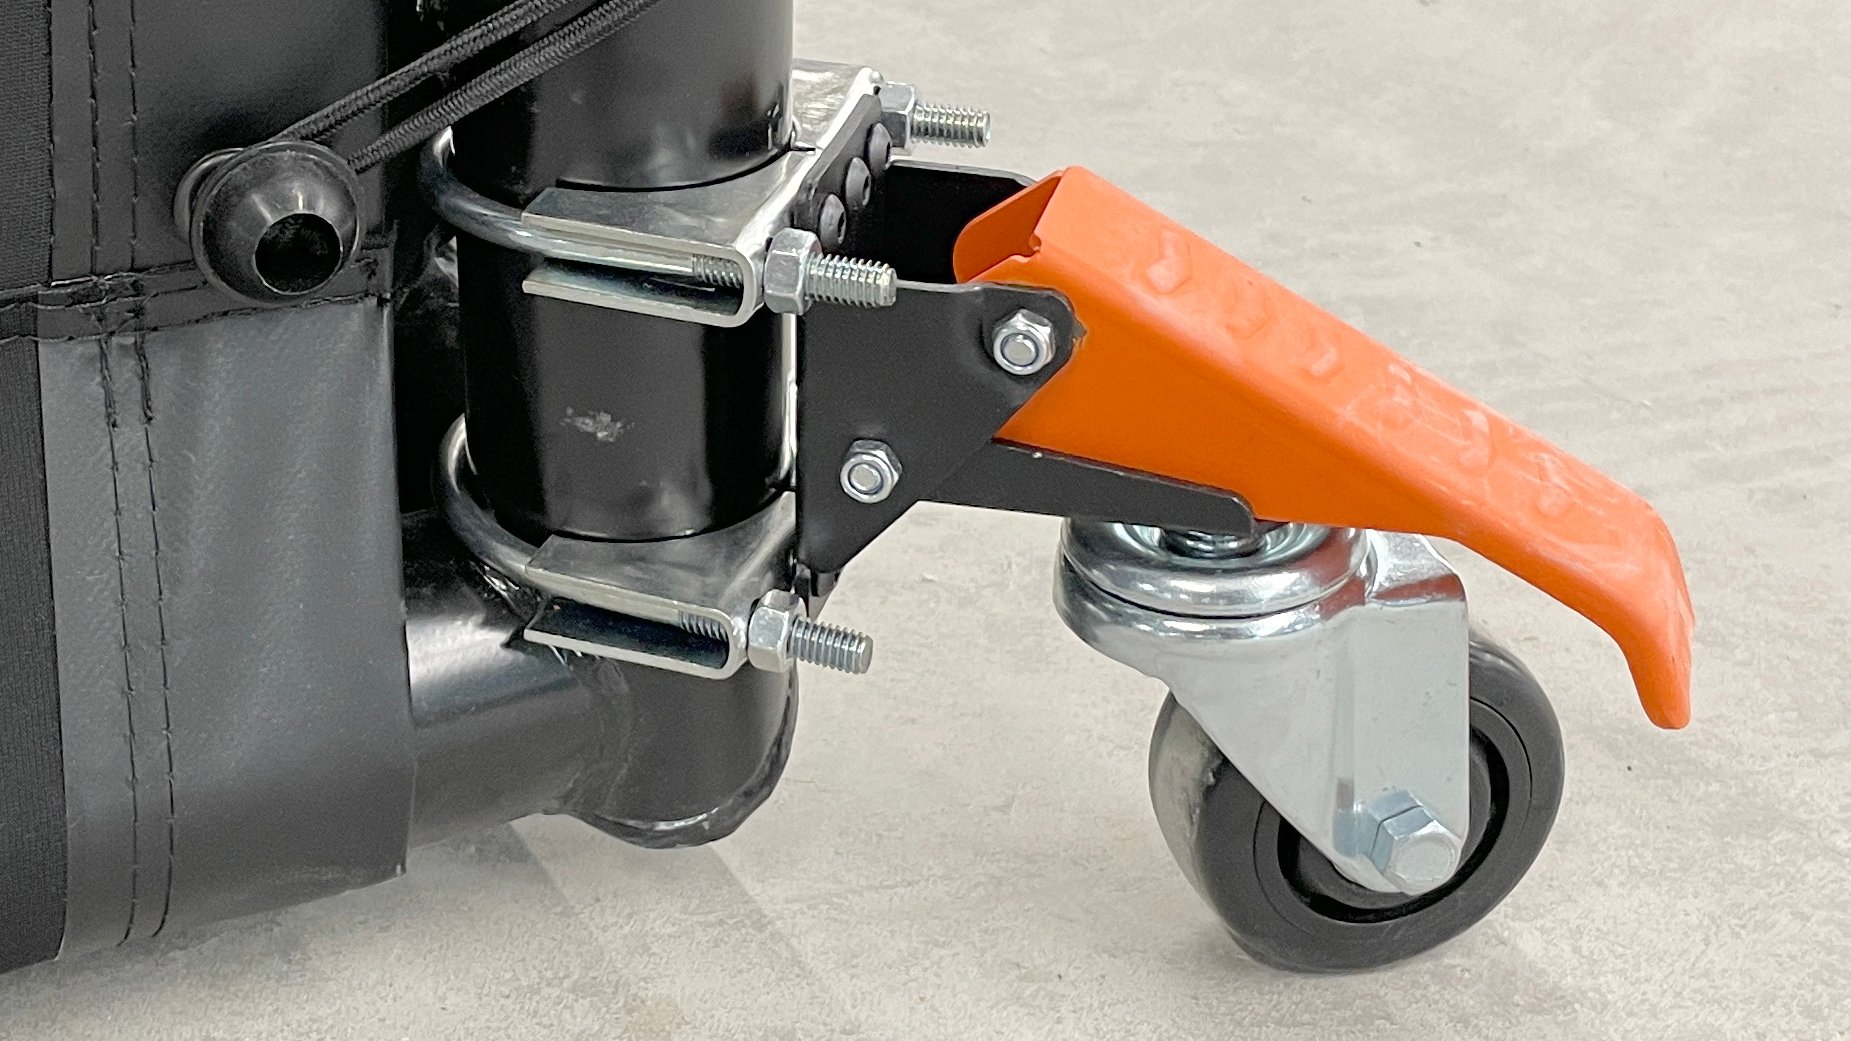
Moving Your Golf Simulator - How To Add Caster Wheels
How-To, DIY Golf Enclosures, Golf Simulators
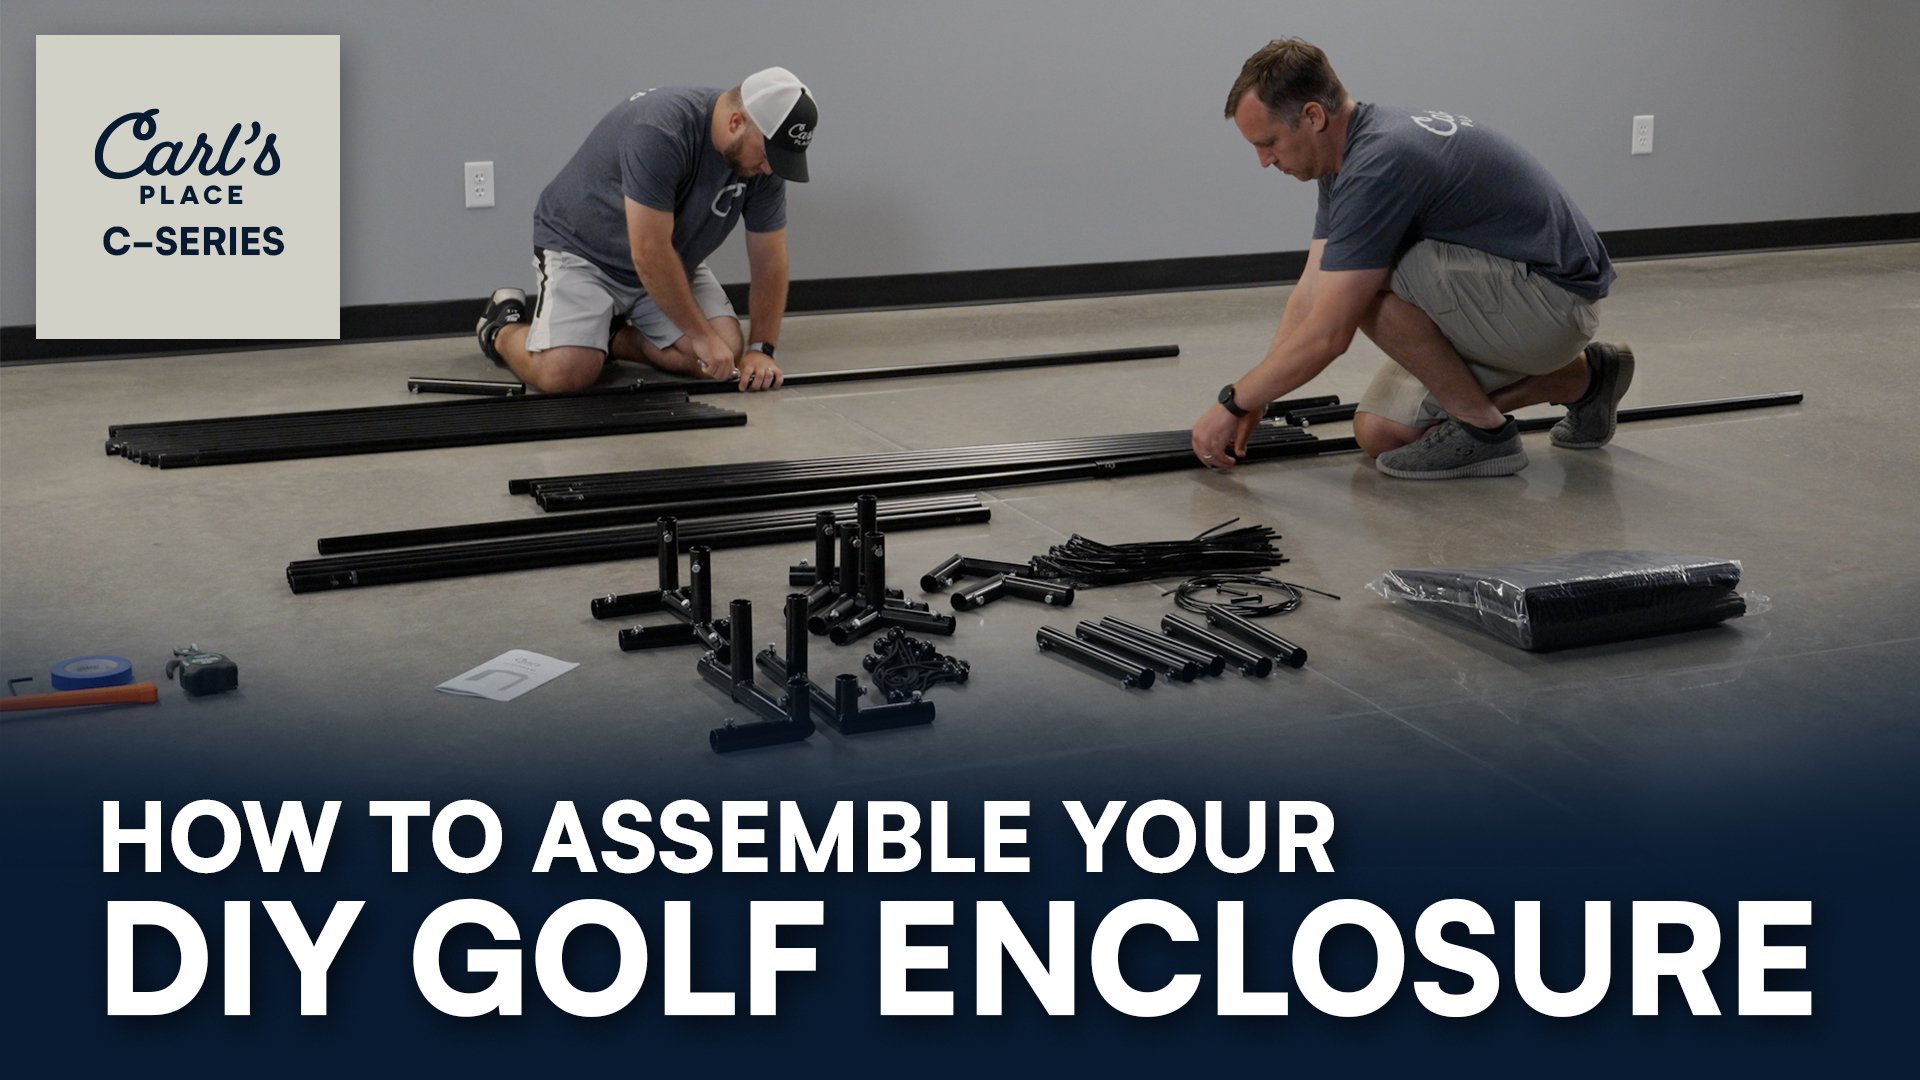
How to Assemble a DIY Golf Simulator Enclosure Kit