You can spend a lot of money on a golf simulator. Like, a lot. This is not that build.
For this $3K golf simulator challenge, we wanted to see how close we could get to a real home golf simulator setup without jumping straight into luxury simulator money.
Some of you big spenders might call that a “frugal golf simulator" or an "affordable golf simulator". Google tells us that "cheap golf simulator" is what a lot of you are asking about, but how about we keep it polite and stick with “financially responsible.”
So we used Carl’s Build Your Own Golf Simulator tool to create a few low-cost home golf simulator builds.
Three $3k Budget Builds We Made
in Carl's Build Your Own Golf Simulator tool
Here are three budget-friendly builds we made in our Build Your Own Golf Simulator tool. Our builds land right around the $3,500 mark, but each one shows a different way to keep the setup budget-friendly and very achievable.
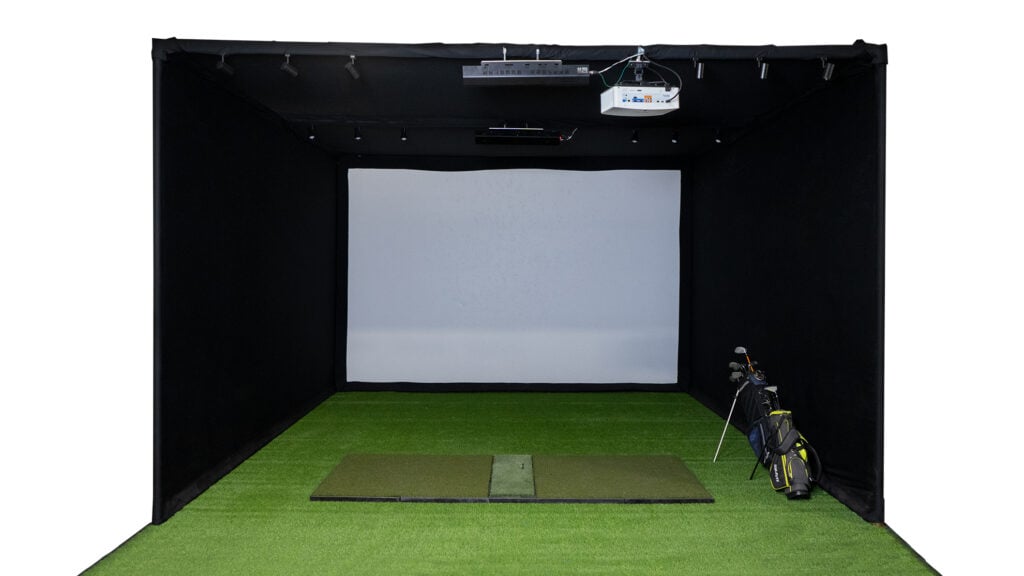
DIY Enclosure Starter Build
A low-cost freestanding enclosure setup with a DIY Enclosure Kit, Standard Impact Screen, Garmin Approach R10, 4x5 HotShot™ Hitting Mat, BenQ TH671ST projector, and projector mount.
This is a good starter build for home golfers who want an actual enclosure around the screen and a setup that can grow over time.
Budget tradeoff: To keep the cost lower, this build does not include the pipe framing kit. You will need to source and cut the EMT pipes yourself.
Build total*: $3,499

*Pricing shown was valid at the time of build and may change.
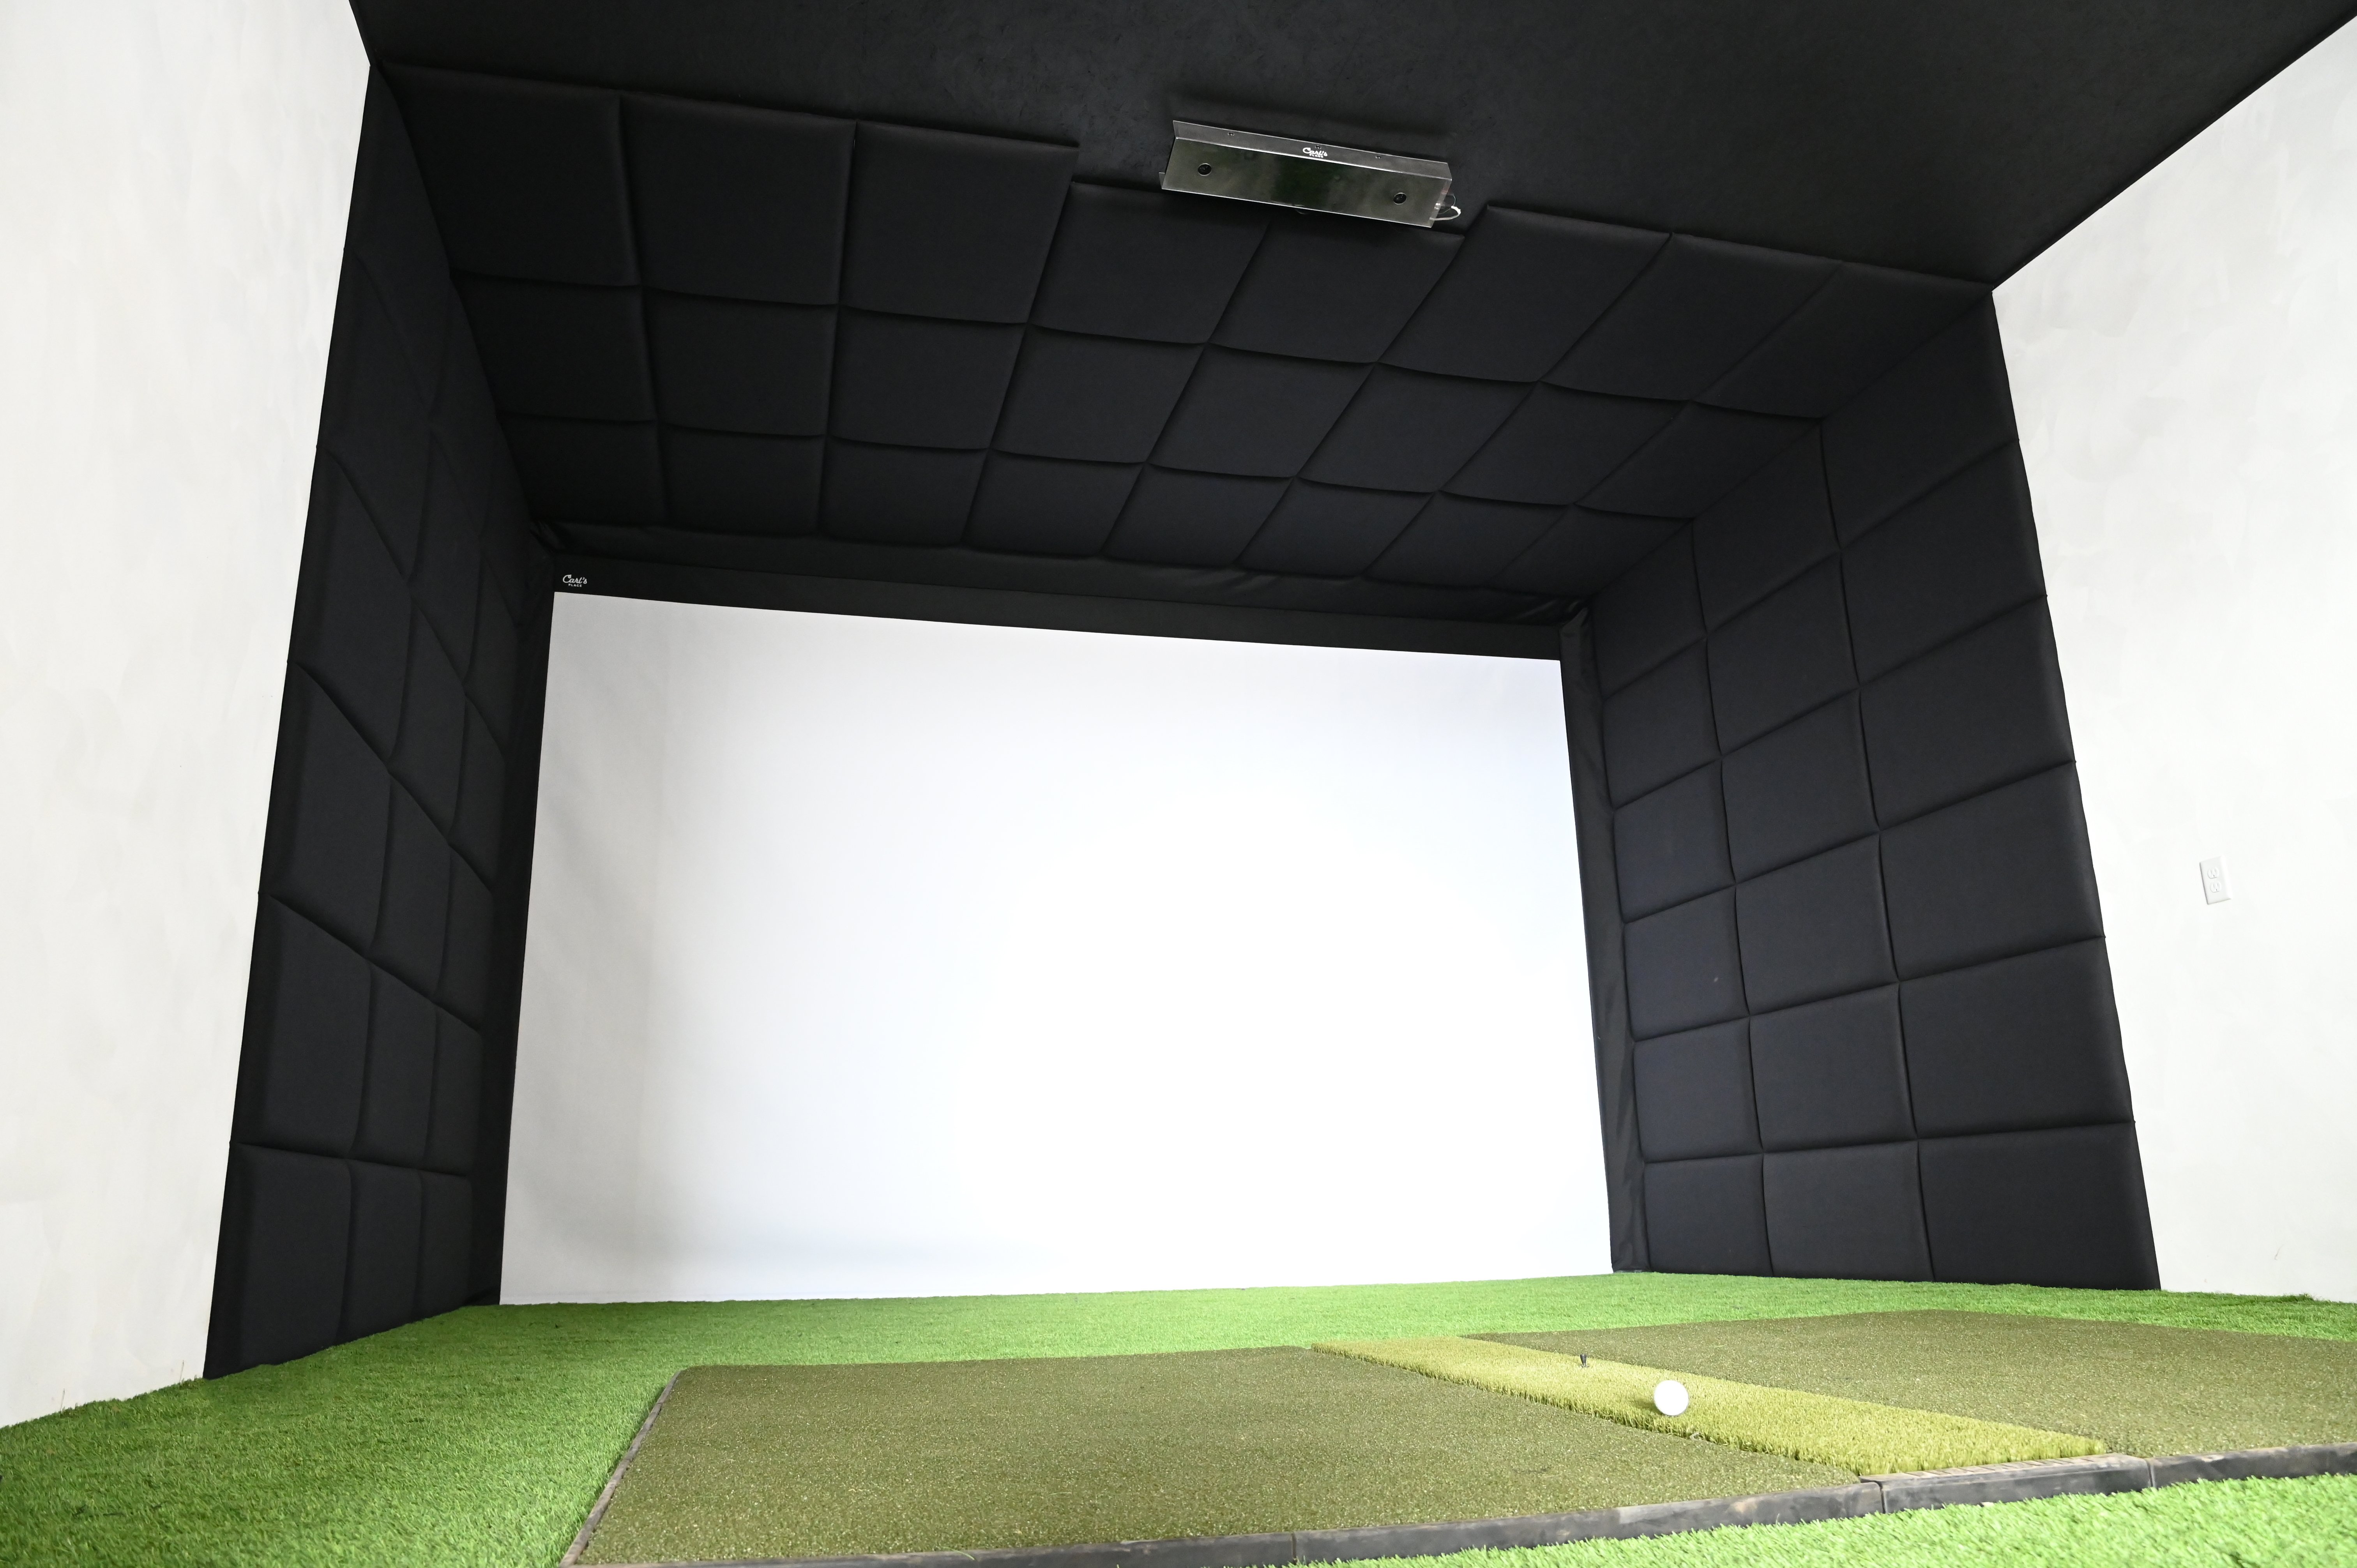
Built-In Golf Room Kit Budget Build
A built-in style setup with a Standard Impact Screen, wall and ceiling protection, Rapsodo MLM2PRO, 4x5 HotShot™ Hitting Mat, BenQ TH671ST projector, and projector mount.
This is a good option for golfers with a dedicated space who want a cleaner, more room-integrated look without jumping into a higher-end build.
Budget tradeoff: This setup takes more room planning and installation work because you are mounting protection to the walls and ceiling.
Build total*: $3,480

*Pricing shown was valid at the time of build and may change.
Screen-Only DIY Build
A true DIY screen-only setup with a Preferred Impact Screen, Uneekor EYE MINI CORE, 4x5 HotShot™ Hitting Mat, BenQ TH671ST projector, and projector mount.
This build puts more of the budget toward the launch monitor by skipping the full enclosure kit.
Budget tradeoff: You will need to build your own frame or mounting system, attach the screen safely, and plan your own side, ceiling, and bounceback protection.
Build total*: $3,520
Though you could totally get this under $3,000 if you went with the Garmin R10 or Rapsodo MLM2Pro.

*Pricing shown was valid at the time of build and may change.
![]()
Look at what is not included, too. A lower build total may mean you are sourcing and cutting your own EMT pipes, building your own screen frame, or missing key accessories. It can be a smart way to save money, as long as you know what DIY work you're signing up for.
Now, let’s break down what to look for in each part of a budget golf simulator, plus where you can save money without making the setup feel sketchy.
MOST AFFORDABLE GOLF ENCLOSURE AND IMPACT SCREEN
The screen area is one of the biggest decisions in a budget golf simulator. It is also one of the places where “cheap” can go sideways fast if you don't think through durability, safety, bounceback, and how the screen will actually be mounted.
For most budget home golf simulators, there are three affordable paths to consider:
-
DIY Enclosure Kit: A strong starter option if you want the screen, enclosure material, fittings, and frame plan designed to work together.
- Built-In style setup: A good option if you have a dedicated space and want the screen and protection mounted into the room.
- Screen-only setup: The most hands-on DIY option. It can save money up front, but you are responsible for the frame, mounting, side protection, ceiling protection, and overall safety plan.
If you want the easiest low-cost path, start with the DIY Enclosure Kit. The 7.7-foot-tall size is a popular option for budget indoor golf setups because it was designed to fit within many standard 8-foot ceilings. Of course, use caution when swinging in a room of that height. Especially with your driver.
![]()
We can customize sizes outside of the standard golf enclosure sizes listed on our website, but we don’t recommend going smaller than the 7.7x10x5 size.
If you go with a DIY Enclosure Kit, you will need pipes to build the frame of the golf enclosure and impact screen. We offer a pipe framing kit for an additional cost, or you can source the pipe locally if you want to save money and are comfortable cutting it yourself. Check out our install guide to see it all come together.
MOST AFFORDABLE LAUNCH MONITOR
A launch monitor is what turns your hitting space into a simulator. It reads your shots, gives you data, and connects to the software experience. So while it is tempting to look for the cheapest option possible, the better move is to find the most affordable launch monitor that still does what you need it to do.
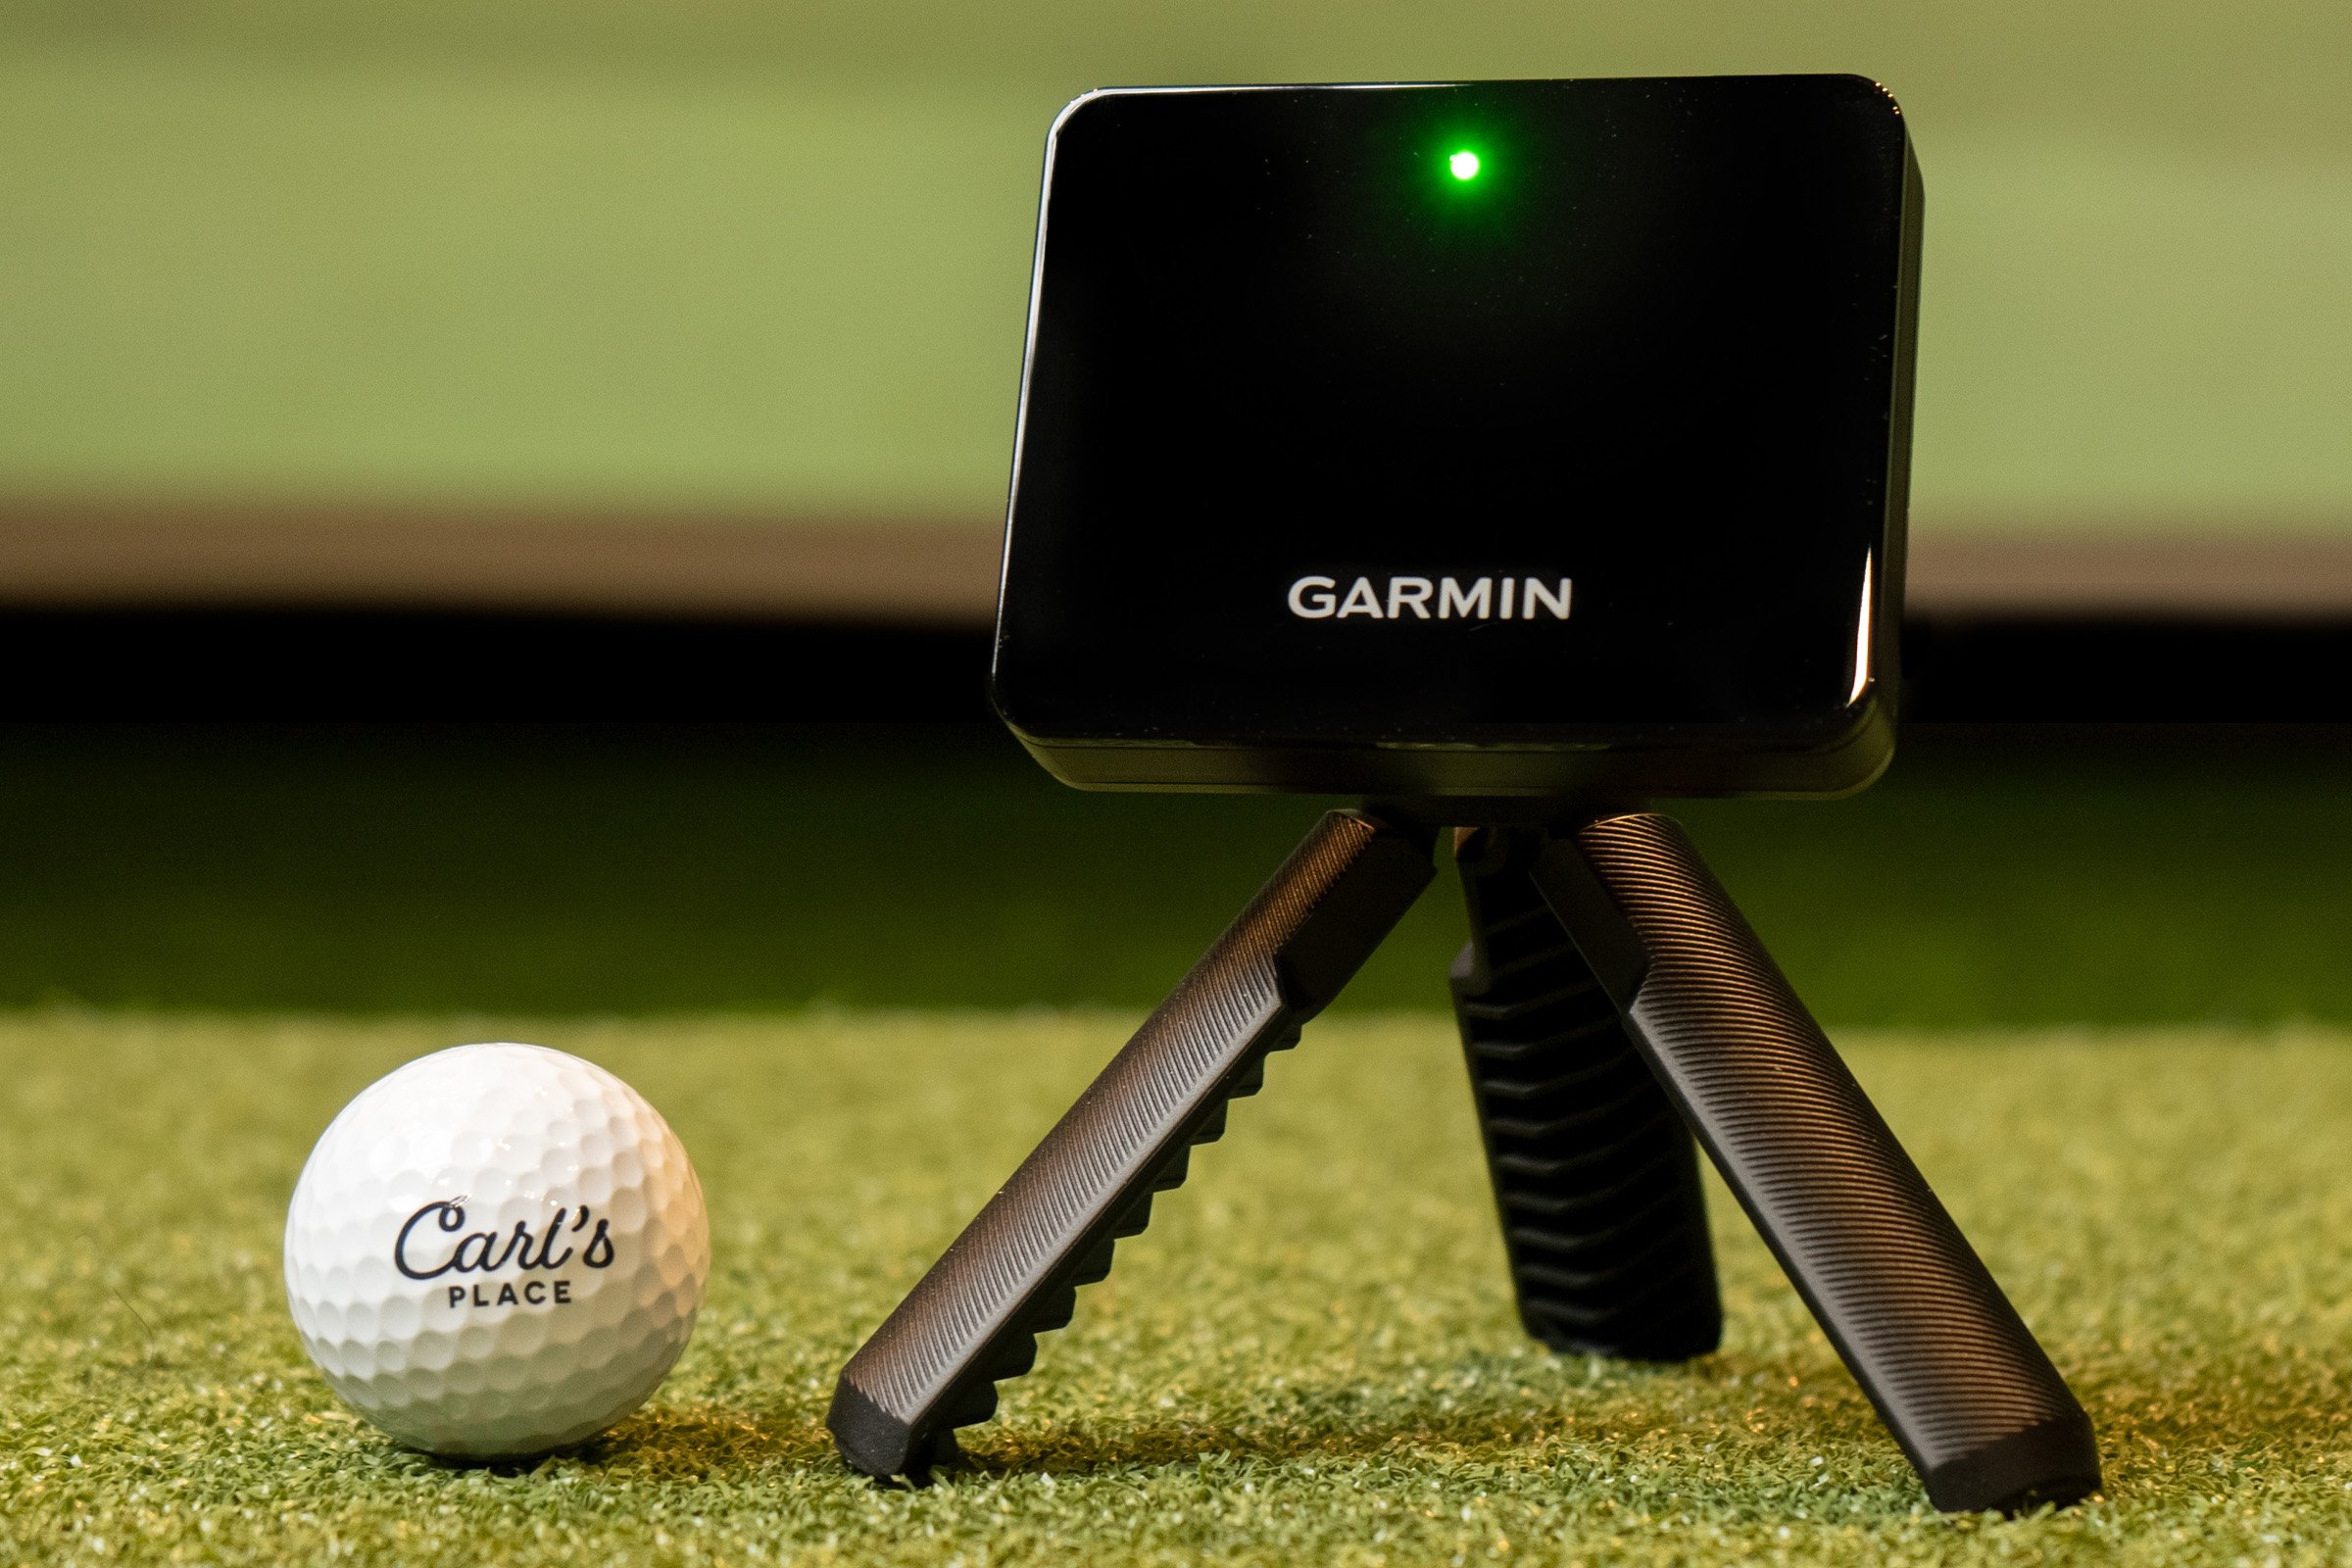
For budget golf simulator builds, options like the Garmin Approach R10 and Rapsodo MLM2PRO are popular because they help keep the total cost down while still giving home golfers a way to practice, play, and track shot data.
If launch monitor performance is where you want to spend more, you can look at a step-up option like the Uneekor EYE MINI CORE. That may mean saving somewhere else, like starting with a screen-only setup, skipping extra room upgrades, or waiting on some accessories.
When comparing affordable launch monitors, think about:
-
Space requirements: Some launch monitors need more room behind or beside the ball.
- Data points: Decide whether you need basic shot info or more detailed club and ball data.
- Software: Check what apps, subscriptions, and simulator software options are available.
-
Device needs: Some setups can run from a phone or tablet, while others may need a computer.
- Upgrade plans: If you already know you will want more data later, it may be worth spending more here first.
MOST AFFORDABLE GOLF SIMULATOR PROJECTOR
A projector isn't absolutely required for every budget golf simulator. If you need to keep the total lower, you could just start with a phone, tablet, or computer display (depending on your launch monitor and software).
That said, if you're going to have an impact screen, a projector is what makes the setup feel more like a real simulator. Instead of looking down at a small screen after every shot, you see the course, range, or software right where you hit.
When shopping for an affordable golf simulator projector, you can't just look at price. You have to make sure it actually works for your room.
- Throw distance: Make sure the projector can create the image size you need from where it can safely be mounted.
- Brightness: A brighter image matters, especially if your room has ambient light.
- Mounting location: The projector needs to be placed where it works for the image and is less likely to get hit.
- Connection type: If you plan on using your mobile device or tablet as mentioned above, you will likely need an adapter or bluetooth connection to your projector. You can simply get an adapter, such as a lightning or USB-C to HDMI adapter, or spend a little more for a Chromecast or Apple TV for a wireless connection.
MOST AFFORDABLE GOLF HITTING MAT
You’re not going to want to hit off of your cement garage floor, laminate basement floor, or shag carpeting (although it might be tempting). You will want to use a hitting mat to help protect your floors, your clubs, and your joints. It also makes the setup feel more like a real place to practice instead of a corner of the garage you are slowly destroying.
For a budget golf simulator, look for a hitting mat that gives you:
-
Enough hitting area: Make sure you have enough room to stand and swing comfortably.
- Righty and lefty flexibility: If both right-handed and left-handed golfers will use the simulator, choose a mat setup that can handle both.
- Real tee options: Tee receivers or turf that accepts real tees can make the setup feel more natural.
- Replaceable hitting area: If the hitting area wears out, replacing that section is better than replacing the whole mat.
- The right balance of soft and realistic: A super soft mat that messes with your data isn't really helping you out.
Carl’s HotShot™ Golf Mats are available in multiple sizes and give you a soft, realistic hitting surface. They also include tee receiver options so you can continue to use real tees. And when the center hitting area wears out, you can replace that section without replacing the whole mat.
TOTAL COST OF OUR $3K GOLF SIMULATOR CHALLENGE
So, can you build a golf simulator for around $3,000?
Yes, depending on your room, product choices, and how much DIY work you are willing to take on. With our examples, we landed closer to the $3,500 mark, but we could have even gone easier on our wallet in some areas (smaller hitting mat, used projector, or just getting a screen hung, etc.), so there’s proof that golfers with all budgets have a chance to get into indoor golf.
Which proves the bigger point: a home golf simulator doesn't have to start as a $10,000 or $20,000 project. If those numbers are ever in your budget though, check out our $5,000, $10,000 and $20,000 golf simulator build challenges.
See what golf simulator you can build on a budget with Carl's Build Your Own Golf Simulator tool.

Search articles by tag:
DIY Golf Enclosures Golf SimulatorsRelated Posts
Golf Impact Screens, Golf Enclosures
How To Install Carl's Built-In Golf Room Kit
Golf Simulators, Resources, PRO Golf Enclosures, Projectors, Launch Monitors
Considering a Crossbar for your Golf Simulator Design?

Golf Impact Screens, Resources
$5k Budget Golf Simulator Setup Ideas