
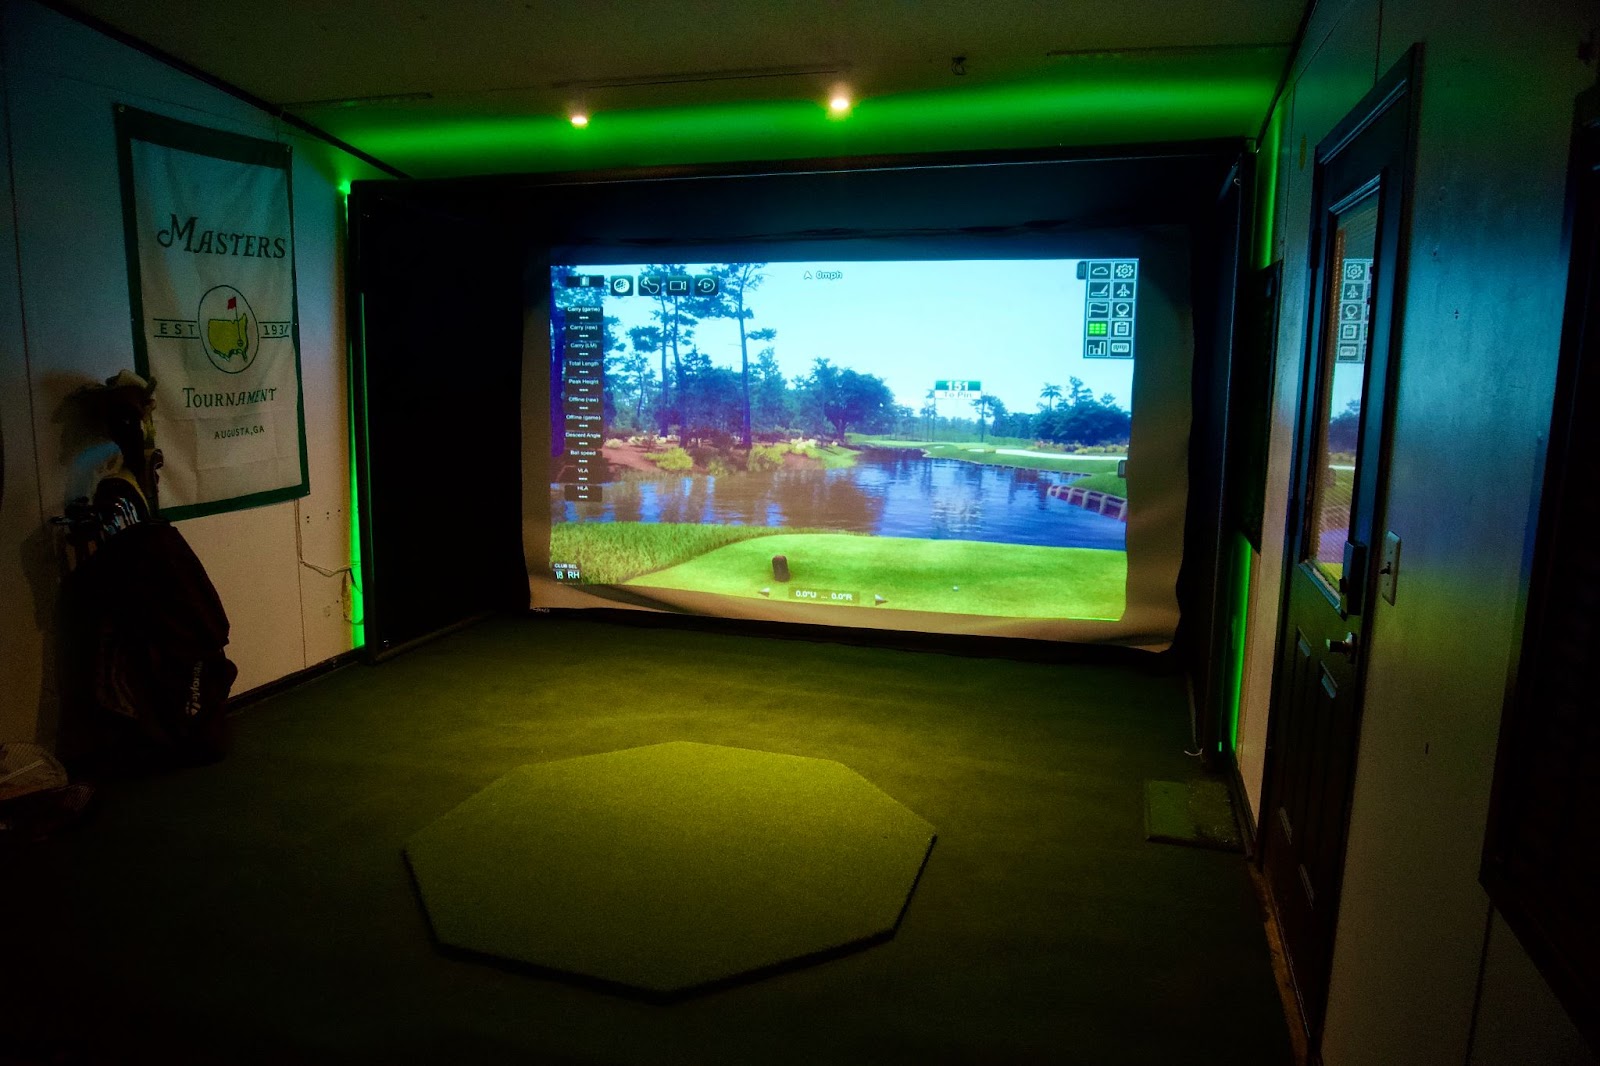
Track-lighting can be a budget-friendly addition to give your golf enclosure dynamic flair. If you have a few hours to invest, our team at Carl’s Place has some tips for adding track lighting to your golf simulator.
Materials and Tool Needed:
- Track-Lighting Kit
- 6-inch Black Ball Bungees
- Scissors or Utility Knife
- Extension Cord
- Ladder
Track-Lighting Kits can be picked up locally at many hardware stores. We suggest getting an integrated kit that comes with everything you need. Most track-kits include one floating power feed, one track section, integrated track heads, components and accessories.

Using 6-inch black ball bungees or zip ties, you can easily fasten the track lighting right to EMT along the top of your enclosure. You will want to first flip the black flap up, install the golf simulator lighting, then flip the flap back over. If needed, connect the lighting to an extension cord and run along the EMT across the top and down the side.
You may also drill the lighting directly onto the pipes of your golf simulator. However, fastening with bungees is easier, safer, and gives your more flexibility (easier to take down) if needed.

Next, grab a scissors or utility knife and carefully cut slits in the flap to allow room to install the track head. Once you have the track heads attached, plug the unit and arrange the lights in your enclosure.
Track lighting is a great way to give an element of sophistication to your enclosure, without needing a big budget!

Search articles by tag:
Golf Simulators Post-PurchaseRelated Posts
Golf Simulators
Golf Simulator Lighting: What To Get And Where To Mount Them
DIY Golf Enclosures, Golf Simulators
Golf Simulator Turf: The Cherry On Top
Golf Impact Screens, DIY Golf Enclosures, Golf Simulators, PRO Golf Enclosures
Improve employee morale, attract candidates with a golf simulator at work