Your buddy spent the winter practicing his swing on the simulator he built and is now kicking your butt all over the course this summer. Don’t let him get used to winning. Here are the tools you need to make a killer home golf simulator and get swinging with your own DIY indoor golf setup.


How To Build A Golf Simulator

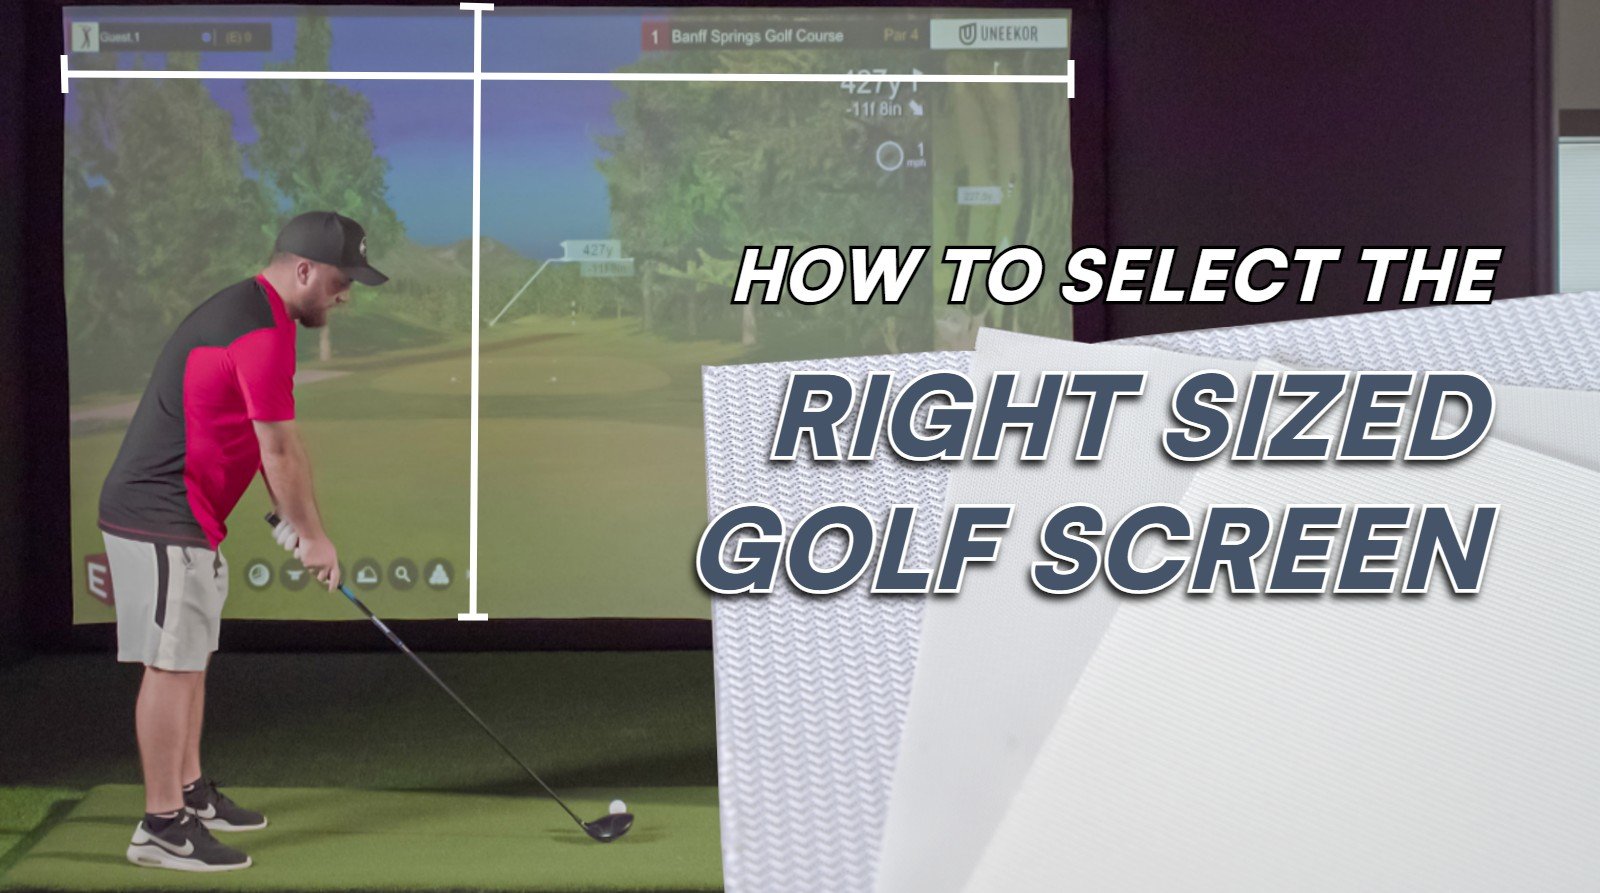
1. SELECT A GOLF SCREEN
The golf impact screen is the foundation of your home golf simulator. Get started on the right foot by figuring out the basics.
-
Aspect ratio: Aspect ratio is the relationship between the width of your screen and the height of your screen. Common aspect ratios for golf screens are 4:3 and 16:9, mostly because modern projectors are capable of outputting images in those sizes. If the aspect ratio of your impact screen and of your projected image match, the image should fit perfectly on the screen without overflowing or unused space. Your room ceiling height and width will play a large factor into the aspect ratio of your screen.
-
Screen size: Simply put, how big is your screen going to be, and how are you going to come to that conclusion.
-
Type of edges you need: Carl's Place offers different finishes to screen edges to help the customer match their specific need. Don't need a finished edge with grommets on one side? We've got options.
-
Material: Carl offers three levels of screen materials: Premium, Preferred and Standard.
We shared the top questions we get about golf simulators and screens to help you. And this guide on how to choose a golf impact screen material is great for an in-depth comparison.
Essentially though, you're looking for an indoor golf screen that can withstand the impact of a ball when golfing. A golfer hitting with a driver is a powerful force; the average home golfer can hit around 160 MPH with a driver. Any Carl's Place heavy-duty DIY golf impact screen can be used to build a golf simulator enclosure. Each offers finishing options like vinyl edges and grommets to suit your DIY build. The higher-end screens have a smoother texture for a better HD picture. All of our golf screens can the high-impact hits from golf balls being hit up to 250 MPH.
2. BUILD OR BUY A GOLF SIMULATOR ENCLOSURE
You have a couple options when looking for a golf simulator hitting cage to surround your golf simulator DIY hitting area.
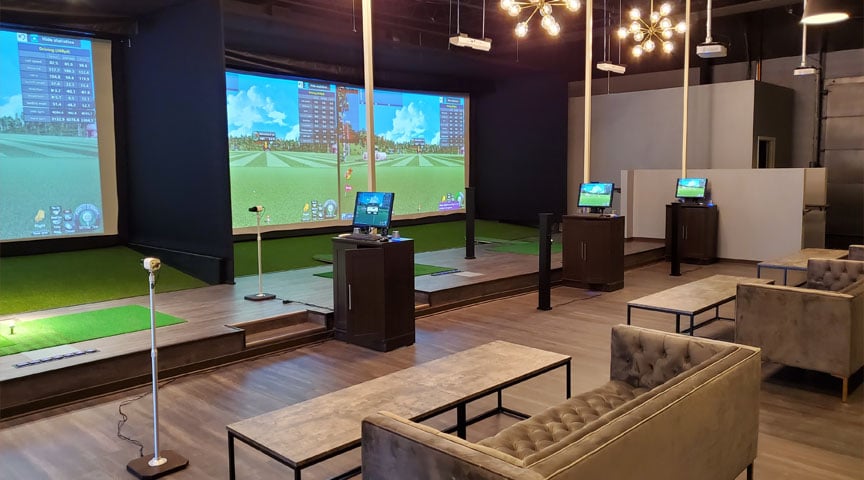
Unless you’re a seasoned pro, you probably don’t trust yourself to hit the ball exactly on target every time. You'll need to build a golf simulator with something around it to safeguard against miss-hits. We find most indoor golfers prefer the durability of a golf screen and enclosure.
You can build a custom frame, source fittings to piece it together, and even find raw materials to make your own impact screen and finish the edges. Or you can use a kit that helps you build a golf enclosure. With Carl's Place Golf Simulator Enclosure Kit, you get an easy-to-install solution with protection again mis-hits. If that's a little too easy for your custom golf simulator build, you can DIY your golf enclosure with your own frame fittings.
For high-end and commercial indoor golf simulator installations, our Pro and Curved Enclosures are great, easy-to-assemble choices. Check out the Pro assembly video and Curved assembly video to see just how easy.
Not sure which enclosure to choose?
How do I hang a golf impact screen?
The best golf simulator DIY setups use a full golf enclosure kit where the screen is included and attaches to the enclosure frame with ball bungees. This is an easy and safe way to keep the golf ball from damaging walls and ceilings. We don't recommend hanging screens from ceilings. It can cause puckering and affect the image.
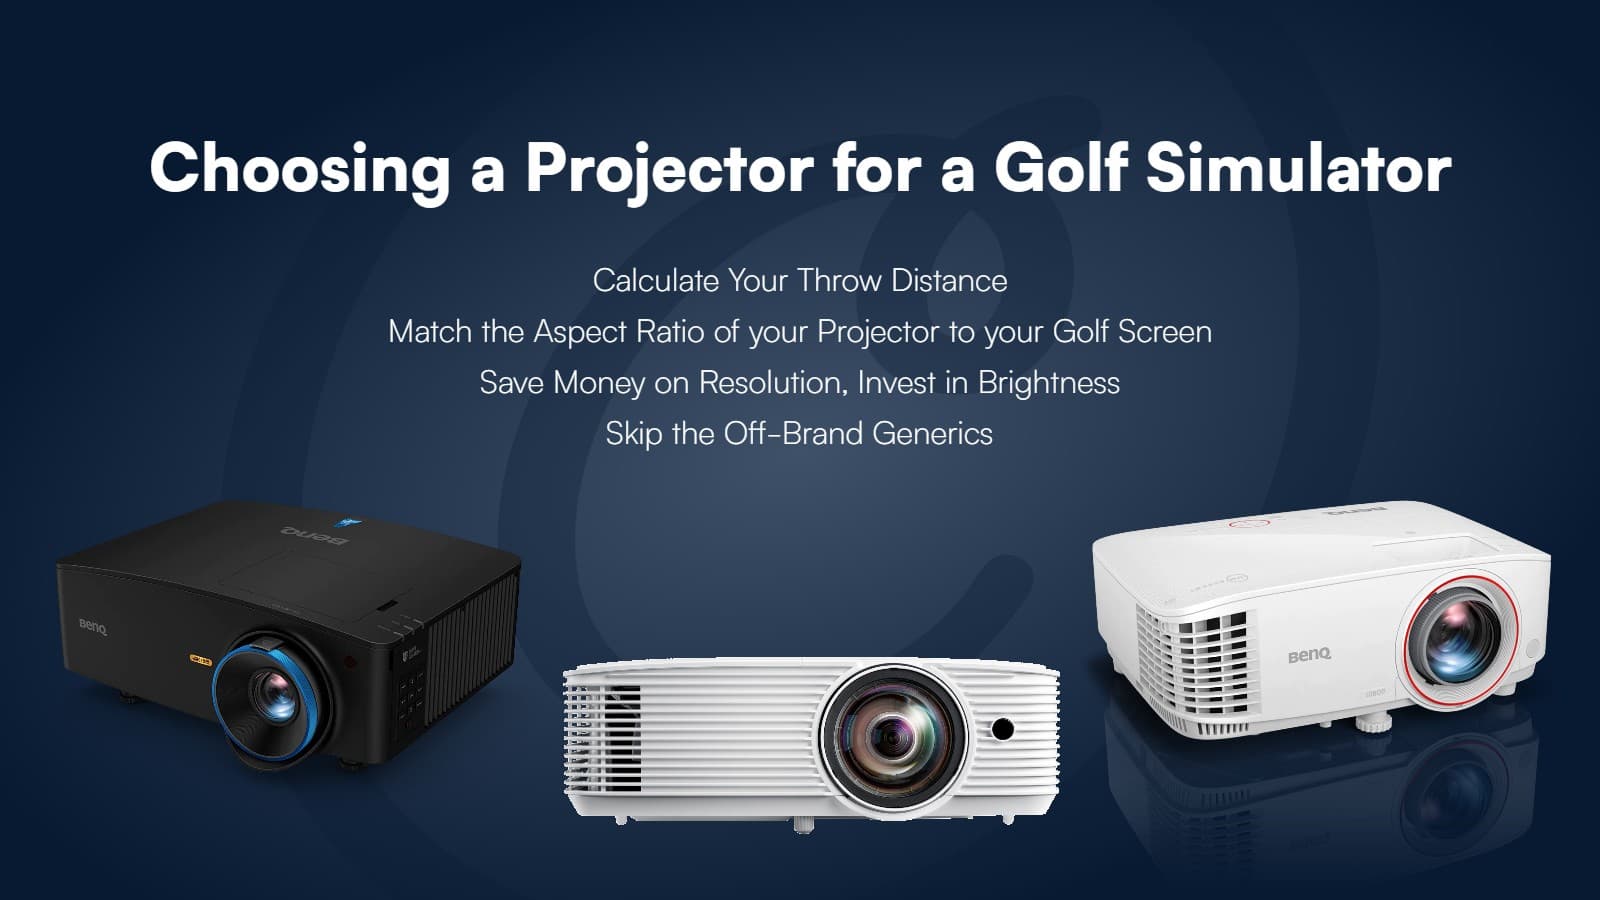
3. ADD A PROJECTOR
To get that big image you’ll need a projector properly sized for the job. When you’re shopping for a projector, make sure that you’ll be able to get the image size you need in your mounting configuration by matching the aspect ratio of your projector to your screen with this calculator.
If you truly want your simulator to be brag-worthy, you'll want to invest in a top-notch projector with 4K resolution. However, there are 4K projectors, such as the BenQ LK936ST, that cost significantly more than the BenQ TK700STi or TK710STi. That's why we compared them for you.
If 4K is completely not in the budget, there are some great entry level options as well. At the entry level, you can still get a great 1080p HD picture for the price point.
If you really want to brag about your setup, you might consider adding a second projector to display your data and other information on your floor!

4. ADD A LAUNCH MONITOR, SWING ANALYZER, OR SENSOR TECHNOLOGY
You’ll need some sort of technology to read your golf ball as it is hit. We’ve got four major launch monitors for you to compare.
A lot of times in golf simulators (and life in general), you get what you pay for, which means the more you pay for a launch monitor, the more "brag-worthy" your golf simulator setup might be. There are certainly some launch monitors that might perform better at a lower price point, but in general, the more expensive the unit, the better.
Entry-level launch monitors typically provide basic ball data, such as carry distance, total distance, ball spin, and so on, while higher-end launch monitors will measure and/or calculate more ball data and also club data, such as angle of attack, club path, and more.
Also, one thing to keep in mind for a setup you can brag about: an overhead-mounted unit. Radar launch monitors that sit on the floor behind the golfer are just fine, but if you're able to mount them above and out of the way of balls, clubs, people, etc., it will be much easier to make a cleaner setup.
High-end radar launch monitors, such as the Trackman4, have been known to be very accurate, though. So, are you looking for that clean look with the launch monitor out of the way, or looking for data and accuracy?
Below, we will briefly take you through the pros and cons of some of the launch monitors we sell, but we also have more detailed information on how to choose a launch monitor.
Note: Many of the higher-end units either need a computer or work better with a computer to run the software. Each software has recommended computer specs, but in general, the minimum specs usually include: Intel i5 8400 CPU or better, 8GB of RAM, Nvidia GeForce GTX 1060 graphics card or better, and Windows 10 or newer. Learn about the most important components of a golf simulator computer.
BUILDING A GOLF SIMULATOR WITH A UNEEKOR EYE XO or EYE XO 2 or Trackman iO
Pros: Industry-leading data accuracy on both club and ball data and real-time footage of ball impact are provided by high-speed cameras.
Cons: The EYE XO bar needs to be mounted overhead so it's less portable than floor units.
 Bonus: These units pair perfectly with a Pro Golf Simulator Enclosure kit from Carl’s Place. You can choose to either ceiling mount them, or mount it directly to the Pro Golf Enclosure for a fully custom setup.
To save even more, these bundles allow you to choose your golf enclosure size, launch monitor, and popular software.
BUILDING A GOLF SIMULATOR WITH THE PROTEE VX or NVISAGE N1
Pros: Two of the most affordable and accurate overhead-mounted launch monitors. The ProTee VX provides top-quality club-at-impact replay via built in cameras, is easy to setup and install, while the price of the NVISAGE N1 is nearly impossible to beat.
Cons: Mounting them overhead limits portability compared to floor units.

HOME GOLF SIMULATOR SETUP WITH A GARMIN APPROACH R10
Pros: Small, extremely portable radar-based unit that works well indoors and outdoors. Measures 14 data points. Gives you a great idea of where your golf game is at and what you need to improve on.
Cons: Garmin Golf app graphics are a bit cartooney and not very realistic looking.

BUILDING A GOLF SIMULATOR WITH A SKYTRAK GOLF LAUNCH MONITOR
Pros: Affordable option that is as accurate as a commercial monitor. Upgraded camera-based technology measures flight path and distance.
Cons: Is a great starter for commercial use but doesn’t offer as many bells and whistles as some of the much more expensive models (but is often highly rated by users).

HOME GOLF SIMULATOR SETUP WITH A MEVO+ LAUNCH MONITOR
Pros: Uses 3D Doppler tracking radar technology giving golfers the ultimate practice and play experience. Great for indoor/outdoor use.
Cons: The battery life is short, up to 2 hours on a full charge, and up to 1.5 hours in simulator play.

BUILDING A GOLF SIMULATOR WITH A TRACKMAN4
Pros: Used by the pros, it uses radar technology and tracks a number of different club and ball definitions for your best game, including: smash factor, spin rate, launch angle, carry, ball speed, club speed, dynamic loft, attack angle, club path, and face angle!
Cons: The most expensive by far, it starts at $18,995.
Still not sure which launch monitor to choose?
5. INVEST IN A QUALITY HITTING MAT
A hitting mat is a necessity to any golf simulator setup. Trust us, you don't want to be hitting off your shag carpet or cement floor. Be sure to invest in a decent mat that looks good and feels good on your joints, and also stays in place.
If you go a little too budget friendly on your hitting mat, you might start feeling it in your joints, similar to if you were to hit off that garage cement floor. You certainly won't want to brag to your buddies about the joint pain, and your buddies won't be braggin' to others about your setup when it feels like their elbow is going to fall off.
We've already compared some of the top hitting mats.
Important factors to keep in mind when searching for a hitting mat include:
- Realism: how well does the mat emulate real grass turf?
- Practicality: how does the price reflect the quality of the mat, and is it easy to put together and use?
- Comfortability: how easy is the mat on your joints? Can you play for hours without your joints hurting?
6. CONSIDER GOLF SIMULATOR ACCESSORIES
Make your golf simulator perfect with a few extras.
-
Golf nets or baffles to keep the ball contained
-
Golf club organizers - the Golf Club Display Shelf is a reasonably priced one will that fit in almost any space
-
Carl's Swing Cameras help you and your buddies improve your game by allowing you to watch your swing in slow motion.
-
TruGolf MultiSport ARCADE - enhance your existing golf simulator with TruGolf MultiSport ARCADE, a dynamic sports simulator that transforms your area into an exciting gaming hub. Prepare for an elevated level of interactive gameplay and engaging enhancements with your setup.
BRAG-WORTHY DIY GOLF SIMULATOR SUMMARY
Whether you go with one of our golf enclosures or decide to make your own, you can build a home golf simulator that is brag-worthy. Get practicing in the shed, basement or garage and you’re all set for swinging your clubs until you’re the next Tiger Woods… or close, at least.
Check out our other golf simulator buying guides: Best Golf Simulators | Best Projectors | Top Golf Simulator Questions | Best Golf Hitting Mats | $3k Budget Golf Simulator | $5k Budget Golf Simulator | $10k Budget Golf Simulator | $20k Budget Golf Simulator | Best Golf Simulator Enclosure Size | Best Golf Screen Size
Search articles by tag:
How-To Golf Impact Screens ResourcesRelated Posts
Golf Impact Screens, Golf Simulators, Resources, Projectors
Choosing a Projector for a Golf Simulator
How-To, Golf Impact Screens
How to Select the Best Golf Screen Size

Projectors
Compare BenQ 4K Projectors: TK700STi vs. TK710STi vs. LK936ST