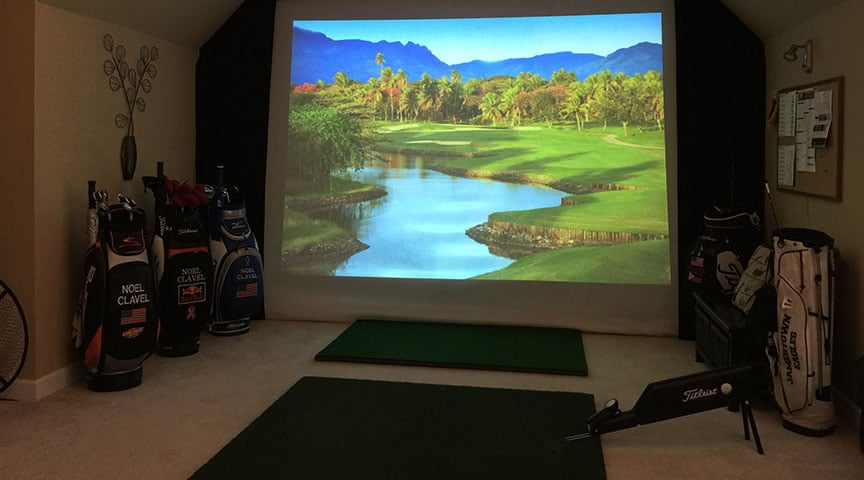
One common question many golf simulator users tend to have is: how can I find that perfect balance between a taut screen for great projected image quality, and a loose screen for reduced ball bounceback?
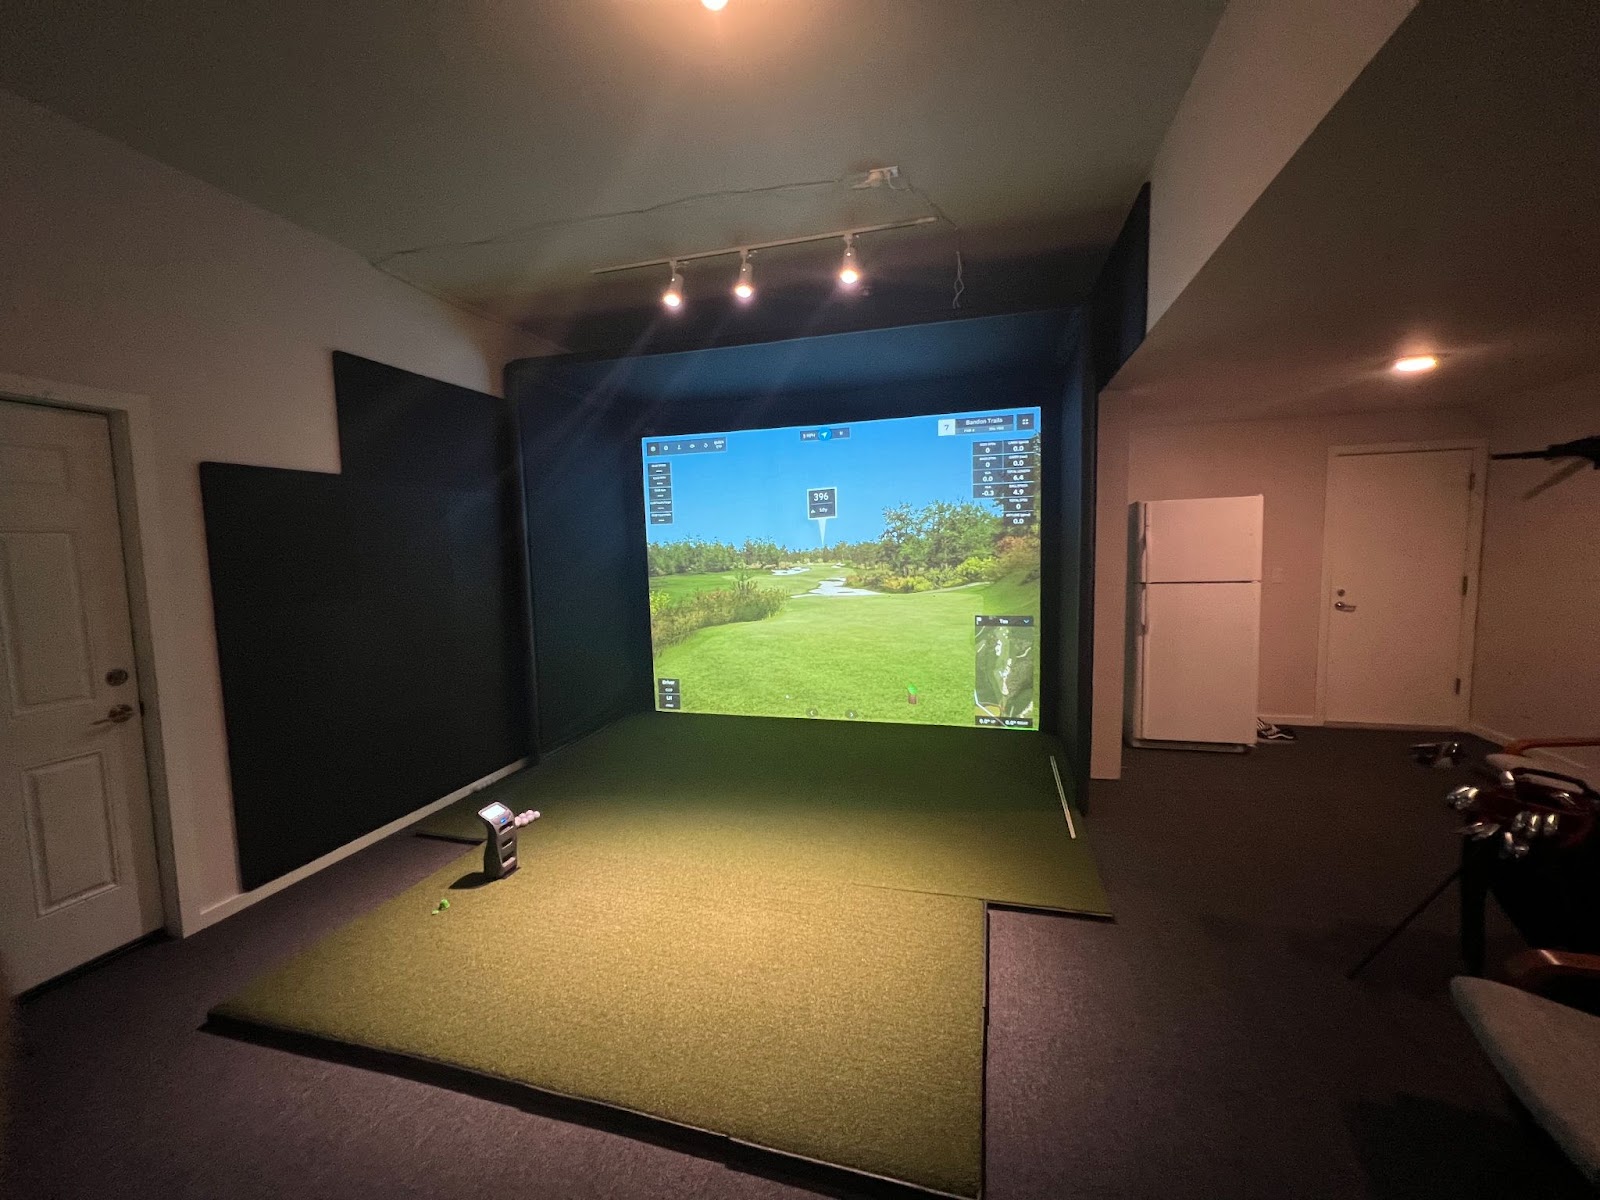
First of all, the good news is that Carl’s C-Series Enclosures, launched in August 2023, naturally reduce ball bounceback thanks to the ingeniously designed cable bottom and versatile zip ties used to connect the impact screen to the enclosure frame. But, if you feel you’re still having trouble getting a smooth, flat screen, here are some troubleshooting tips.
HOW DO I SMOOTH OUT WRINKLES IN MY GOLF IMPACT SCREEN?
Start By Preventing Golf Screen Wrinkles
The first tip we give everybody who orders a Carl’s Place golf impact screen is to get it unboxed and hung somewhere as soon as possible. The longer the golf screen sits folded in a box, the more likely it will gain longer-lasting wrinkles and folds.
That is one of the main reasons we make all of our screens and enclosures to order. We don’t want our customers receiving a product that has been sitting on a shelf for weeks or months.
If you need to store it folded, just make sure it’s folded very loosely.
However, we understand it doesn’t always work out that way, or that your busy life might get in the way of you setting up your golf simulator space. If that happens to you, use the following tips to help relax your screen and get rid of any wrinkles.
Let Gravity Do The Work
As we mentioned, get that impact screen hung up as soon as possible after the box arrives on your doorstep. Give it a chance to “stretch out” a bit after a scrunched ride in a box.
Hang it in your closet. Hang it from your floor joists. Heck, just drape it unfolded over a couch. Just make sure that wherever you put it won’t make your golf screen dirty, otherwise you’ll have to look into these cleaning options.
Use A Steamer on Your Golf Screen to Remove Wrinkles
DISCLAIMER: Using a steamer on too strong of a setting could damage your impact screen. Be extremely cautious.
We strongly advise against ironing your golf screen, as it’s possible to cause damage. Our goal is for your golf screen to last a long time.
To prevent wrinkles and fold marks, it's best to unpack your new screen right away and, if you need to re-store it in a box, fold it very loosely. Using our zip ties or ball bungees to mount and tension your golf screen on a frame and allowing it to settle for a few days will help eliminate most wrinkles.
We've also found using a steamer can effectively remove wrinkles and folds. A clean, consumer-grade steamer with distilled water can speed up the wrinkle-removal process and help prevent water marks on your screen.
Tension Your Golf Screen to Remove Wrinkles
If you have an older Carl’s Place enclosure or a screen that DOES NOT have a cable running through it, you can help get rid of wrinkles by using more tension on the screen. Tightening the screen all around will help pull out the wrinkles. However, you’ll want to check to make sure the ball bounce back is safe at that tension, otherwise you’ll want to loosen the screen back up once the wrinkles are gone.
If you have a Carl's screen that DOES the cable running through it, you’ll want to be careful with tensioning. Too much tension causes the screen to stretch in the wrong places and you can get excessive sag, plus if your screen is part of an enclosure, it can cause issues with other pieces of the enclosure working properly. You’ll likely be able to tighten the zip ties around the screen a little bit, but avoid tightening them a lot to save you more trouble elsewhere.
Speaking of tensioning cabled screens, below are steps to do it properly to help troubleshoot fit issues.
TENSIONING CARL'S CABLED GOLF SCREENS
For Carl’s DIY Golf Enclosures, Pro Golf Enclosures, and Built-In Screen Kits, tensioning your impact screen properly is an important step to making sure you have the most immersive and safest experience in your golf simulator.
Be sure to follow the steps in your assembly manual as closely as possible. If you lost your assembly manual, you can access them here:
How to Troubleshoot Getting the Right Tension on Carl's Cabled Screens
1. Make Sure Everything is the Right Size
For Carl's Enclosures, start by making sure that your frame is installed correctly. If you measure the outer dimensions of your frame and it doesn’t match the dimensions you ordered (or what's shown on your frame diagram), there is a good chance a pipe or two were either not slid into the fittings all the way, or were jammed in too far. The pipes slide into fittings until they hit the “dimple” that stops them.
A frame that is not assembled properly will likely cause awkward tensioning that will need to be fixed.
For Carl's Built-In Screen, double check your room dimensions. Does what you ordered match the room you're installing the screen in.
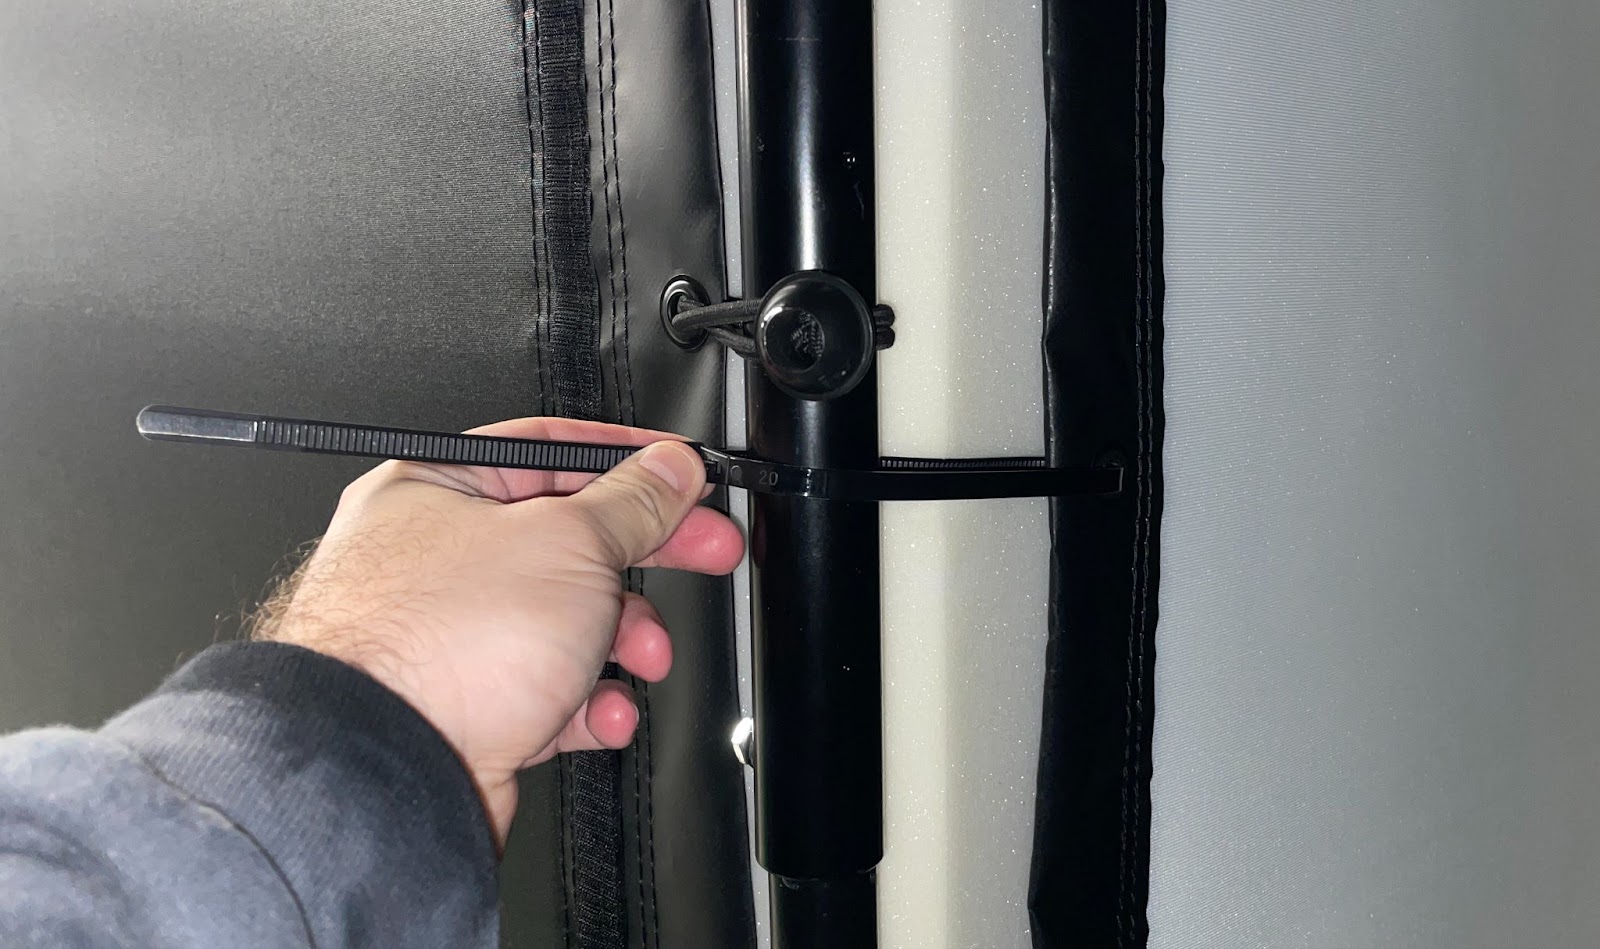
2. Make Sure the Zip Ties Aren't Too Tight
Make sure the zip ties holding the screen aren't too tight. They should be just taut enough to hold the screen evenly all the way across without pulling anywhere.
Be sure to not overtighten any zip ties to the point where the screen pulls or lifts off the floor. If any part of the screen is off the floor, find and loosen/replace the zip tie(s) that lowers it.
The top zip ties initially will be bearing all the weight of the screen, so they will have some tautness to them from gravity pulling down the screen and zip ties. Avoid tightening the top zip ties more than needed to hold the screen up.
3. Make Gradual Adjustments to the Zip Ties
If your screen looks uneven, wrinkled, or pulled too tight, the fix is usually small adjustments. Screen tensioning works best when you treat the zip ties as fine tuning tools, not something to crank down all at once.
First, take a look at how the bottom of the screen meets the floor. If it is lifting in spots or sitting unevenly, adjust the zip ties along the top until the bottom edge sits flush.
From there, work your way around the screen and make small changes a little at a time, looking to see which change affects the area you're concerned about.
-
Loosen any zip ties that look or feel overly tight.
-
If wrinkles or pulling show up, try adjusting the zip ties next to or across from the problem area instead of tightening the exact spot.
-
Be careful not to over adjust one side, which can pull the screen off center.
After each round of tweaks, step back and look at the screen as a whole. You are aiming for smooth and slightly loose, not drum tight. A small amount of natural sag in the middle of the screen is normal, but it should not be obvious or distracting. If the screen starts lifting off the floor, developing new wrinkles, or looking overstretched, back off the last adjustment slightly.
One of the advantages of zip tie mounting is flexibility. With lots of attachment points to work with, you can gradually dial in the tension until the screen looks right and performs well. Just keep in mind that higher tension can lead to faster wear over time, so a balanced, relaxed fit is usually the best long term solution.
4. Know That You'll Have to Make Adjustments Over Time
Over time, your screen will relax a bit from use, and you'll likely need to tighten some zip ties. Start with the top zip ties, and if that doesn’t seem to fix it, you can try also tightening some of the side zip ties. Again, gradual adjustments are needed to get it looking smooth.
What do I do if golf balls are sneaking under the cabled screen?
If you’re having trouble with balls sneaking under your screen, readjust zip ties (top, sides and/or bottom corners), and make sure your cable is taut and resting your screen on the floor. Be sure to not tighten the cable too much, which can cause other challenges. If the screen rests on high pile carpet or thick turf, you might find that balls are able to squeeze under the screen. To help contain balls and keep them from rolling away, consider adding a back cover from Carl.
Tensioning isn't a one-time affair. Schedule routine checkups to maintain optimal screen performance. Think of it as keeping your golf clubs clean and well-maintained – a little TLC goes a long way.
Search articles by tag:
Golf Impact Screens DIY Golf Enclosures PRO Golf Enclosures Golf EnclosuresRelated Posts

Golf Impact Screens
Impact Screen Bounce Back: Troubleshooting Tips
Golf Impact Screens, Golf Simulators, Projectors, Golf Enclosures, Launch Monitors, Hitting Mats, Software
The Ultimate Golf Room Checklist

Golf Impact Screens, DIY Golf Enclosures, Golf Simulators, Resources, Golf Enclosures
Golf Simulator Party Ideas